The Indian summer, the figs and three recipes

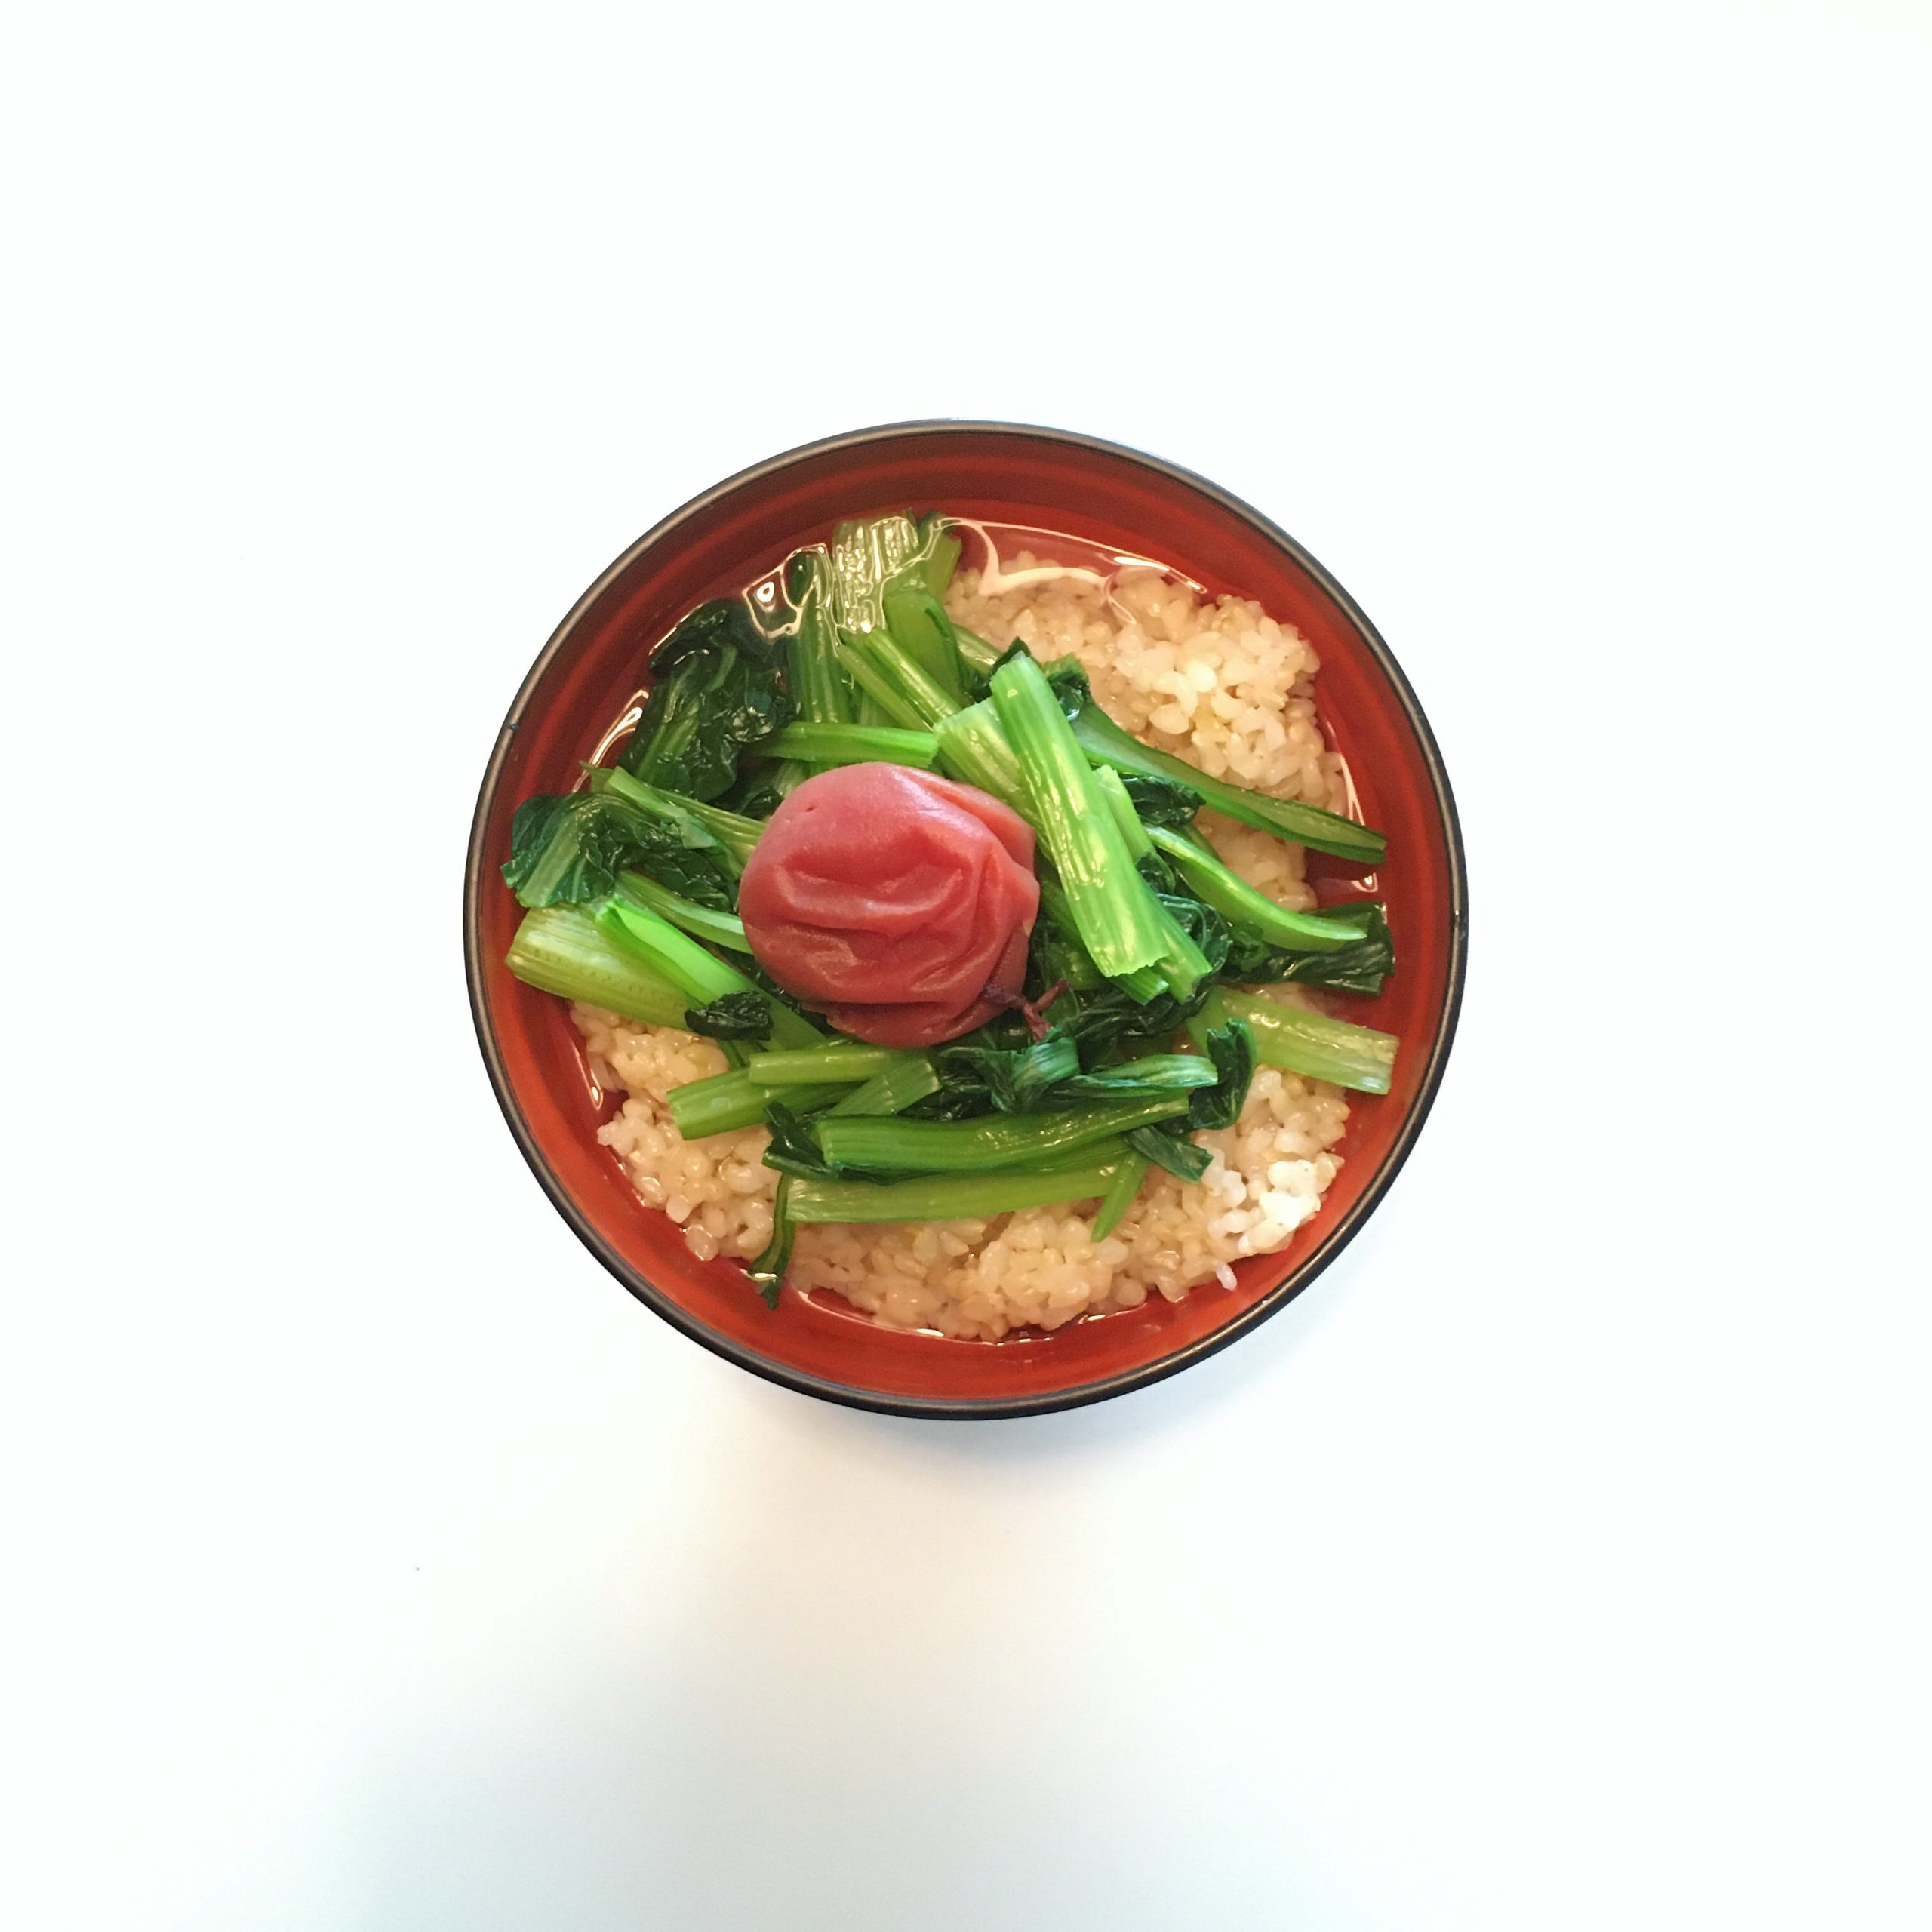
After a very tough week for me starting literally with a lower back pain that was so excruciating that A. had to drove me to the doc as I couldn’t even walk. Seating was a torture and lying was not better, I was happy I survived it and could finally walk, bend and move almost normally. But the doc said that my muscles needed a good week of rest so I followed the orders. No tennis, no bodyboarding and no gardening. I only allowed myself a 30min ocean swim on Saturday and Sunday. That left me with a loooooot of time… to cook of course!

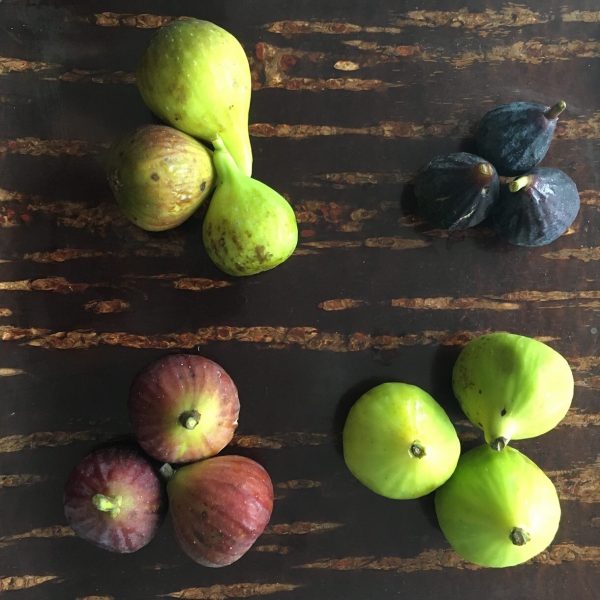
And with the summer slowly going towards the Indian summer, there is a slow change on fruits and vegetables available. Plenty of fruits with grape, nashi, passion fruits and figs. Yes! Figs! I love figs and usually would cook them in sweet recipes as A. is not a huge fan of sweet and savory mixes.

I baked honey fig tarts to start with. And because our friend Y. also had a lower back pain I made extra for them and replace half of the wheat flour in the dough by rice flour. And then the magic of IG worked its charms… A friend who grows figs in a large fig plantation at the foot of mount Fuji saw the picture of the tarts and sent me a big parcel full of figs of different varieties, all with distinct texture, color and flavor.

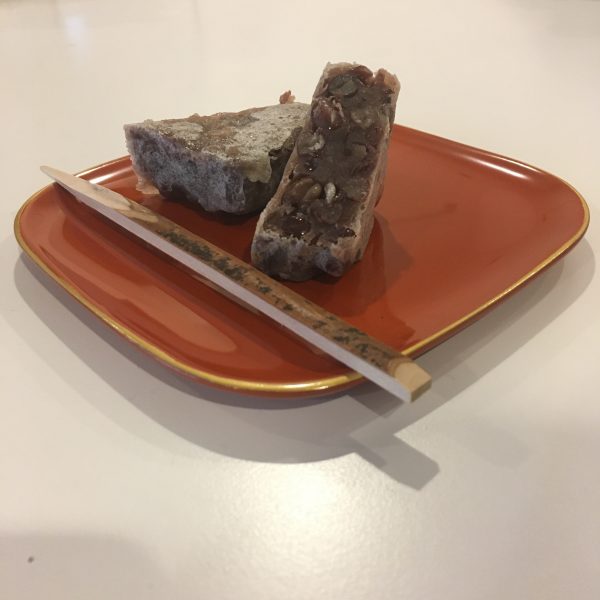
Having so many figs at once to eat I decided that I could do a few savory recipes too, though to be honest they were so good, I didn’t want to make complex things, and eating them just like that for breakfast was so perfect!

So I browse a bit the internet, but no recipe satisfied me. Most had goat cheese, a total no go for A. and anyway finding good goat cheese in Japan is still not easy…

So I came up with too recipes, the first is a total improvisation, the second is inspired by Israeli cuisine, from one of Yossam Ottolenghi’s book.

So three recipes today, all with figs. One sweet, one savory and one up to you!! Enjoy!!

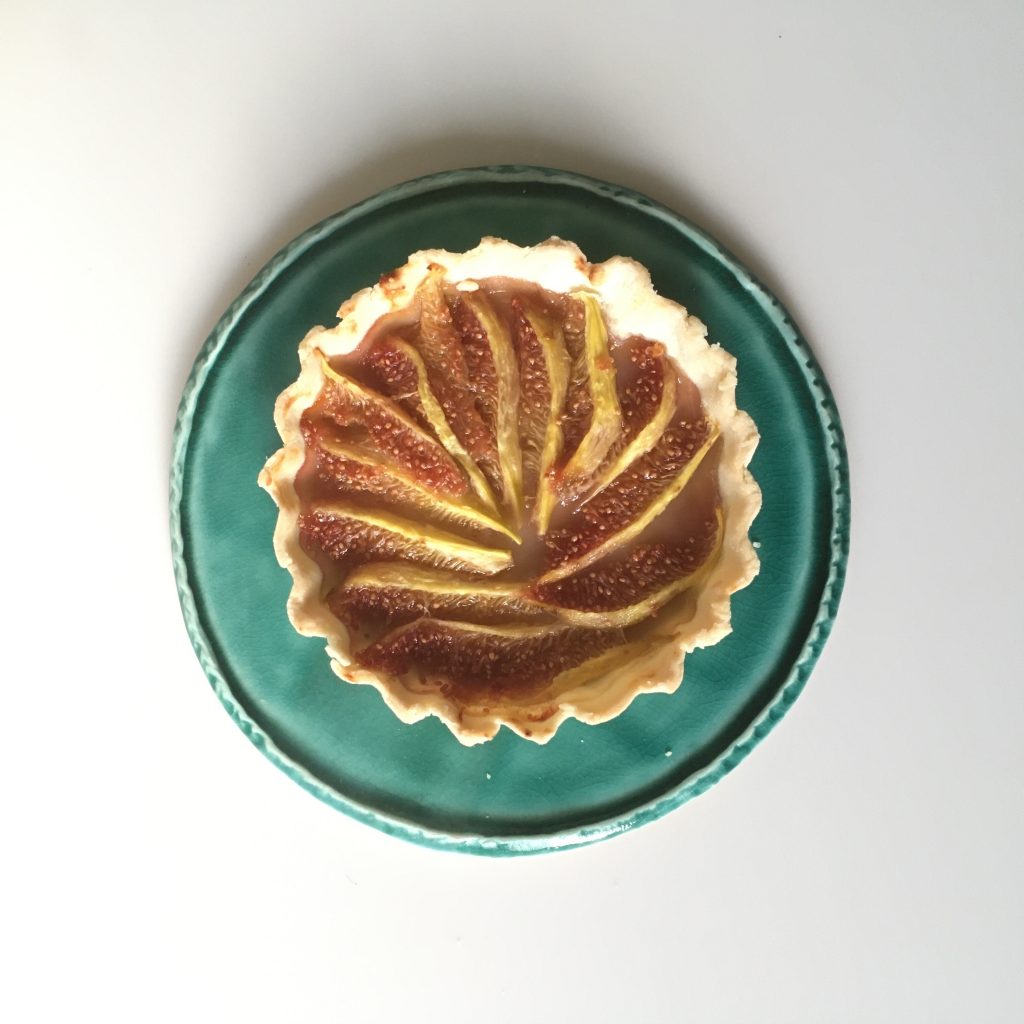
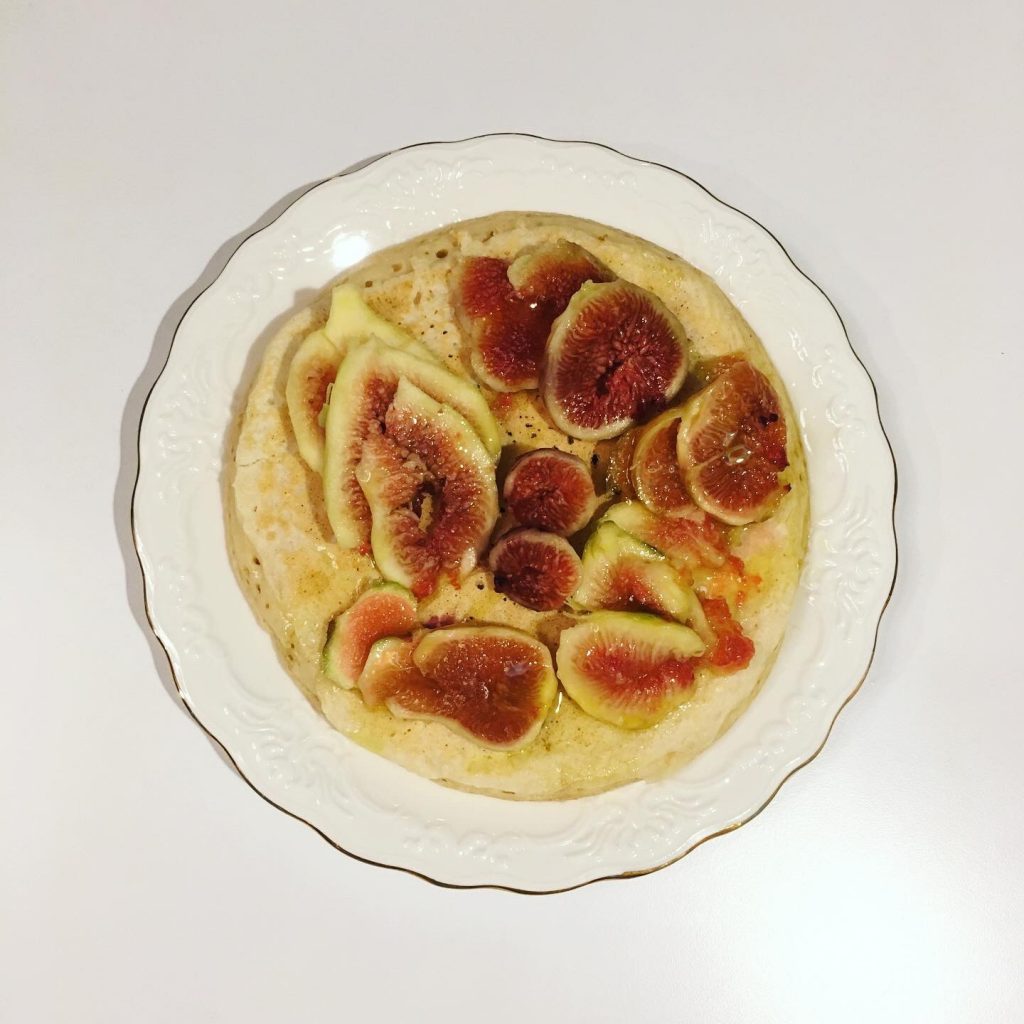
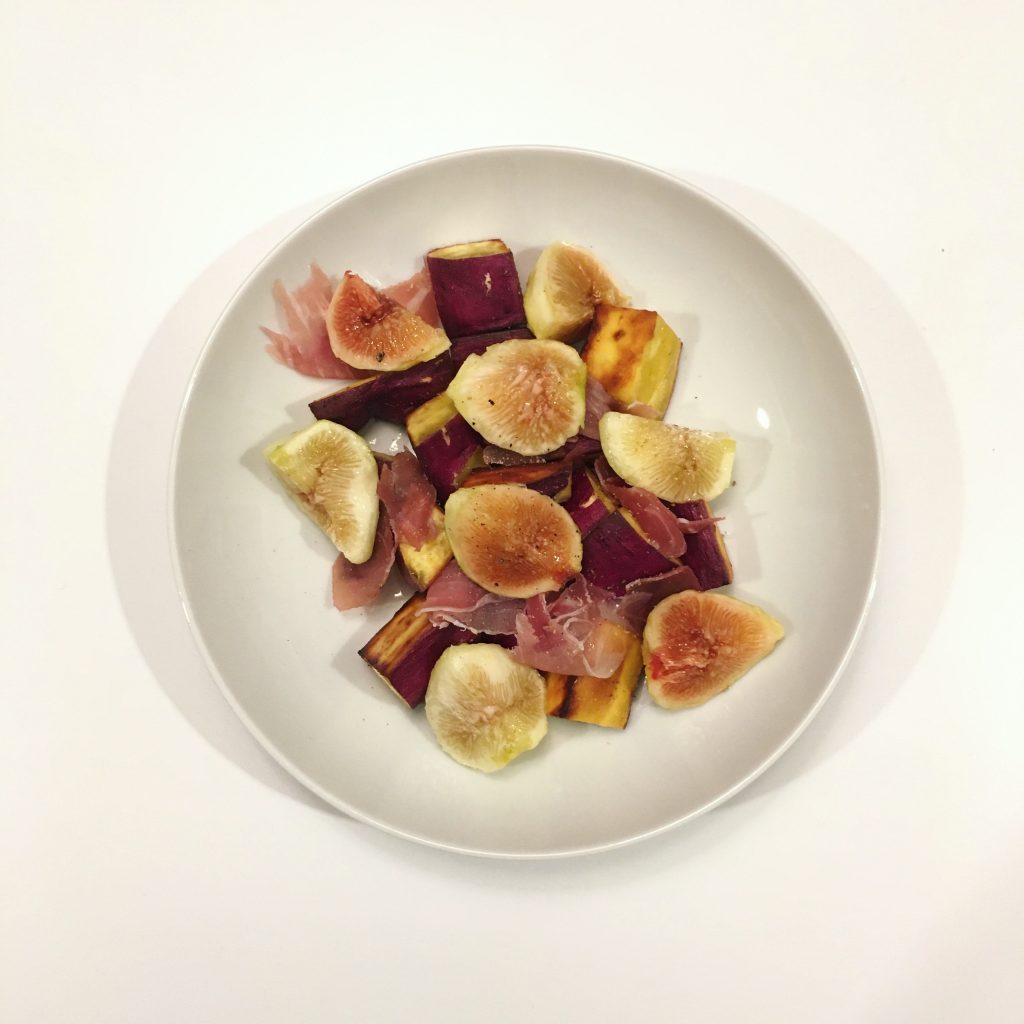
Fig tartelettes (4~6 servings)

  • 6-8 large fresh figs
  • 100g of rice flour
  • 100g of wheat flour
  • 50g of butter or olive oil
  • 4tsp of honey
  • A bit of water

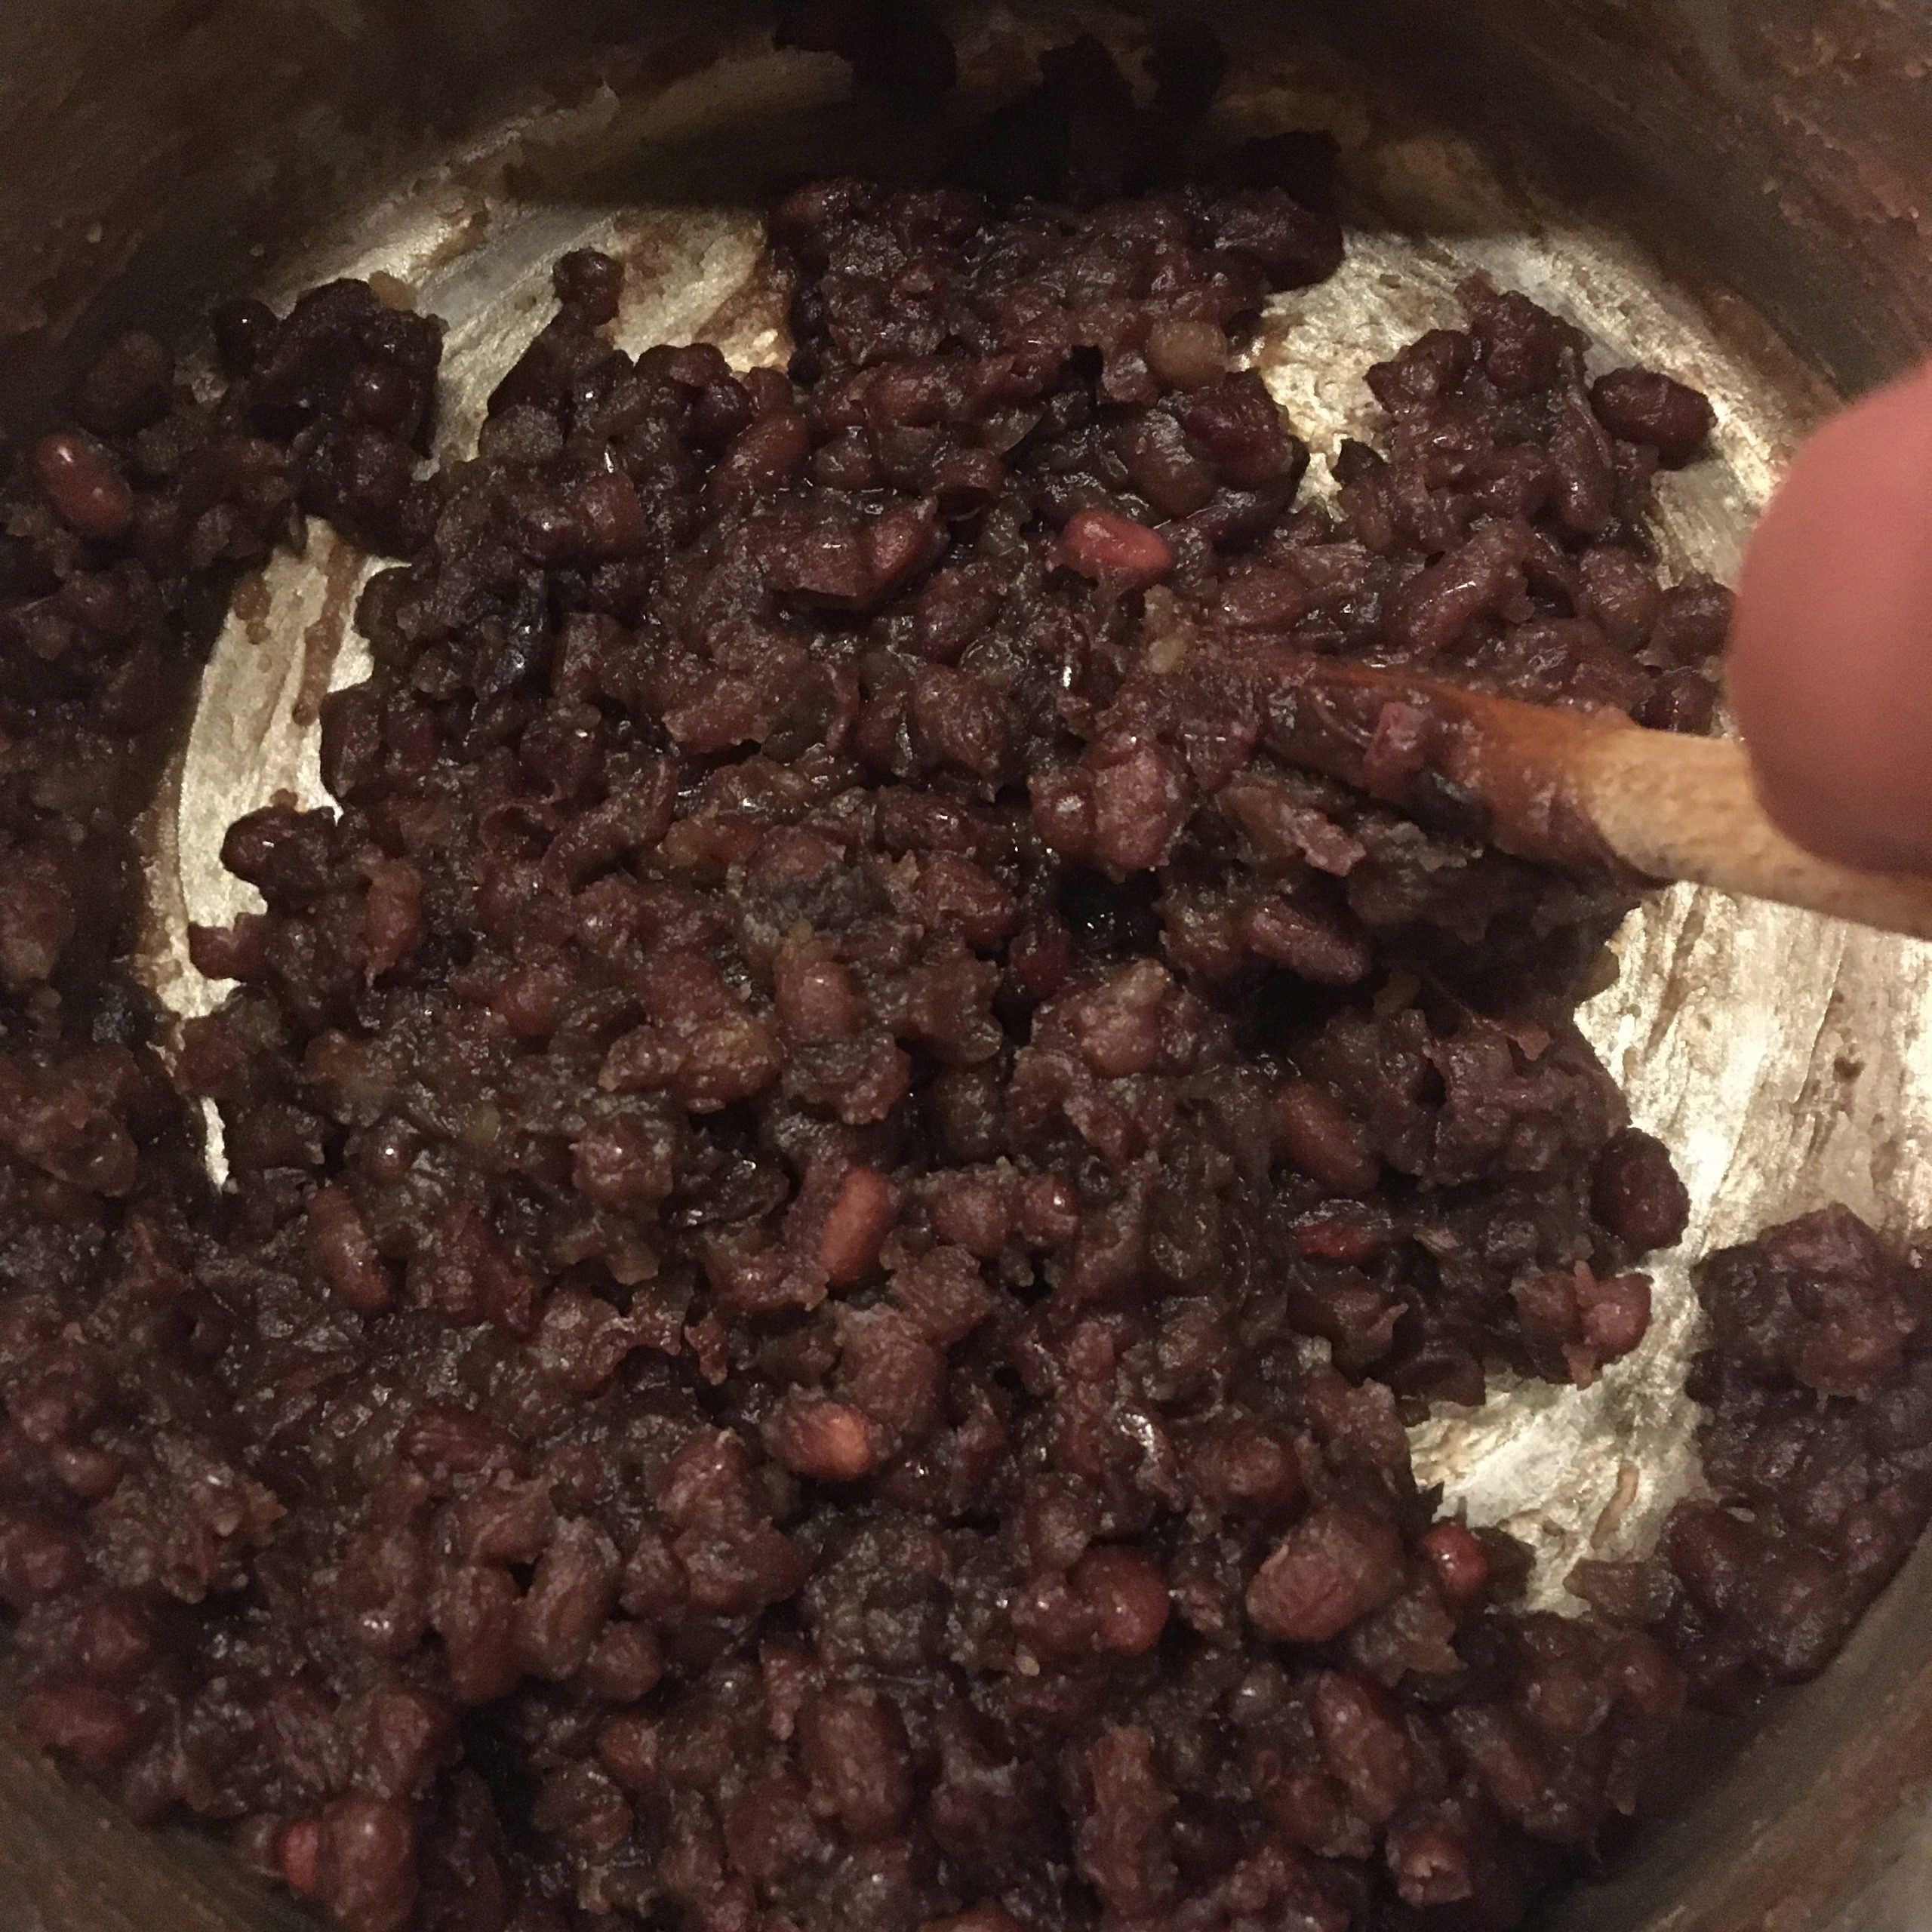
In a bowl mix the flours, the butter (or olive oil), add water little by little while kneading until obtaining a smooth dough.

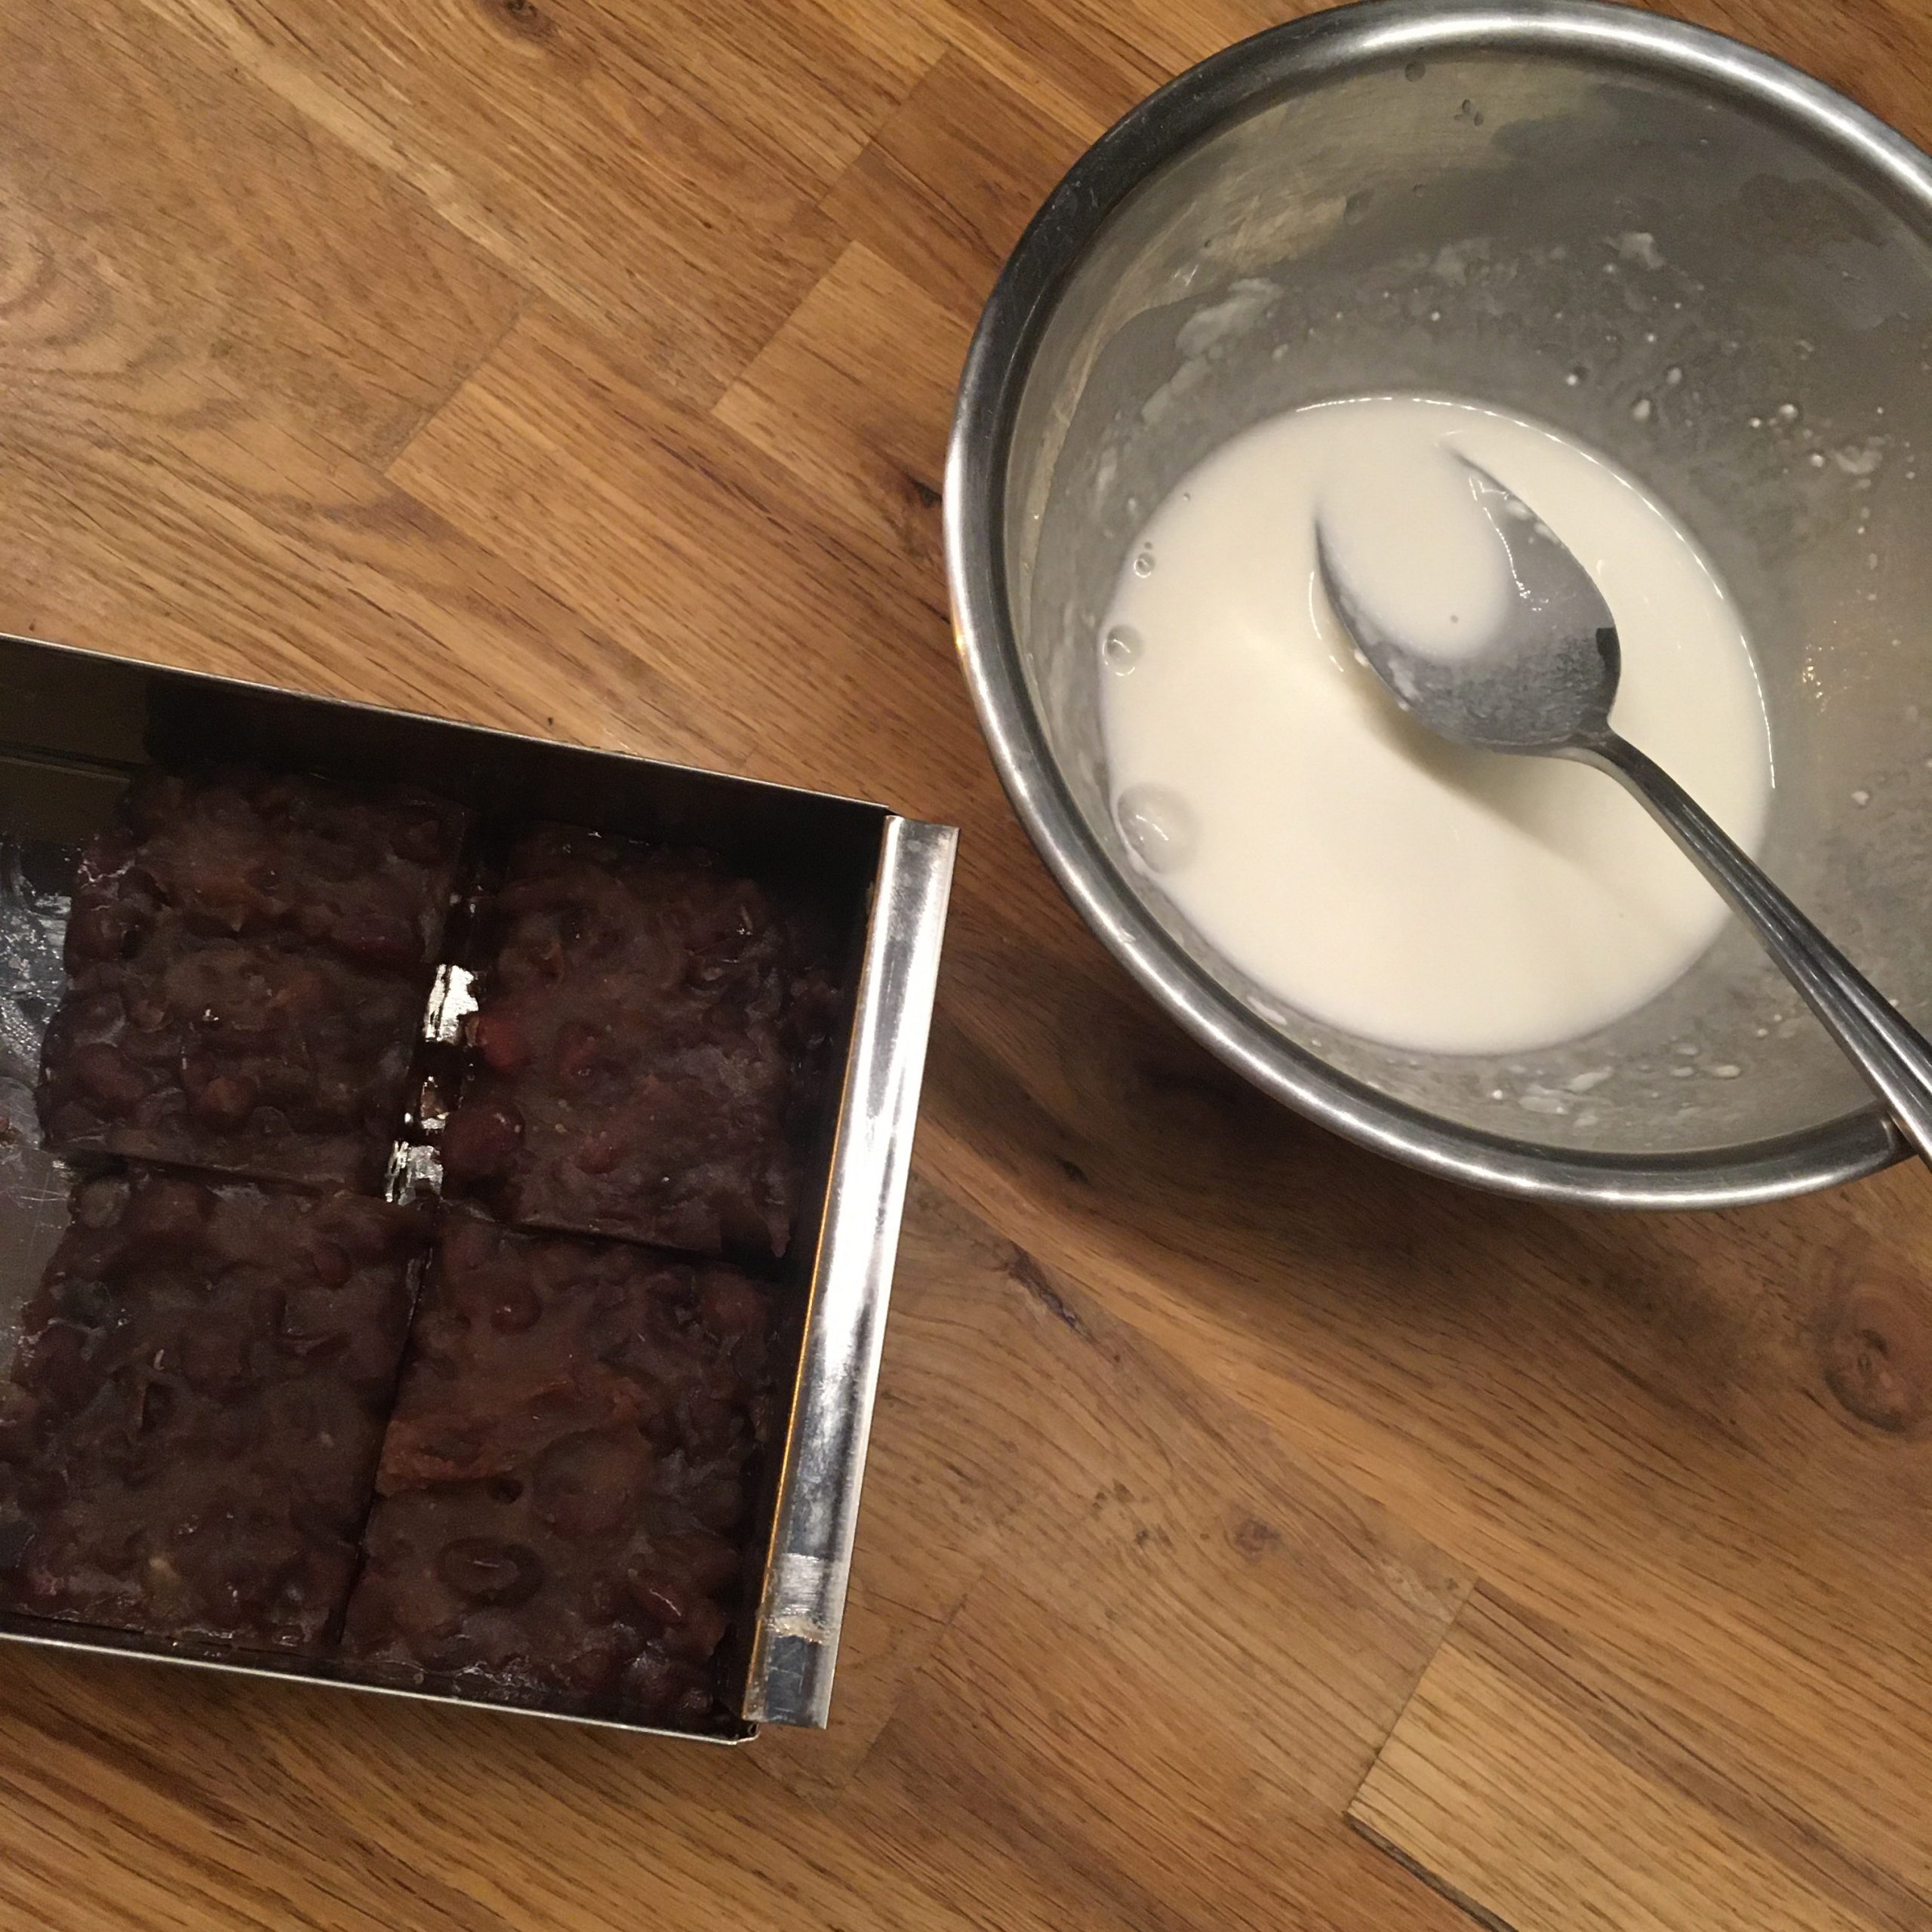
Pre-heat your oven to 200deg. Roll the dough and put it in a pie dish (I used individual ones). Peel the figs and slice them, arrange them nicely, add the honey. Bake for about 20min, or until the crust is baked.

Chickpea pancakes with figs (2 servings)

  • 8-10 fresh figs
  • 100g of chickpea flour
  • 1tsp of baking powder
  • 1tbs of cottage cheese (optional)
  • Water or milk
  • Salt and pepper or honey (savory or sweet)
  • Olive oil

In a bowl mix the chickpea flour, the baking powder, the cottage cheese (if you use some), and the water and/or milk until obtaining a pancake dough (not too liquid, but not hard).

In a greased pan cook the pancakes. I used a 15cm pan to have one large and fluffy pancake per person.

While the pancakes are cooking, peel the figs and slice them. When the pancakes are ready top with the figs, a drizzle of olive oil salt and pepper, or honey. Ready!!

Sweet potatoes and figs (2 servings)

  • 1 sweet potato
  • 6-8 fresh figs
  • 1tsp of oil
  • 1/2tsp of vinegar
  • Salt and pepper
  • 3 slices of prosciutto (optional)

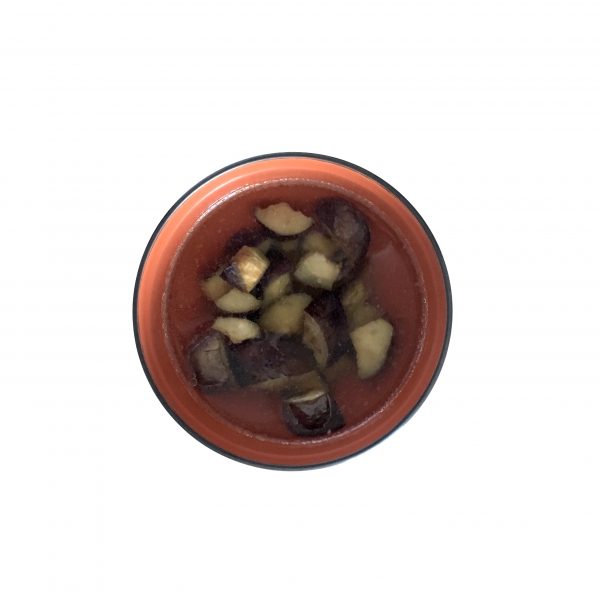
Wash the sweet potato and cut it in bite size. In s pan greased with the oil cook the sweet potato at medium heat until soft.

Peel the figs and cut in quarters. Serve the sweet potato in the plates, add the vinegar, salt and pepper, the figs and the prosciutto. That’s it!Really simple isn’t it?

My summer favorite: edamame paste and pasta

The summer is slowly reaching its end and the end of summer vegetables start to arrive such as butternut squash and kabocha, but before the summer ends for real, let’s enjoy a little more the summer vegetables: eggplants, cucumber, edamame and jute mallow…

Always the same, never the same

Since we’ve been working from home, I cook three to four meals a day (we wouldn’t miss a good tea time!) and a whole new routine of recipes slowly replaced old habits. More meals to cook = more chances to explore. I cook more quiche as we spend more time in Ohara, I also cook more steam buns and gyoza, also one dish that has been an almost weekly thing is brown rice and spicy vegetables. As much I love Japanese brown rice, it takes too much time to cook it after coming back from work and have it ready for dinner (about 2 to 3h) so I would almost never make any. Working from home as this perk that starting a recipe is really simple, squeezed between two meetings.

For some reason Thursday is the day we most often have brown rice. And one thing I really love is to have it with some seasonal vegetables and a light spicy sauce. Versions are endless. And with the spring coming and the new vegetables I prepared a very simple and ultra full of flavors version. A few chick peas remaining from the hummus I made the other day, a bit of coconut cream, and a lot of new and fresh onions that our friends gave us. Add some super ripe tomatoes and, because winter is still not completely gone, a sweet potato, you have a great base. Normally I would have added curry to the mixture, but curry powder is on my shopping list and I didn’t have time to go grocery shopping this week. And actually it was good that way. It forced me to explore other spice combination and I realize that curry is not necessary. So if you want a very mild and very tasty recipe for your new onions and your brown rice, just read below and enjoy!

New onions with spice and coconut milk

  • 2-3 new onions
  • 1 sweet potato (one carrot could do, nothing could do too)
  • 1 large and ripe tomato (if you can’t find one just do without)
  • 200ml of coconut cream or coconut milk
  • 1 cup of chick peas, boiled and drained
  • 1tsp of ground cardamom
  • 1tsp of turmeric
  • 1/2tsp of all spice
  • 1/2tsp of ground cumin
  • 1/2tsp of salt
  • ground black pepper

Remove one layer of onion skin and cut them in 8. Wash and cut the vegetables in bite size.
In a greased pan, on medium heat, put all the vegetables, and the chick peas, and cook for 10min while stirring regularly.
Add the coconut cream, the spices and stir well. Cook under cover for 5min. And that’s ready. Serve with brown rice, but I bet it is also a killer with flat breads or basmati rice.

Cucumber 🥒 love

If you like cucumbers you surely like even better Japanese cucumbers. They are tiny, crunchy, juicy, with much less seeds. Chilled they are perfect for the summer. Slightly pickled or not we love them and eat some every day in the hottest season. They are good just cut and dipped in miso for a very rapid snack, or prepared in light pickling with salt or with umezu 梅酢. You can find many of my recipes including cucumber here. But today I came up with a new idea, of a simple cucumber salad, with Japanese flavors. And it is so simple that t is going to be a new summer favorite.

Summer cucumber salad

  • 1 Japanese cucumber
  • 2 myoga (Japanese ginger)
  • 1tsp of umezu (otherwise a pinch of salt and 5 drops of soya sauce)

Wash and pat dry the cucumber. Slice it thinly. Put in a bowl add the umezu and stir with the hand. Wait 5 minutes, in the meantime, wash and chop thinly the myoga. Gently press the cucumber with the hand and remove the juice. Add the myoga and stir. Serve chilled and enjoy!

Ready to eat!

Kintsuba

Sorry for the delay! I was hoping to publish it much earlier but then I got busy with work and I am struggling with wordpress and jetpack… technical issues that are getting more and more annoying.

So to continue with adzuki, there are a few more recipes I would like to share, and as promised on IG, kintsuba was one of them. It’s a slightly more elaborated recipe of wagashi than those with just anko and mochi or shiratama. I like it very much for the variations that exist, it can be with sweet potatoes, including walnuts etc… so many options… I like it also for its very graphic visual. It’s a little square “cake”. Kintsuba consists of a soft and melting jelly and a thin cooked skin. Making kintsuba is simple but takes a bit of rest time as it uses agar agar and it takes 2h for it to solidify. Then there is a frypan cooking step to finalize them. But they are really delicious and worth trying.

Kintsuba also uses an ingredient that is often used in Japanese sweets: shiratamako. It’sa kind of rice flour but made from cooked mochi rice.

Kintsuba (4 pieces)

For the beans jelly

  • 100g of tsubuan or anko
  • 25ml of water
  • 1g of agar agar

For the skin

  • 25g of wheat flour
  • 5g of shiratamako
  • 60ml of water
  • A bit of cooking oil to grease the pan

First of all the jelly. It’s quick to make but as I said it takes about 2h for the agar agar to stiffen so better do this step ahead. Once you have the rest is rather quick.

In a pan heat the water and the agar agar, stir well, when it comes to a boil lower the heat and continue stirring for 2min. Add the anko or tsubuan prepared before hand as in the recipe here. Continue stirring for 5min at low heat. Then move the paste into a dish that is square ideally. I use a Japanese tofu and jelly stainless steel dish for that specific use (see below picture). The jelly should be 1-2cm thick in the dish. Let cool down and refrigerate for 2h. That’s it for the jelly. You can eat it once it has stiffen as a jelly.

Once the jelly is stiff, take it out of the fridge, cut it into 4 pieces of 4x4cm approximately. In a bowl mix the ingredients for the skin. If you use shirotamako, you will need to crush it to powder it. It’s very easy. Stir well. Heat a fry pan and grease it. Now dip one face of a square in the skin dough and put this face down in the pan. Cook until that side is dry and no longer sticky. Repeat for each side. If you think your skin is too thin, apply a second layer. You can eat right away or keep a few days in the fridge.

Chickpeas and orrecchiete, an heresy?

There are culinary rules I grew up with that are long lived… Such that we don’t eat bread with pasta, potatoes or rice, or we don’t potatoes with pasta or rice, or rice with pasta… basically one and only one source of carbs is enough for one meal. A. would confirm that pasta and rice are definitely not a good mix, despite the famous dish called Turk(o) rice from Nagasaki, that to be honest seems more like a terrible mix… Indeed, a long long time ago, I was working on the weekend and really busy and I didn’t have much time to prepare A. a lunch. At that time, probably the last time after the incident, I was using a bit the freezer to freeze some leftovers to use in cases of emergency, and I was sure I had a bit of pork ground meat there, so I told him to boil himself some pasta, add the meat and enjoy! But the meat wasn’t meat, it was brown rice, and apparently spaghetti with brown rice was a terrible mix (more so when you’re a meat eater and you think you will have pork…!!!)

Sorry mum, but there are rules that I discovered can be broken and lead to delicious preparations such as having potatoes in curry rice, or sweet potato rice, or potato ravioli. And that’s how mixing chickpeas and pasta came to my mind… But not all pasta would work the same and I found that Orecchiette would be great for their little cup shape would be the perfect size for that of chickpeas. I knew they would made a great pair and they did. Perfect for a nutritious lunch after 2 hours in the ocean surfing and body boarding and before another 2-3 hours in the garden trimming trees. Yes, weekend in the country are very active and warm and comforting food is much necessary to face the elements.

For the recipe I used a Mediterranean variation of flavors, I used some greens (I used turnip tops, but it can be anything green and leafy: spinach, chard…), a fragrant Italian olive oil and a few chopped Maltese dried tomatoes, ample pepper. So here is the detailed recipe, I hope you’ll enjoy it.

Orecchiette and chickpeas (for 2 servings)

  • 125g of dried orecchiette, boiled
  • 70-90g of boiled chickpeas (a small cup)
  • a nice bundle of green of your choice and in season: spinach, radish tops, turnip tops, chard or whatever you like
  • 2-4 dried tomatoes depending on the size. Mine are giant sun dried tomatoes I brought back from Malta
  • deliciously fragrant olive oil as much as you like
  • black pepper freshly ground

Prepare you chickpeas the day before if they are dry. and boil them until tender. If your pasta aren’t boiled yet boil them.

Wash and chop roughly the green. In a large pan or wok, put a bit of olive oil, and at low to medium heat soften the greens in the oil. when soft enough and brightly colored, add the pasta and the peas and stir well. to obtain a well balance mix of all the ingredients. Chop the dry tomatoes, and stir again, still cooking at medium heat. Add a last splash of olive oil, ground black pepper and serve. That’s it! Simple isn’t it?

Japanese simplicity

Who said that cooking Japanese cuisine was complex???

I have the simplest and most delicious recipe of miso soup for you today and an ultra easy ochazuke recipe. Of course both require basic Japanese ingredients: dashi, and miso for the first one, and Japanese rice, dashi and umeboshi for the second one. Indeed now is the time rice harvesting in Isumi is just finished new rice of this year harvest is now available. Delicious brown rice, slowly cooked to be just perfectly soft goes perfectly well in ochazuke recipes I find, almost better than plain white rice.

For the dashi of both recipes you can choose from katsuobushi, ichiban dashi, konbu dashi or shiitake dashi. Personally I love ichiban dashi. Ichiban dashi 一番だし is a basic in Japanese cuisine and particularly in cha-kaiseki 茶懐石, so I mostly make ichiban dashi, so let’s start with its recipe.

Ichiban dashi – 一番だし

  • 1L of water
  • 15g of katsuobushi blakes (not too thin)
  • 15g of konbu

In a pan set 1cm of water, add the konbu and bring to a boil at low heat for 10min. Add the bonito and the rest of the water. Keep boiling at low heat for 5 minutes. Let rest and filter. Your ichiban dashi is ready, you can use it as a base for soup, cooking vegetables, fish, tofu, rice etc…

With the dashi made, we can then move to the other recipes. First the eggplant miso soup. Then below the ochazuke.

Eggplant miso soup (for two servings)

  • 2 little Japanese eggplants
  • 1 tbs of miso
  • 600ml of dashi
  • a bit of neutral frying oil

Wash and cut the eggplants (see top picture fir cut). In a frypan greased with the frying oil, cook the eggplants until just golden and soft, serve then evenly in two large miso soup bowls.

Heat your dashi if it was prepared ahead, or use the one you just prepared. Top the eggplants with the dashi. Set half a tbs of miso in each and stir gently. That’s it!!!

Simple ochazuke (2 servings)

  • 1 cup of Japanese brown rice or white rice cooked
  • 400ml of dashi
  • 2 pickled plums
  • 1 bundle of komatsuna or other green (water spinach, spinach…)

Serve the rice in a large bowl. Heat the dashi. In the meantime wash the green vegetable, cut in 5cm long and blanche. Drain well.

Top the rice with the vegetables, then serve the dashi, add the pickled plum. That’s it!

Have a good day!!!

More seaweed

Wakame is one of the multitude of seaweed used in Japanese cuisine. The two other very much used are konbu and nori. They all come in different shapes and level of preparation. Konbu is probably most famous for making broth and nori for maki sushi, but there are a multitude of other way to use them in their different variations. Today I’ve used some nori in my quiche. Not exactly the nori for maki sushi though. Something a little less processed 素焼のり or “unglazed nori”. And I made a quiche with it, spinach and zucchini. Something simple and fresh. Here is my recipe.

Nori quiche

– flour, olive oil and water for the pie crust dough

– 1 block of tofu

– 3 eggs

– a bundle of fresh spinach

– 2 handful of unglazed nori (you can try with regular maki nori cut in bites)

– 1/2 zucchini

In a pan cook the washed spinach in their water, add the chopped zucchini and finish with the nori. Cook at medium heat until the mix is not too much moistened anymore. Prepare the dough and roll. In a pie dish set the dough. Add the eggs and the drained tofu to the mix vegetables. Pour in the dough. Cook at 180deg for 30min. Enjoy as a main or a side with some grilled fish for example.

Shiitake week! Day 5!

And here is the last recipe of this shiitake week! I could have added many more like shiitake quiche, shiitake soup… But weekend is for new creative cooking… we’ll see tomorrow what the farmers market will inspire us… though I am craving for homemade gnocchi, rich quiche and more takikomi gohan… and I have a new cookbook to browse and some older to look at again (I thinking about my Sicilian cookbook and Shojin cuisine cookbook in particular and some older Japanese cookbooks I haven’t touch in years…) . So this last shiitake recipe is basically using shiitake as substitute for porcini. Of course they have a very different taste but in some preparations they can have a very similar texture. And since there is no porcini in Japan, that finding really delicious matsutake that actually come from Japan (they are usually from Canada, US, Korea or China) has become a challenge, regardless of the price you are eager to pay them, using shiitake is a very straightforwardly simple option. I used them with tomato, to serve with polenta and grilled marlin. I simply sliced them, cooked them in olive oil and add the tomatoes. Cooked until it’s all soft and almost dry. Served with the fish sliced and grilled in a pan, and some polenta. That’s it, and it was delicious! 

Have a good weekend! 

Proudly powered by WordPress | Theme: Baskerville 2 by Anders Noren.

Up ↑

Verified by MonsterInsights