Bread in a pan…

Who would do that honestly???

I never thought I would… until we moved to our new apartment where the kitchen doesn’t have an oven yet and we are still not sure about the renovations we want to do and given the circumstances we prefer to wait a bit… I don’t see myself stopping telework, I’ve always loved it… and always hated train commute. Nor spending the whole week in the country, it would be too tempting to go surfing and work in the garden instead during the day… and I would start working at night…

So, no oven… I’ve tried to bake bigger breads on Sunday but they are so good that they barely last until Wednesday morning in the best of the best scenario… the rest of the week, I make pancakes… but I get board of plain pancakes, and nothing is better than bread (but croissants and pains au chocolat… but honestly they are just air and they feed us enough to not starve 2h later… and lunch is usually more 4 or 5h later…

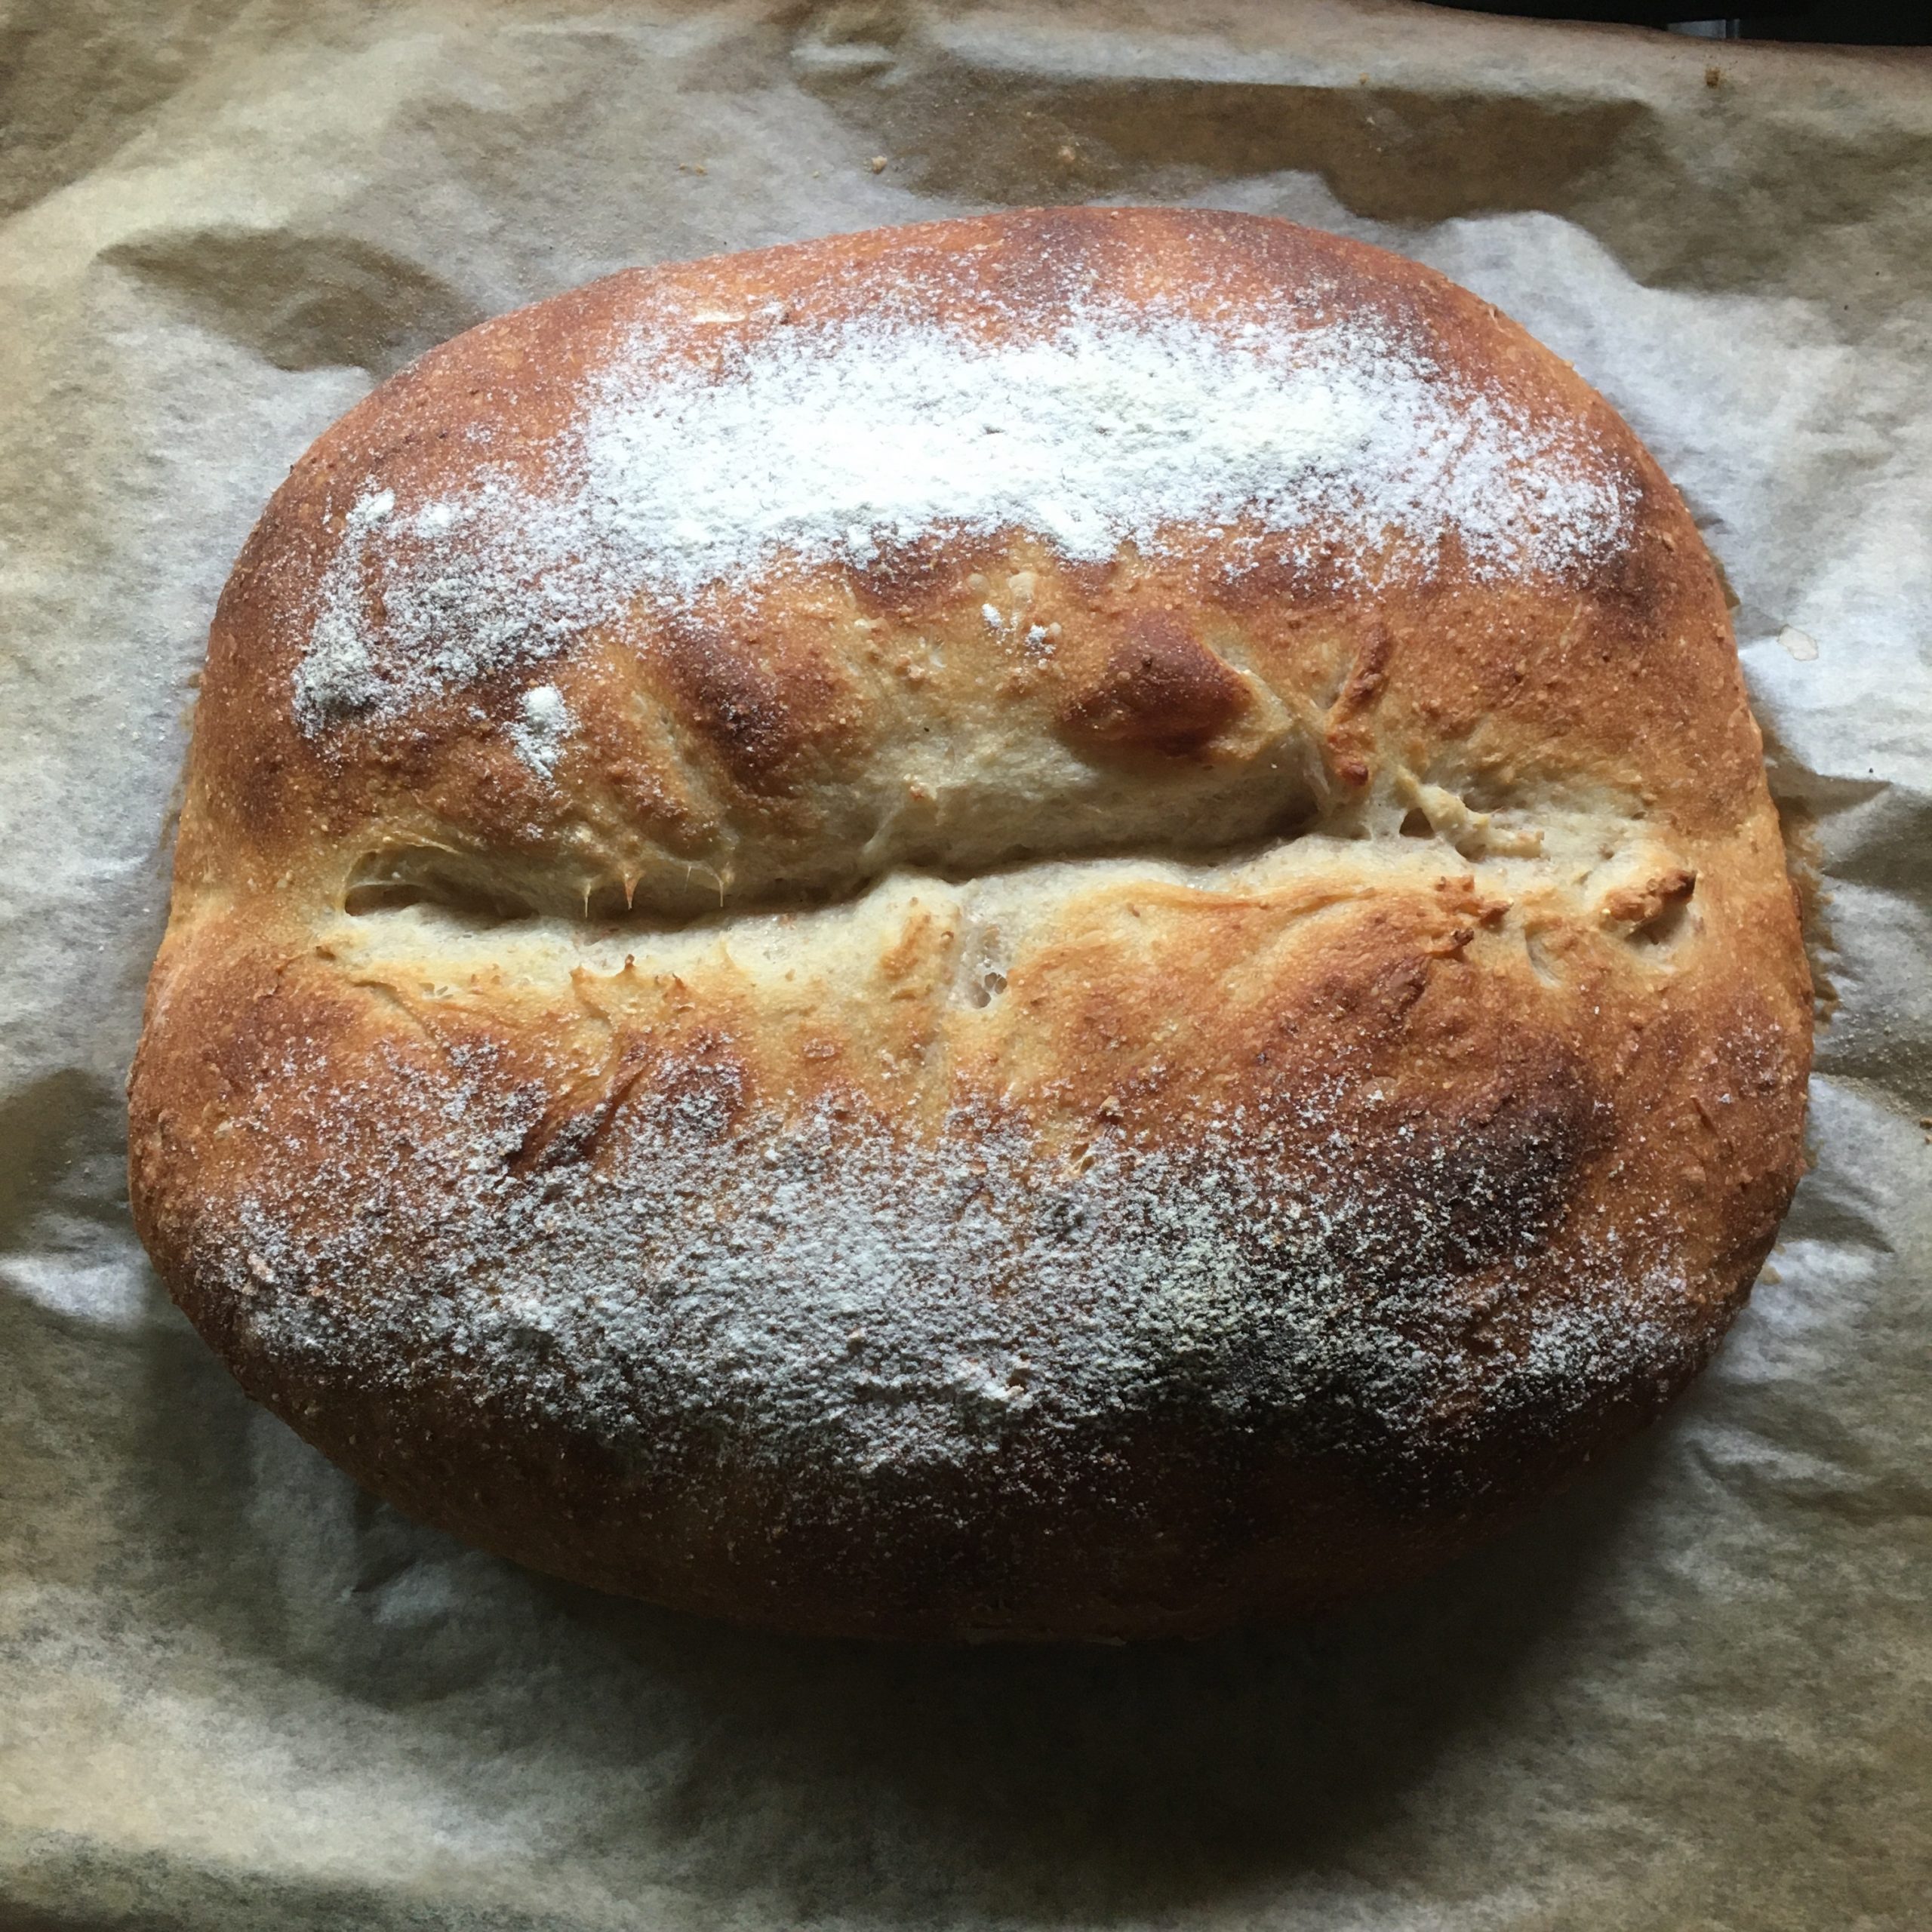
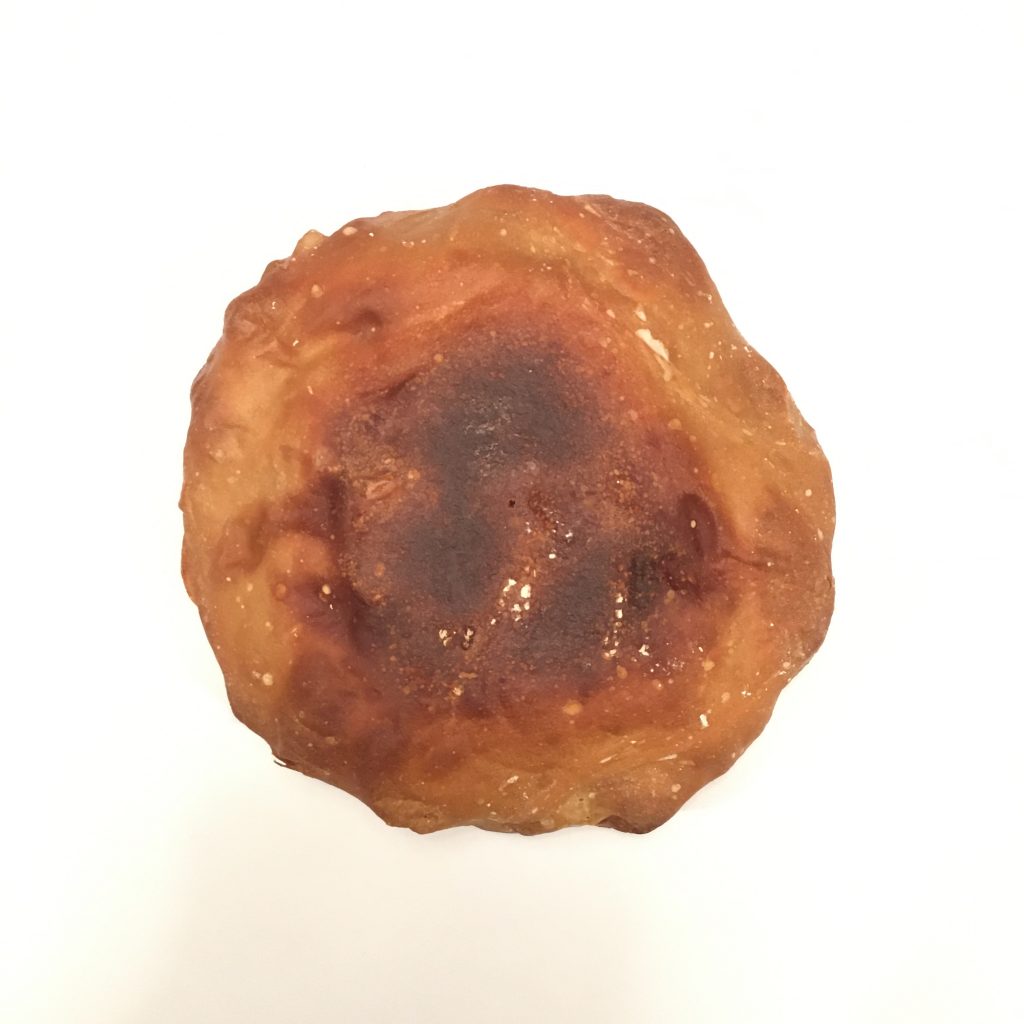
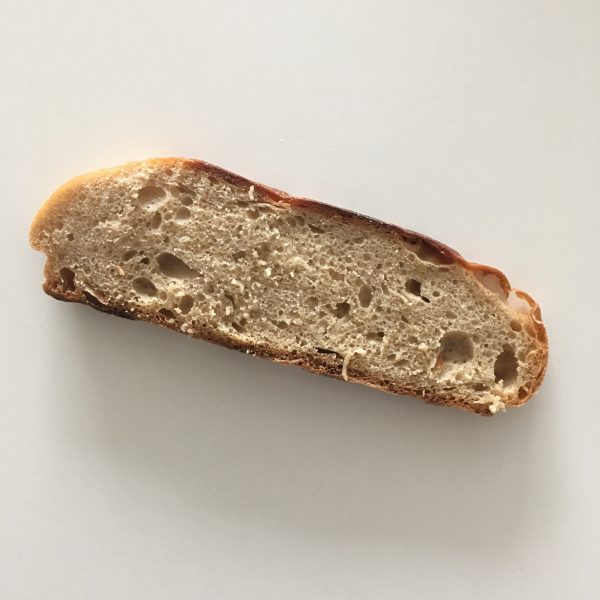
Bread is the only option and I remember seeing recipe of breads in crockpot, in cocotte… so I was tempted to try. In Tokyo I have neither crockpot nor cocotte. I have a pan with a more less fitting cover… more less because my pan once felt and since then it is more an ovaloid than a perfect circle!!!!

The bread making and kneading is just the same as usual. The rest time also for the first rise. For the second I read that it can be done while the pot is heating, and I tested the first time, but for me it didn’t work, so I just shaped my bread as a ball, laid it on kitchen paper in the pan and waited 1h. Then turn on the gaz rather high and covered and cooked until the bottom was golden. Then I flipped the bread and cooked on the other side. It avoids the thick crusty bottom and the risk of heart of bread not well cooked, and that’s what made my second pan bread perfect.

Cooking bread in a pot may not seems straightforward but it works very well… and I was surprised about it!!!
June berry ジューンベリー

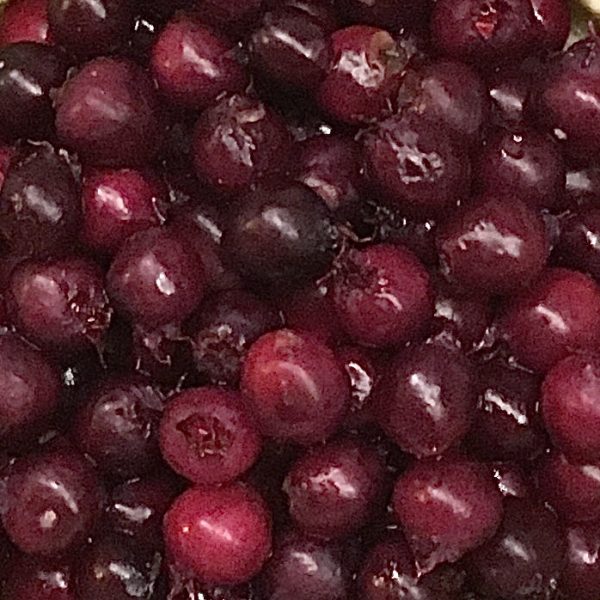
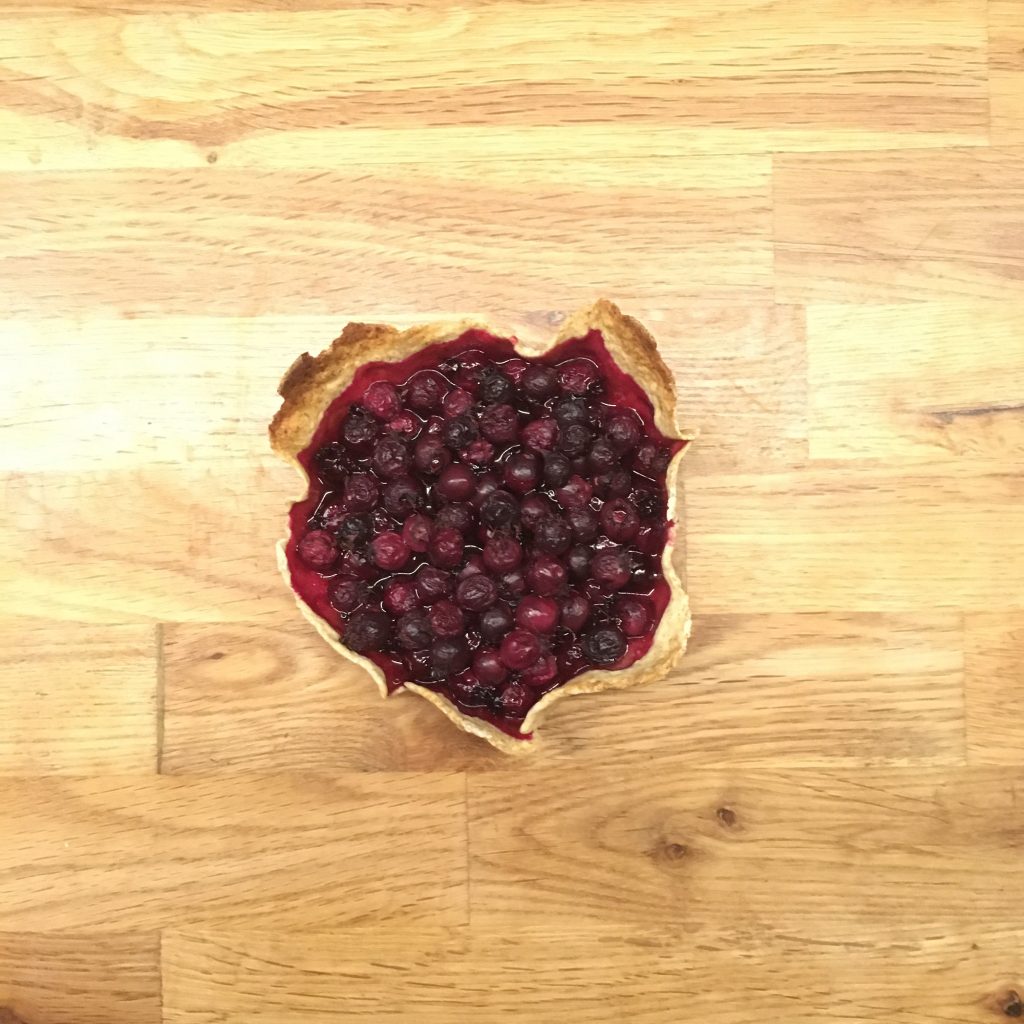
When I thought I had tried most berries that exist in Japan, our friends challenged me with a new sort!! The other day Y.-san arrived with a cup full of small dark red berries that looked a lot like dark red currant… so when he said in Japanese “we just harvested june berries, so here are some for you” I took a brain short cut and assumed that june berries in Japanese was the name for red currant. And since my oven was turned on to bake some bread and a quiche, I decided to make a tart with the berries. I prepared a thin crust with olive oil and rye flour, rolled it in a small pie dish, added a spoon of sugar (red currant would be sour…), and wash the berries and while admiring their dark red color, I was telling to myself how dark they are for red currant… well I baked until perfectly done and we ate the tart while still warm. You cannot imagine my surprise when we tasted it. Expecting the tart taste of the currants, slightly blurred by the heat and the sugar, I had in mouth a new flavor… sweet as the sweetest cherry but more floral and berry-like. It was the most delicate surprise!!!

So if you are as stupid as me and didn’t know about june berries, ジューンベリー, here is what a quick search told me about them. Apparently they seem to have been widely popular in the middle age in Europe, but they probably come to a disgrace, as I’ve never seen or heard about amelanchier (the proper name) until a few days ago. Too bad because not only the fruit is delicious, the flowers seem to be very pretty. They also seem to be rather popular in north America, and introduced to Japan for quite some time now. I’ve never seems them on market stalls of any kind, so I’m guessing that those who grow them keep them for themselves. And it is so delicious that I don’t blame them! Now I dream of an amelanchier for our garden! And if you know anything about the june berries I’ll be happy to hear more about them. What to do with them expect pies and jam… and thanks S. And Y.-san!!!

Respectus panis

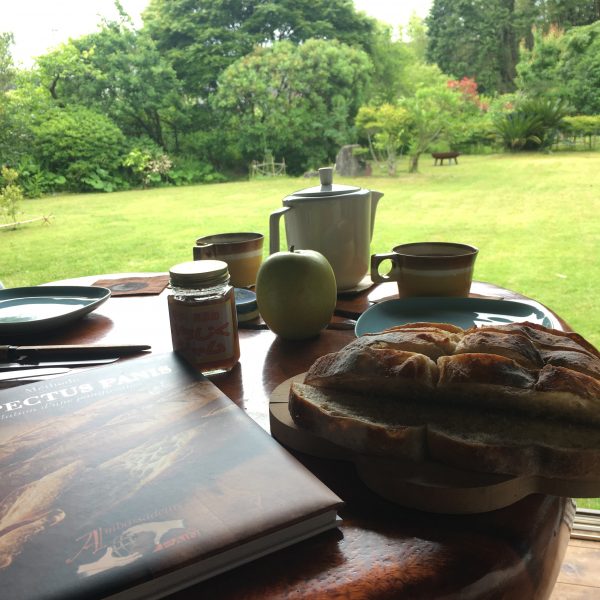
I’ve making bread at home now for what…??? 6 or 7 years… at first I started easy, not every weekend, just once in a while, now it is just part of my daily weekend routine, and even when I could I was baking bread during weekdays!!! I have tested all kind of recipes, followed the books, then went on my own, using my experience and feeling, and except croissants, that I still feel not confident making, I’ve never failed a brioche or a bread. Two years ago when I discovered breadin5, I understood some of what my experience and intuition were suggesting me: the bread making is not such a rigorous process for which quantities and time are that important. If you think about it billions of humans have been making bread for more than 20 centuries… so it wasn’t about 1g plus or more of yeast, or the exact temperature of water! Breadin5 showed me that we can be more playful with bread making, but last winter, my parents offered me a book about bread making “respectus panis” and what they were saying in this book was exactly what I was waiting for: less yeast, less salt, little kneading, long proving time. Well long at 18degrees so I had to wait until the warm weather was there to test properly, otherwise the house temperature is rather 15degrees or less and long would have mean forever!!! I finally did test the method. And I was not disappointed. With half of the regular amount of yeast and salt the dough takes about 12h to bubble well in the current situation, which will shorten as temperature increases, the bread is a lot tastier and enjoyable and keeps very well. I have tested only with some of my classic white bread and campagne bread and was really surprised by the result! I must say the campagne was a huge hit!!!

So now I can save on yeast, which given that recently it’s been hard to find baking powder and yeast, is definitely a good attitude!!! And I can’t wait to try again this weekend!!

The garden doesn’t wait…

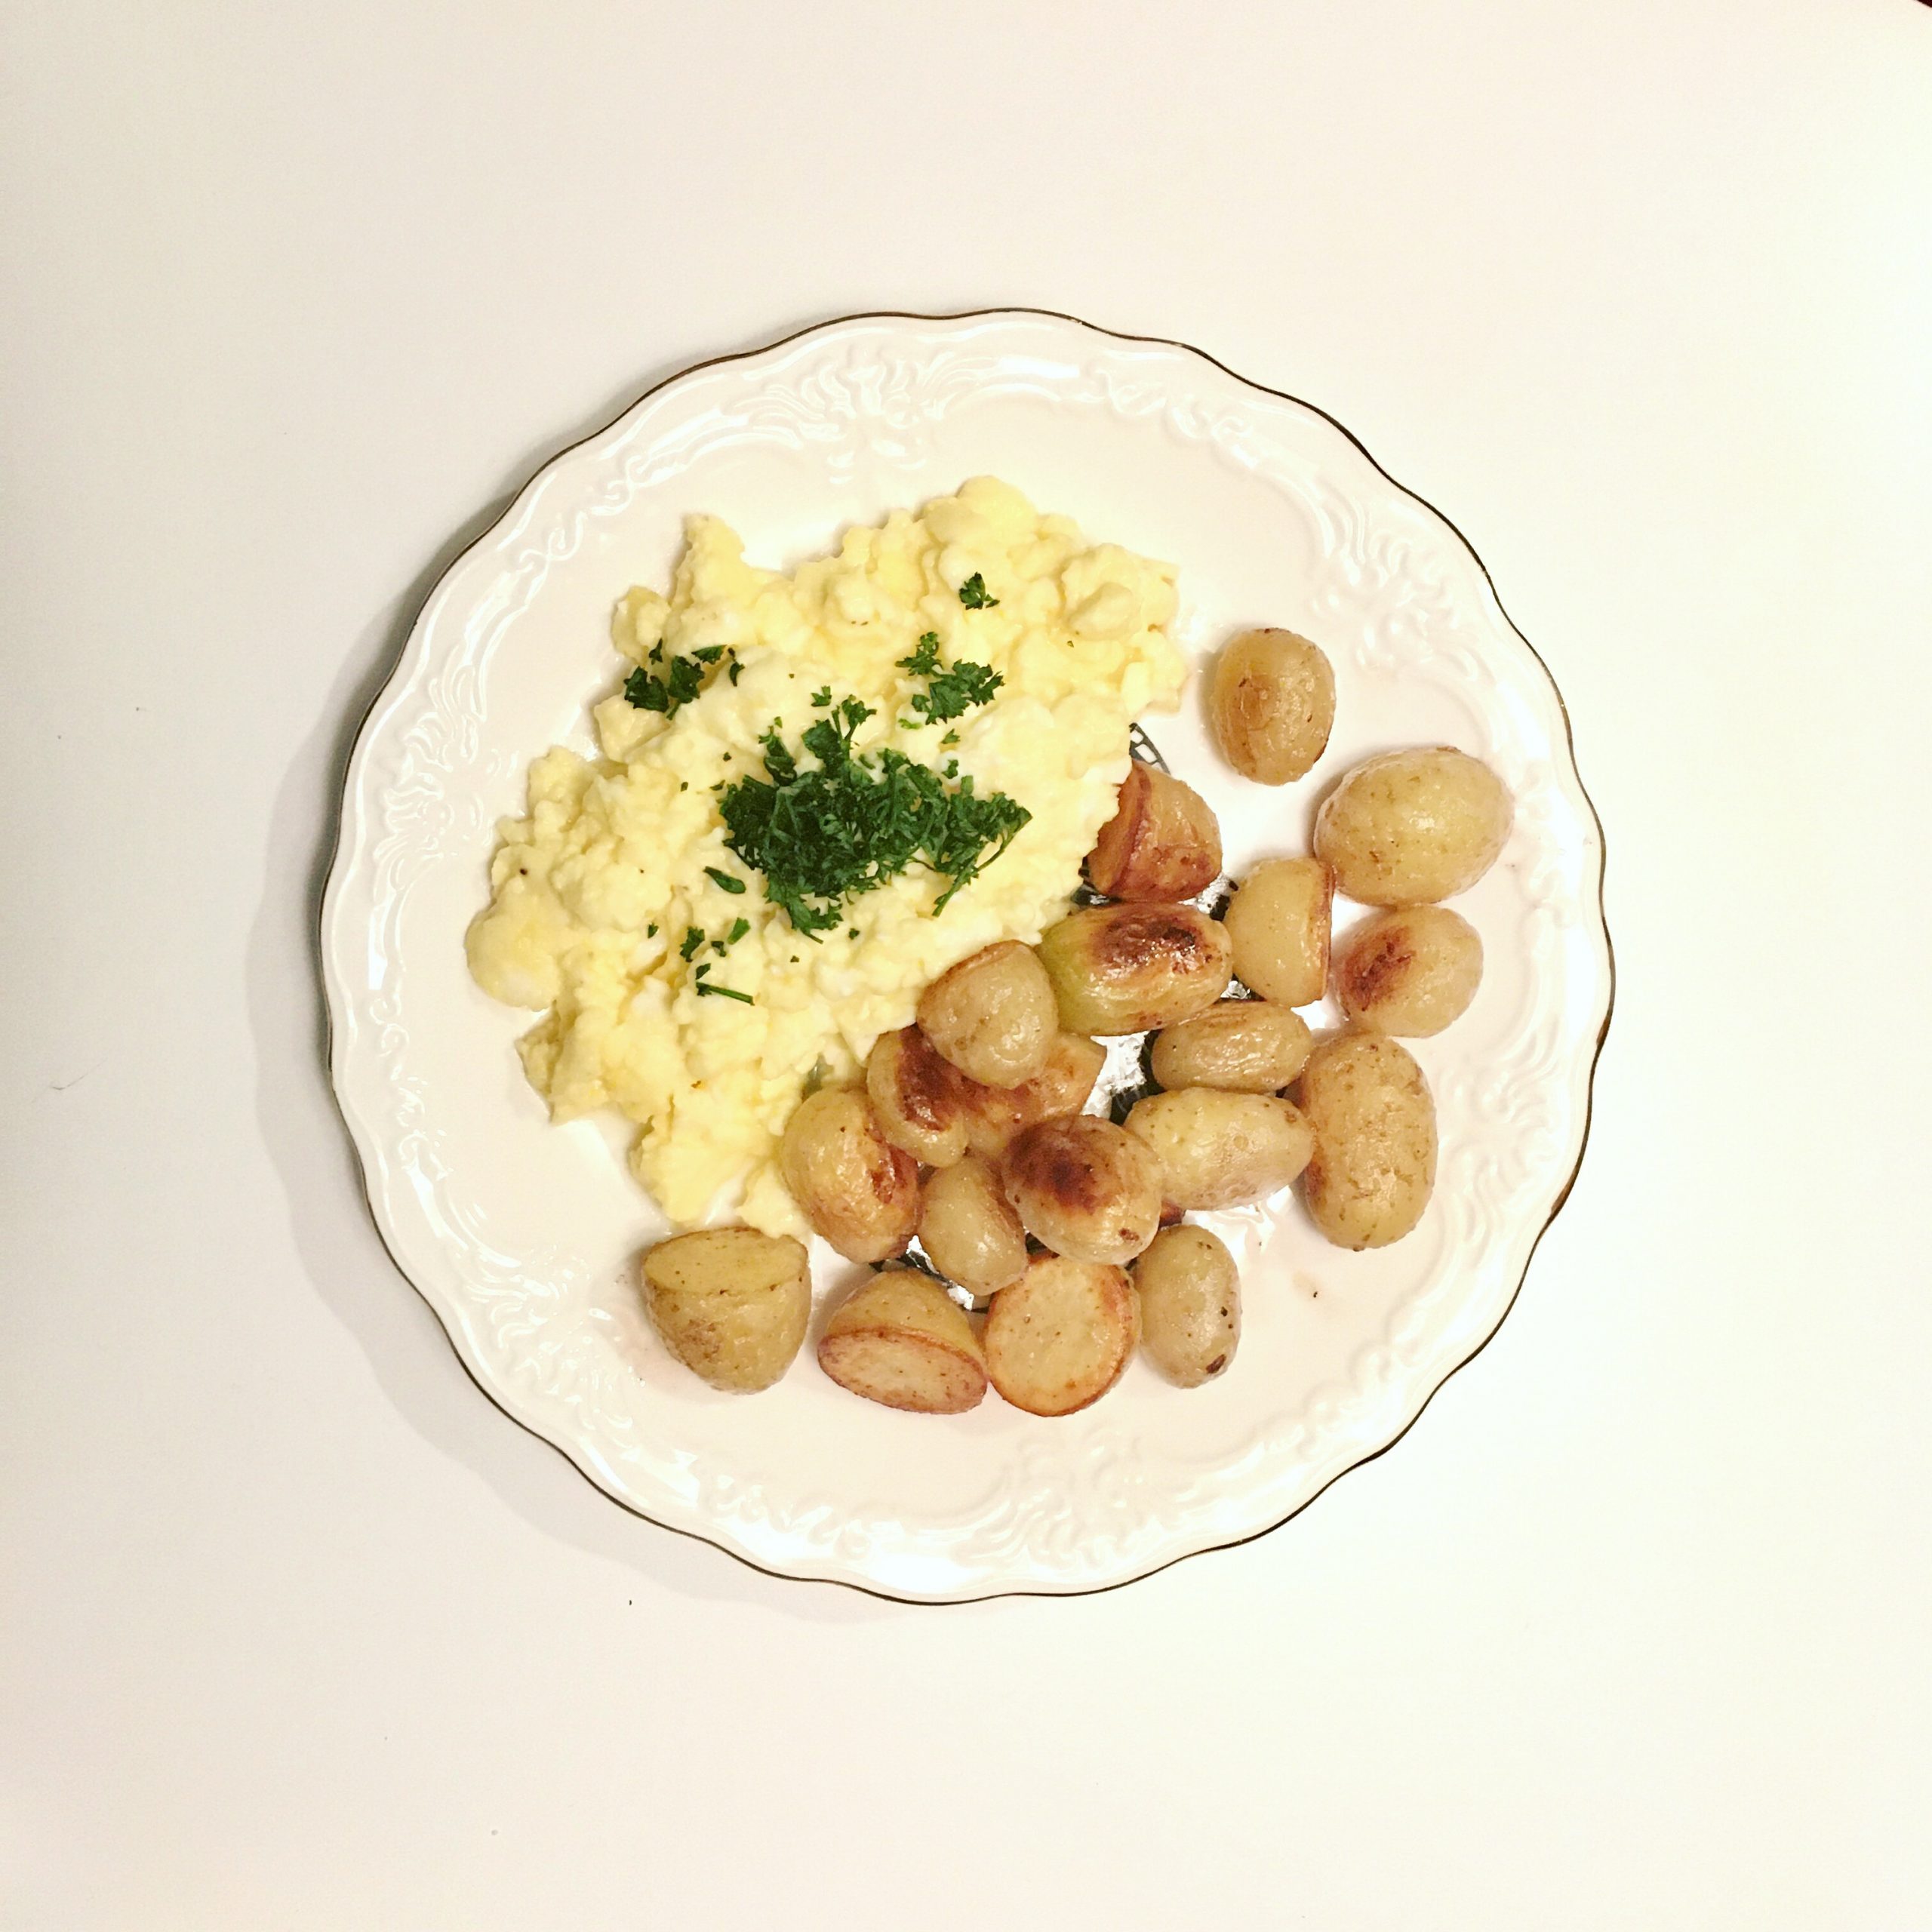
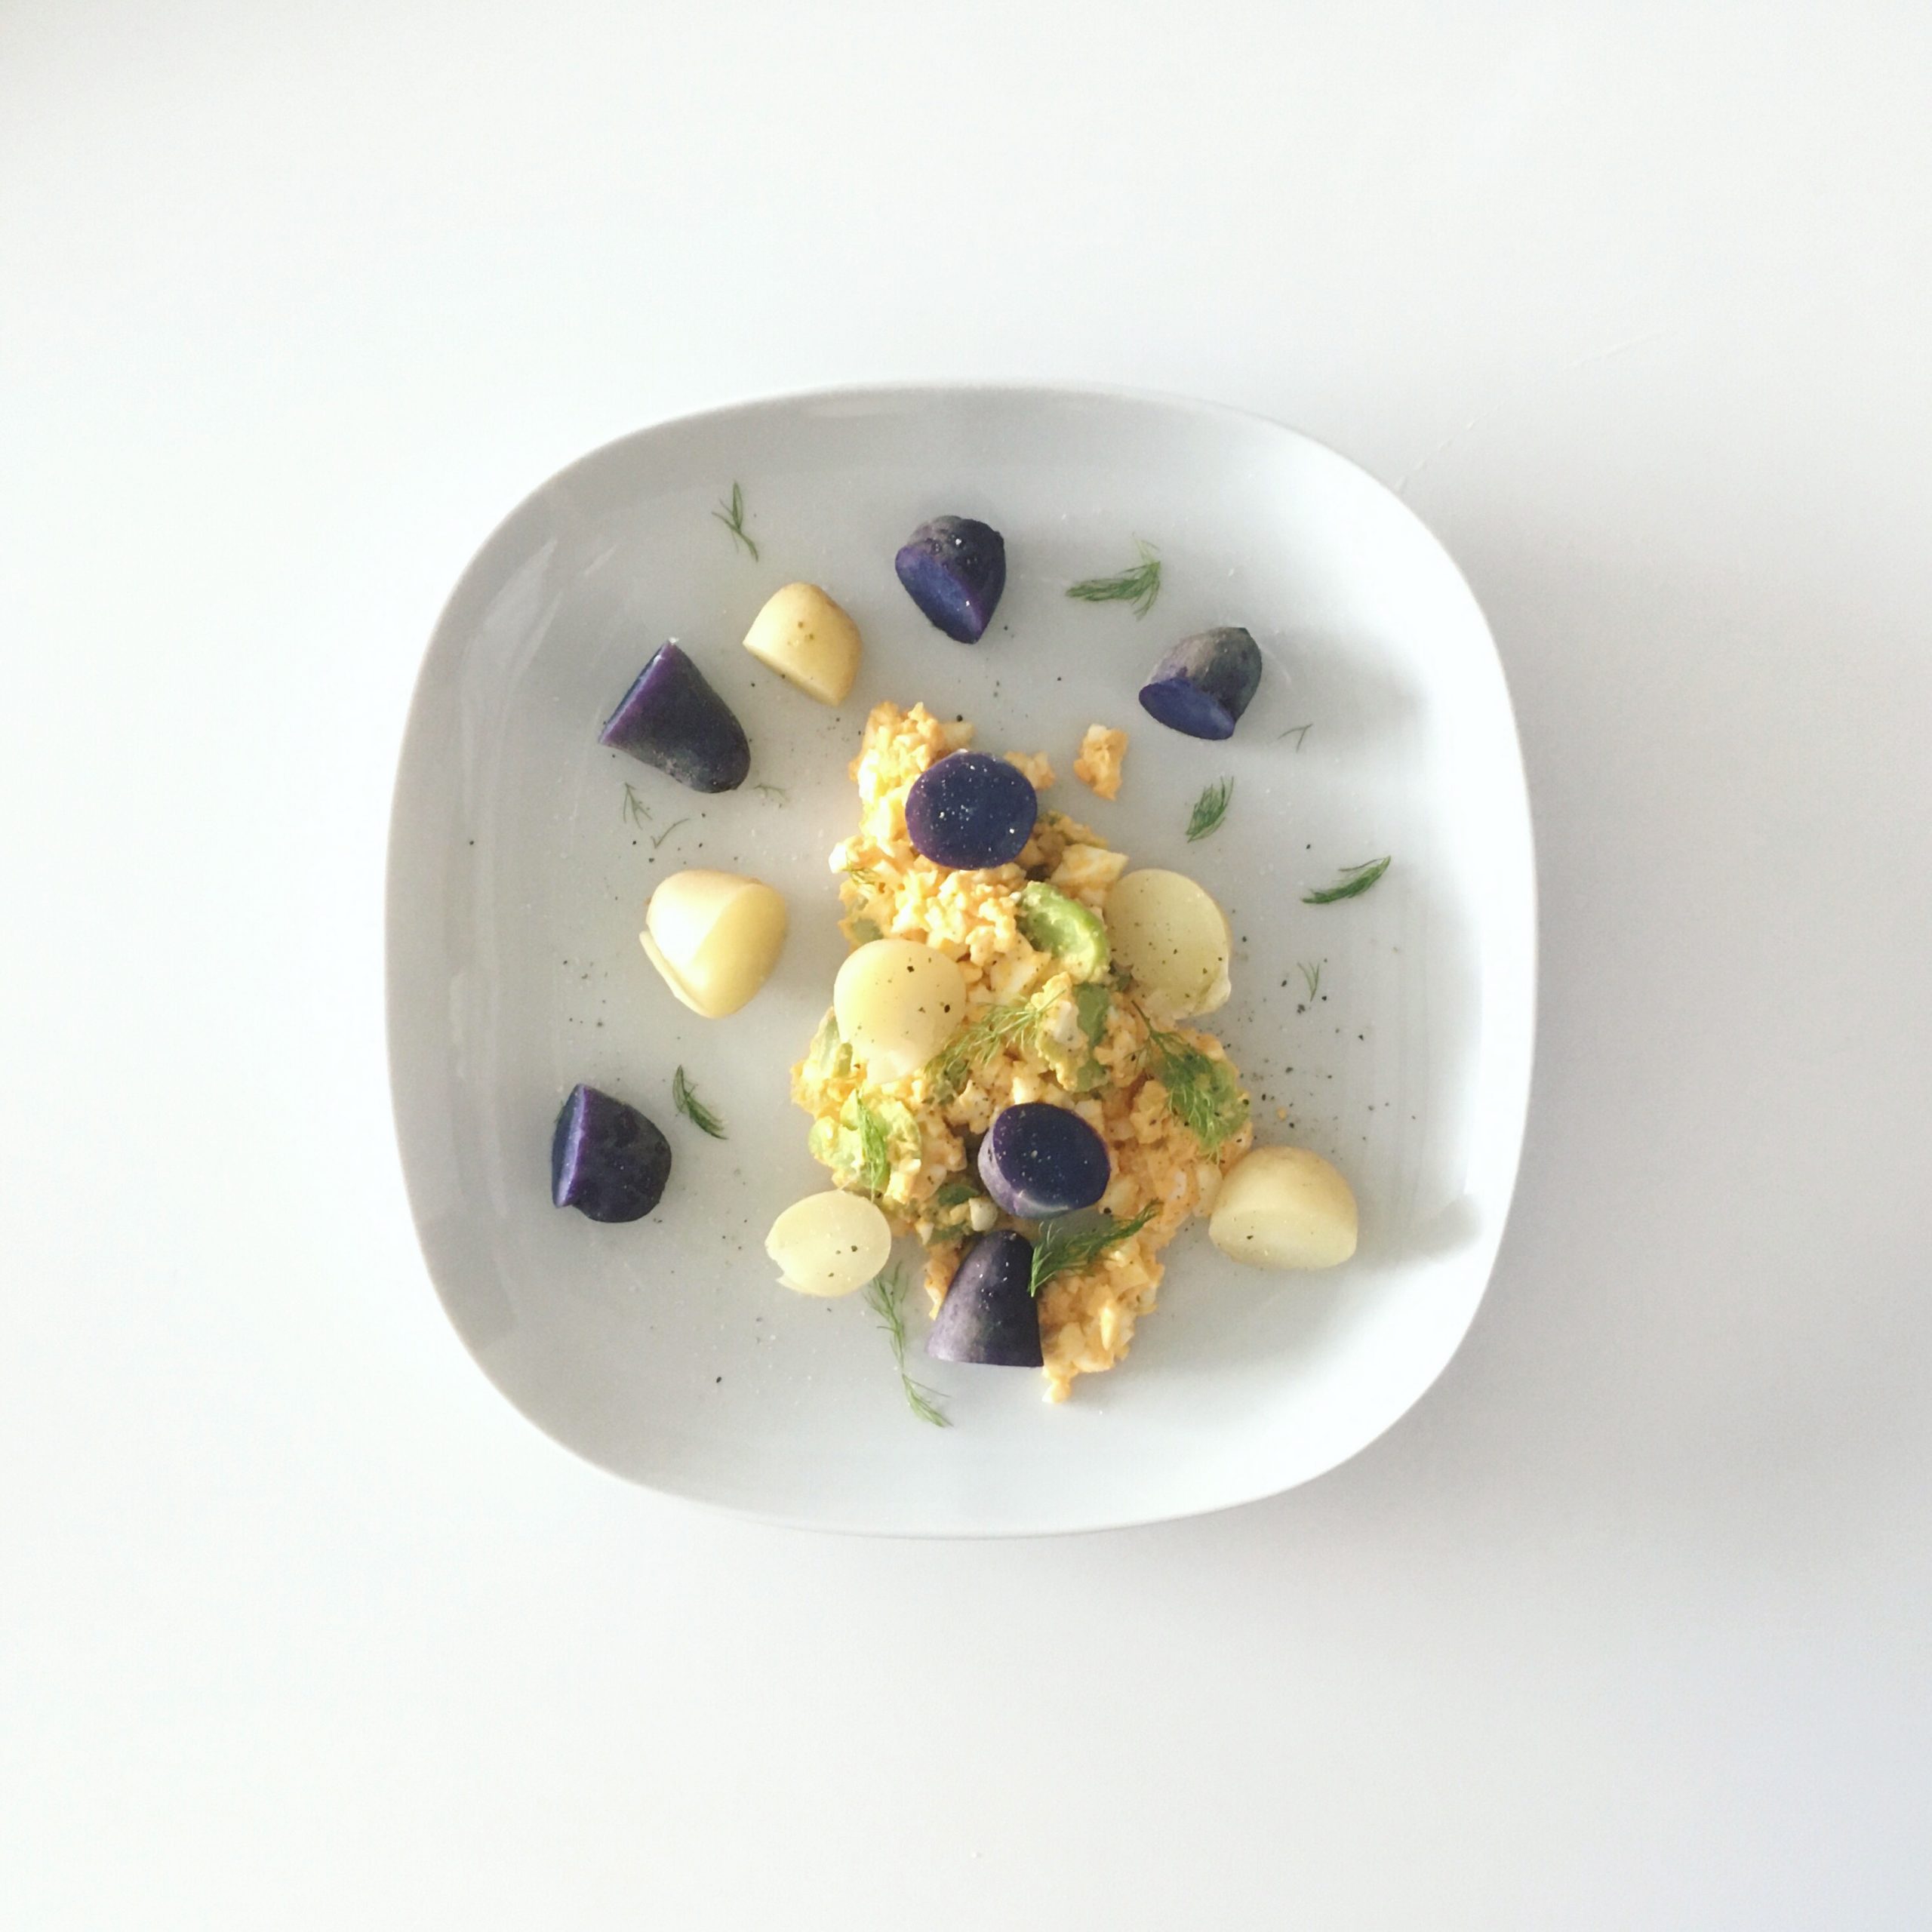
I know it, but sometimes nature reminds it violently to me… whether it’s a roof tile broken during a typhoon by a branch we neglected to cut, an overflow of the gutter because it was filled with fallen leaves… I learn my lessons. I also now monitor more closely the plants and trees, can predict and treat ahead of pests to avoid damages, so I’ve been busy… but when I discovered my potatoes were sick I was very disappointed. Last year they grew so easily… so last weekend I took action by making horsetail decoction to treat them and harvesting the most endangered ones. Which ended up beautifully in our plate with plenty of new potatoes to eat!!!

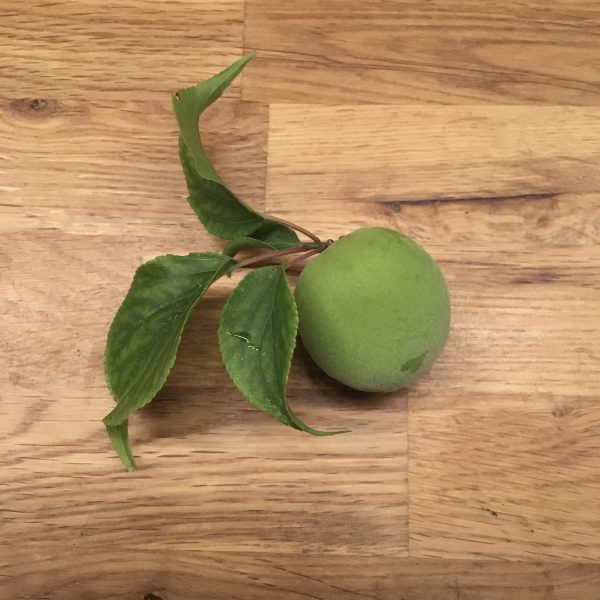
But today when I discovered that two large trees I like particularly have been attacked by pests I was devastated. Seeing them weakening and loosing all their leaves… I again took action immediately… but all nursing my plants and trees I had little time to harvest plums, so tonight, right before the sun went down, I decided to start. Only to realize that I will have to downsize my production of plum syrup, because in this last week the warm weather has turned the green plums into a pinkish orange, and they now will be more appropriate for umeboshi… the garden never waits for you. If you’re in time good for you, if you’re not, too bad… you need to move on, and wait another year…

Hopefully, I still harvested a few green plums to prepare some plum syrup ume shiroppu 梅シロップ. I have something with syrup usually in summer, but not only, I always have had. I have always loved them and I remember my dad bringing me a glass of grenadine syrup, very diluted, in the morning before going to high school… I’ve never been a morning person and for more than 20 years I never had breakfast except something to drink. The plum syrup is really nice because it can be drunken cold or hot, which makes it year round drink, very enjoyable in the winter after a body boarding session or on the tennis court. Indeed, because it is very simply made, not only it tasted great, it is also full of nutrients, highly diluted it makes a good recovery drink after effort. Add to that the salty plum juice umezu 梅酢 from making umeboshi and you have the perfect energy drink sweet and salty, 100% homemade and sweet and salty to your taste! For 500ml of recovery drink I use 2tbs of plum syrup and 1tbs of umezu then add water. When it’s really hot or effort really intense I use 2tbs of each.

Fava beans

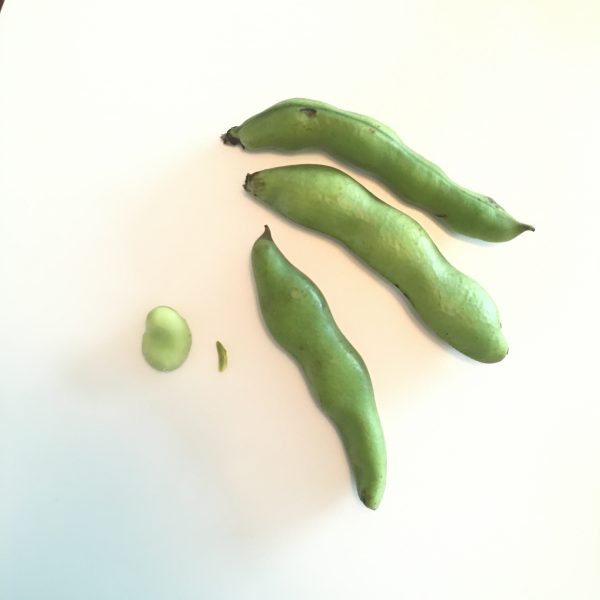
Now is the season and it’s always a feast for me!!! Well… it wasn’t always like that, it took me time to enjoy fava beans but now I love them and I was thinking of doing a fava beans week like I did in the past for many of my favorite ingredients: 5-7 days, 5-7 recipes, but by the time I got to actually seat and write a post I realize I published so many pictures of recipes with fava beans on IG that in the end it wasn’t making sense anymore. So once again the fava bean week has been postponed… I decided to go with a summary of my favorite recipes, may in one or two posts.

One thing that took me some time to understand was how delicious fava beans or sora-mame in Japanese そら豆 are when simply blanched and pealed. I use to eat them whole (don’t get me wrong not whole whole right! Just the beans inside the pod!!!)… but after preparing some Shojin cuisine recipes some years ago, I understood the difference between pealed and not pealed fava beans, and I would never not peal anymore.

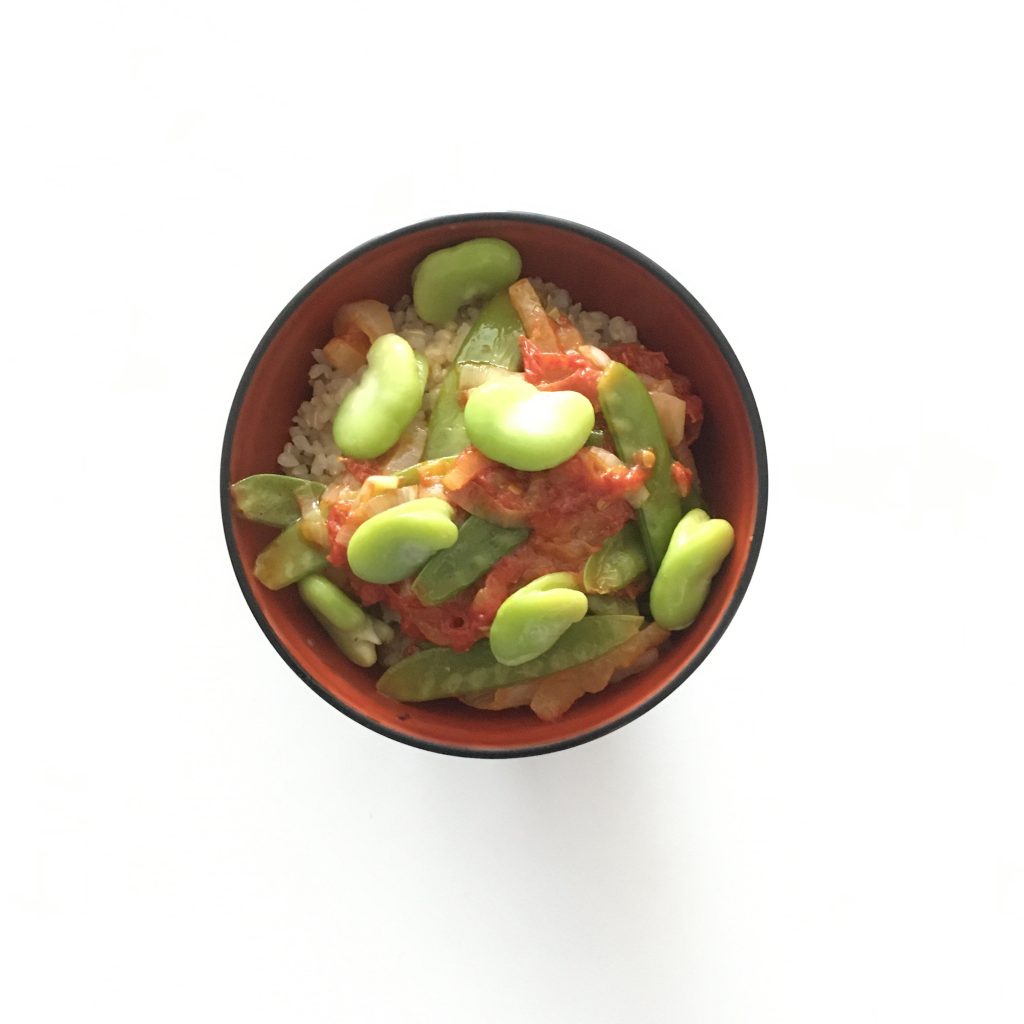
One of my favorite fava beans combination is with tomatoes. For some reason Isumi produces beautiful and delicious tomatoes. Very large and ripe ones, I love to cook them slowly with olive oil and reduced into a thick tomato sauce. They are sweet and tasty. Add a new onion to the preparation, soften by the long and slow cooking at low heat, and this is perfection!! If you have made tomato sauce last summer, my preparation is probably close to that, even thicker, so if you still cannot find proper tomatoes just use tomato sauce. I just then add blanched and pealed fava beans and use it for accommodating Japanese rice white and brown, or pasta, long and short or just a slice of made bread.

Tomato and fava beans topping brown rice

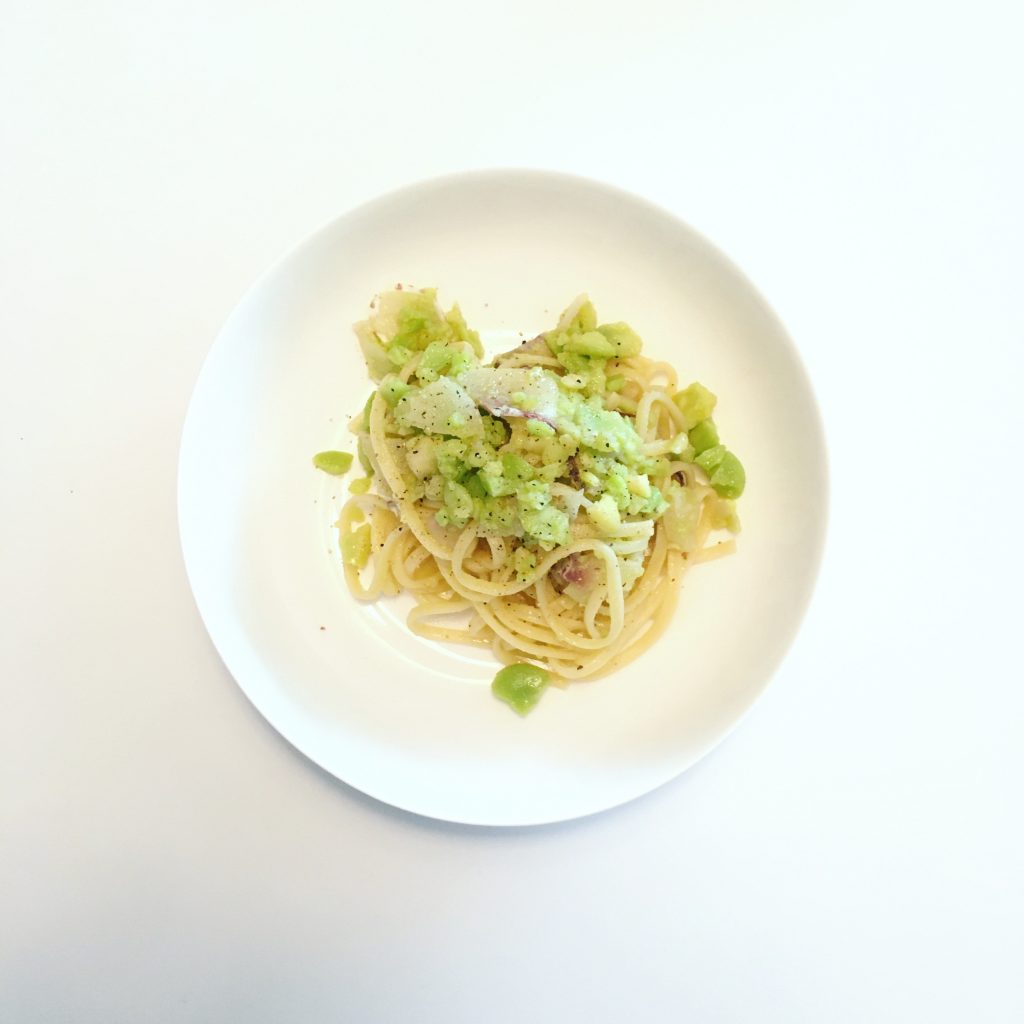
One other recipe is to use the fava beans as a base for pasta sauce. Instead of just blanching the fava beans I cook them a little longer so that they become creamy when pealed. Then mash them with olive oil, salt and pepper and add to pasta. Here I added a bit of smoked snapper.

Fava beans pasta sauce with smoked snapper

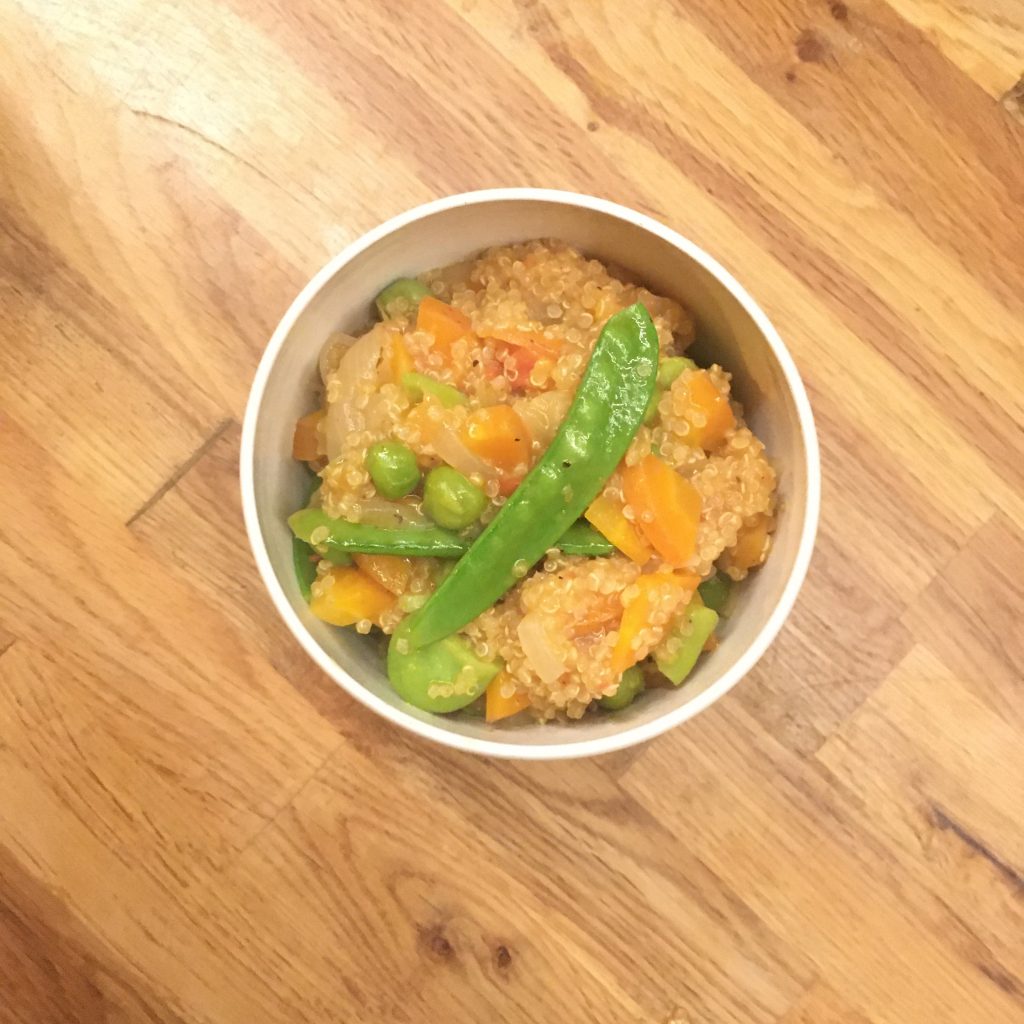
Finally, one of my favorite way of eating quinoa is to start as a soup, but let the liquid evaporate almost entirely and add plenty of vegetables from the start. I usually do this recipe in winter but spring is also good with all the spring vegetables, here a large tomato for the sweetness, a new carrot, and pealed fava beans and green peas. That’s it!

Have a good day!!!

One week…

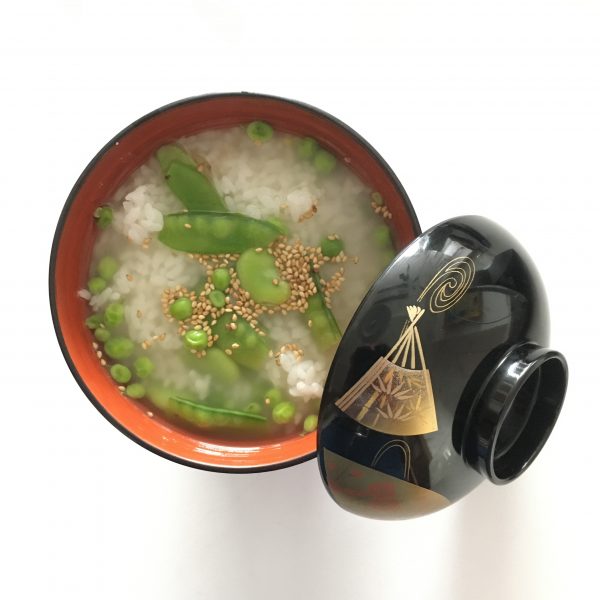
This week was just like another, but it felt looooong and painful, busy with work (I’ve started a new online robotics course that keeps me busy, among the many other things I work on)… It was also our first week of telework for the both of us together in our new apartment with schedules not necessarily matching very well to have lunch together or go for a walk together. And the first week of really warm weather, summer warm, and of air conditioning. I always have a hard time adjusting to it and I felt little appetite for a few days, rare enough, and even more rare no appetite at all for chocolate. Instead I craved simple food and simple ingredients and in these situations rice, more particularly ochazuke, has been one of my best answer. Since ochazuke with vegetables is seasonal, ochazuke in May is different than ochazuke in December and the recipes I have posted so far, even if the base dashi could be similar. For a spring ochazuke I used a plain dashi of katsuobushi, but ichiban dashi would work as well, and if your vegan or vegetarian you can opt for konbu dashi only or shiitake dashi, in which I cooked some green peas (there will be more green peas recipe coming soon!!!) and some snap peas. I added after serving a bit of sesame seeds.

This dish is perfect eaten not too warm, it provides energy while having greens and liquid with strictly no fat. And it is tasty without being overwhelming.

And in a flash the week was almost over, passing with me not sharing any new recipe as I have cooked a little less or rather very simple food… I promise to do better next week!!

Inspiration from the kitchen garden

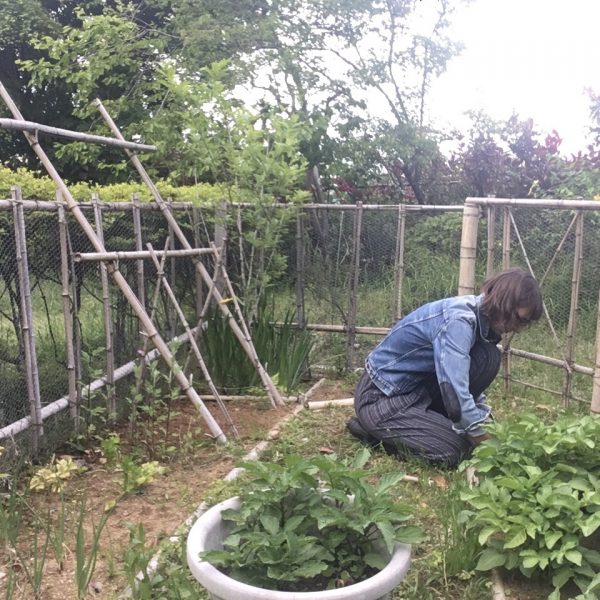
The fancy of a beautiful kitchen garden, abundant in vegetables, berries, herbs and flowers that I’ve always had, may be because both my grand fathers had beautiful ones… may have been just a dream. The kitchen garden we created last year and that gave some beautiful potatoes, peas and peanuts last summer, didn’t deliver up to my expectations. While I was very excited about the harvest, most of the plants didn’t produce anything, didn’t grow or just died… instead of being a place like the rest of the garden, of surprises and enjoyment, it’s been a place of great frustration. In most of the places in our garden, things and edibles grow almost unattended: plums, citrus fruits, spring wild vegetables, shiitake.., but in the kitchen garden, regardless of my constant efforts, things are not working as they ought… I know I am totally inexperienced and I am learning, but I found my efforts completely vain. My onions that I shall harvest now are too small, the celeriac that was supposed to grow this winter is only starting now to finally grow, even my seedlings don’t really go well. The soil should be good and I make a lot of efforts… but I am slow at learning and not so many chances once I missed a season.

Luckily the winter was rather warm and none of the herbs froze, so I still have abundant parsley, fennel tops, and celery branch, mint and rosemary, sansho too. So while it is frustrating not to harvest properly what I had planted, at least these ones surviving for more than a year now are a great source of inspiration in their scarcity. While being simple, they add a great flavor to simple ingredients, more particularly on Friday evening when we arrive, that the fridge is close to being empty and we are starving. They help me twist a simple recipe into something new, great, fresh and green.

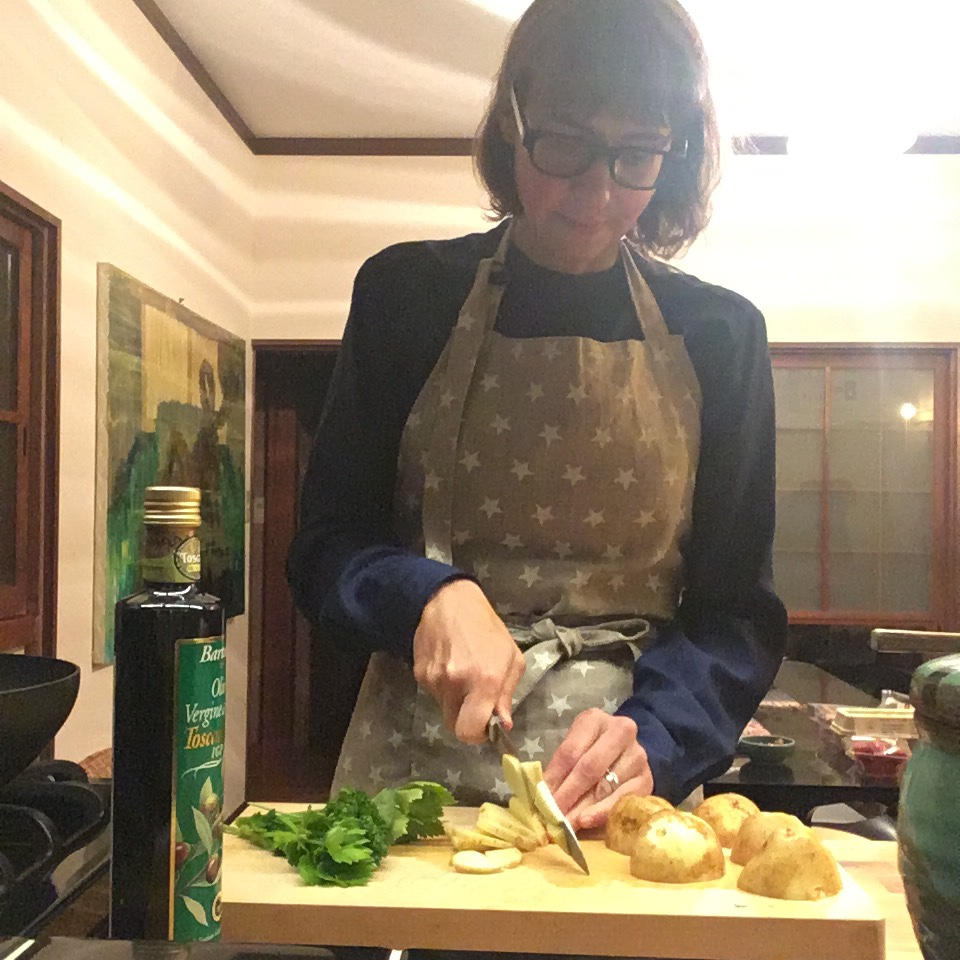
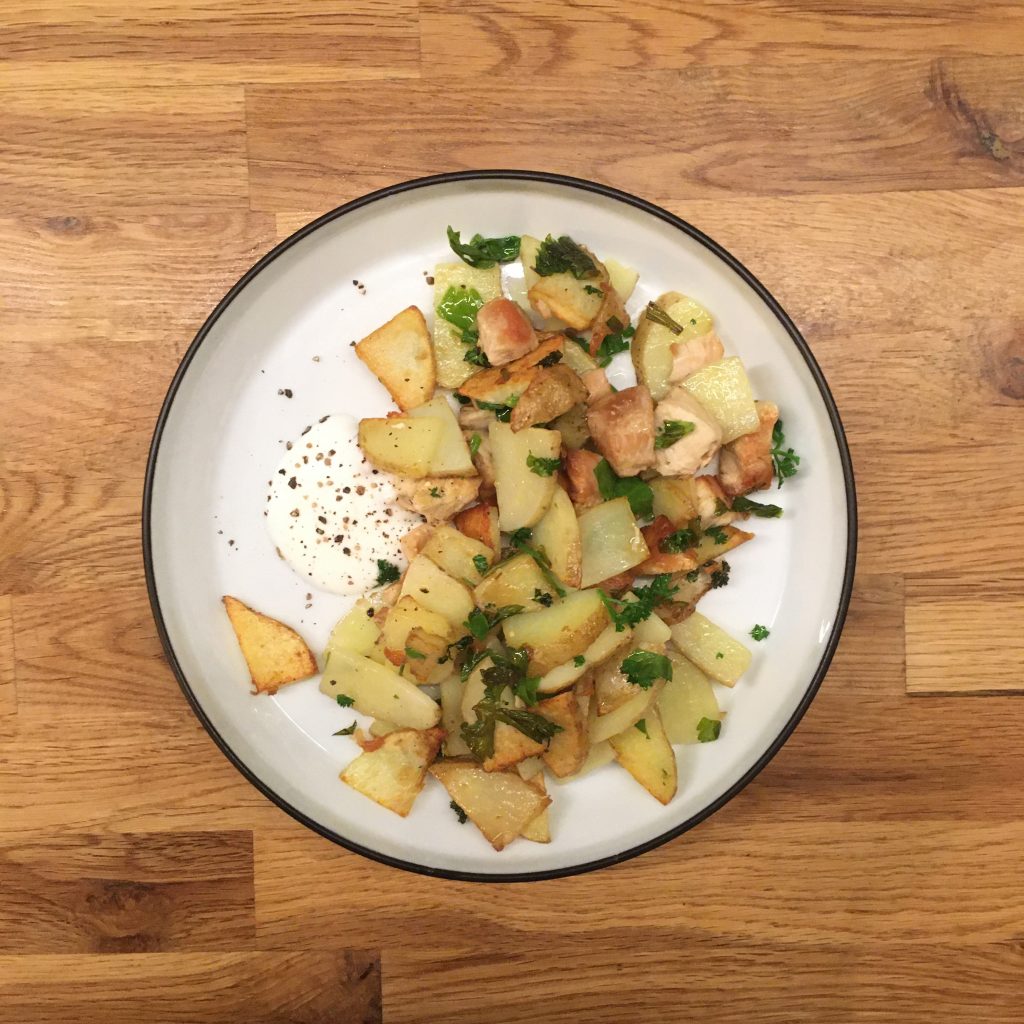
My last idea was an olive oil sautéed new potatoes pot to which I added celery and parsley freshly cut in the garden. That was divine.

To boost cooking time I cut the potatoes thinly, and cook them in a bit of olive oil. Then add the celery washed and chopped, stir. Finally toss in the chopped parsley. Salt and pepper and all set for dinner. So no mater how irritating or saddening it is to work in my kitchen garden, I will continue learning and trying, because even for a few parsley leaves or a handful of peanuts… it is worth the effort, as the pleasure of going down there and thinking of the next recipe counter balances everything else.

May be one day, in a far future, I’ll finally manage to obtain one of these beautifully curated kitchen garden where colorful flowers and perfectly grown vegetables are lined and create an amazement of the eyes and the promise of a generous and rustic taste.

New kitchen

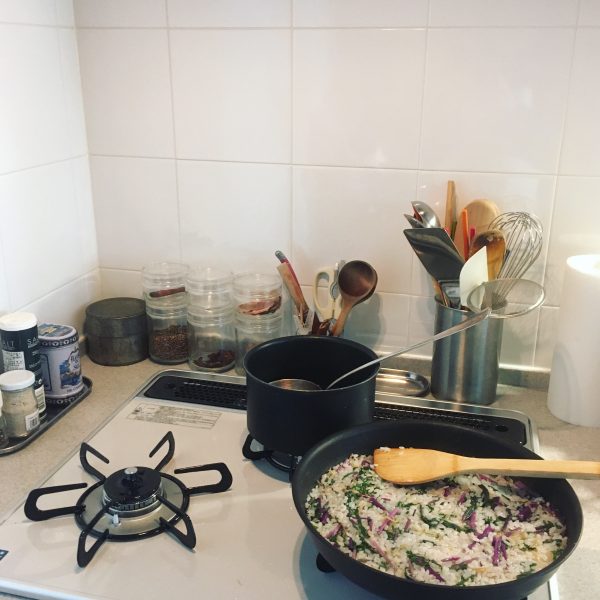
Last weekend we moved in our new apartment in Tokyo so the past days have been pretty busy juggling with work and getting used to our new place. While we got familiar with it quickly, the kitchen may have been the biggest change. It’s a tiny apartment so the kitchen is also tiny but it is opened on the dining/living room with a direct view through the window. It means it’s a lot more enjoyable than my previous one that, though larger, was really dark and felt isolated from the rest of the apartment. It’s been only a few days I’ve cooked in there, but already I love the late afternoon light that bathes it (the perks of working from home). I’m now getting used to the gears, and I had to give up my oven until we do proper renovations. Hopefully both our previous and new apartment are in the same building, and we still have our former apartment for 2 more weeks, so A. uses it as an office during the day, we both use it as a pilates studio in the evening, and I still go to bake there!!! Honestly, I don’t know how I will survive without an oven… I need to start thinking about pot baking and steam breads… though I usually have a lit less time in Tokyo than in Isumi to make tests. But I see it as a great opportunity to learn and test new techniques, so if you have any experience I’ll be happy to learn from you!

You may not have noticed yet, but one thing that is new also is my setup for taking pictures of the food I prepare. I used to have a straightforward cooking-plating-picturing stream… now it has gotten a little bit more complex, but I kind of like the new setup. You tell me if you do to…

Regarding food… well I must say that the past days, I have been preparing very simple things: often Japanese rice, or pasta, because every minute I had available was used to unpack something, to hang artworks, and I am happy to say that we’re almost done!! A. has worked really hard to make it happen! And cooking has been a bit rushed these days!!

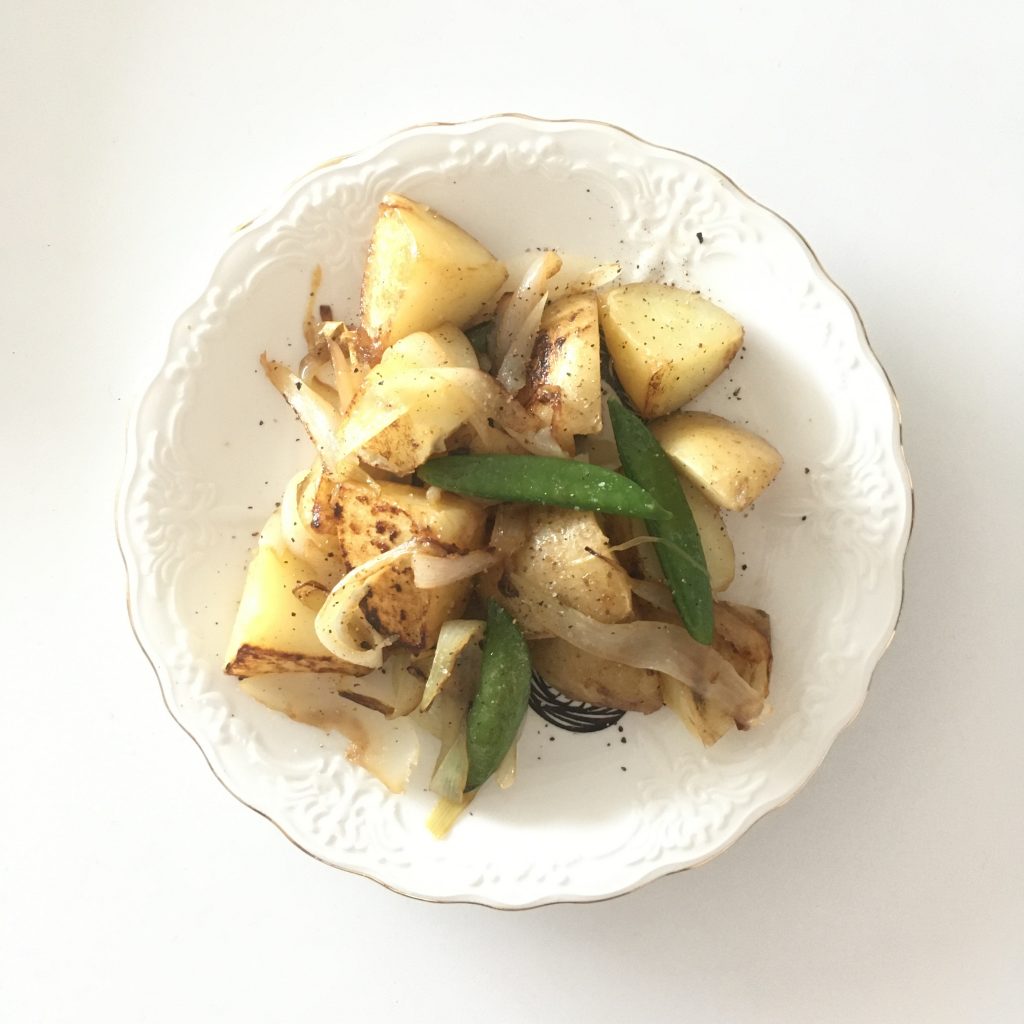
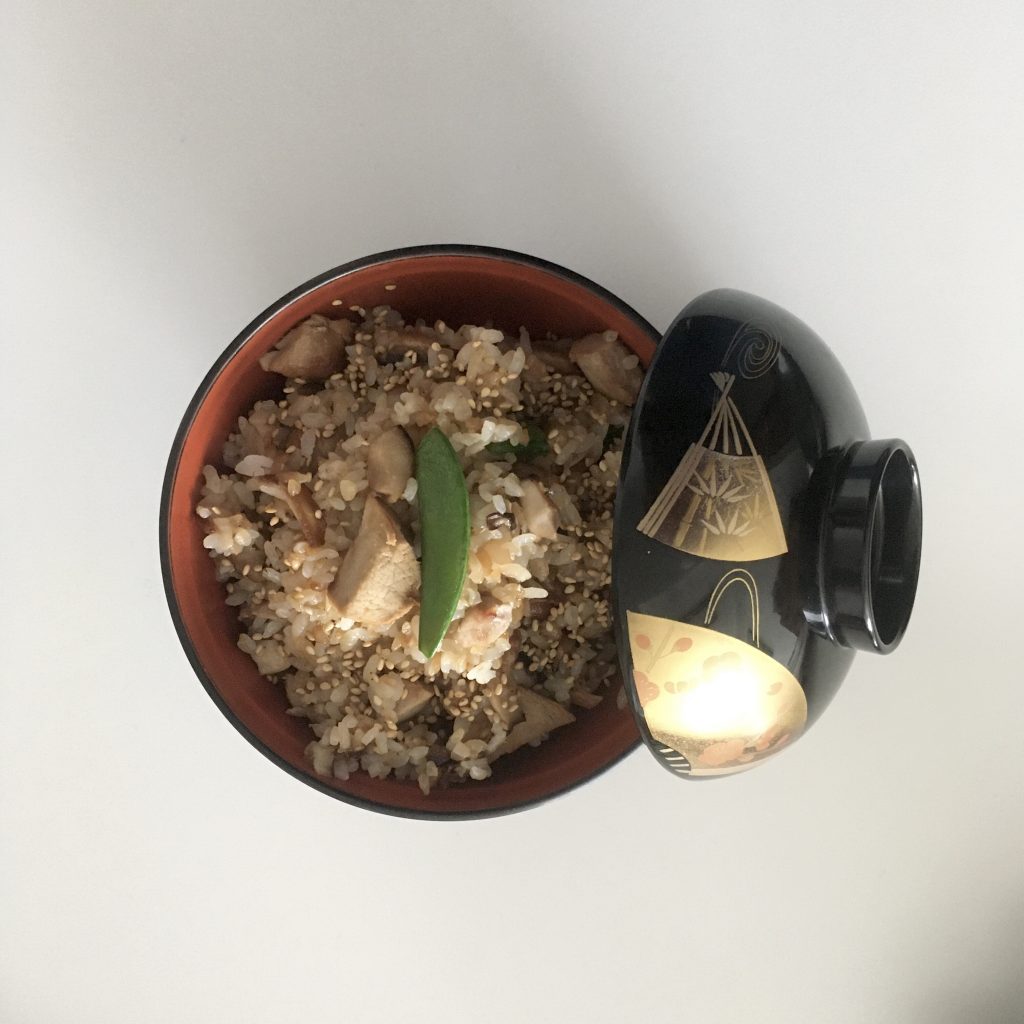
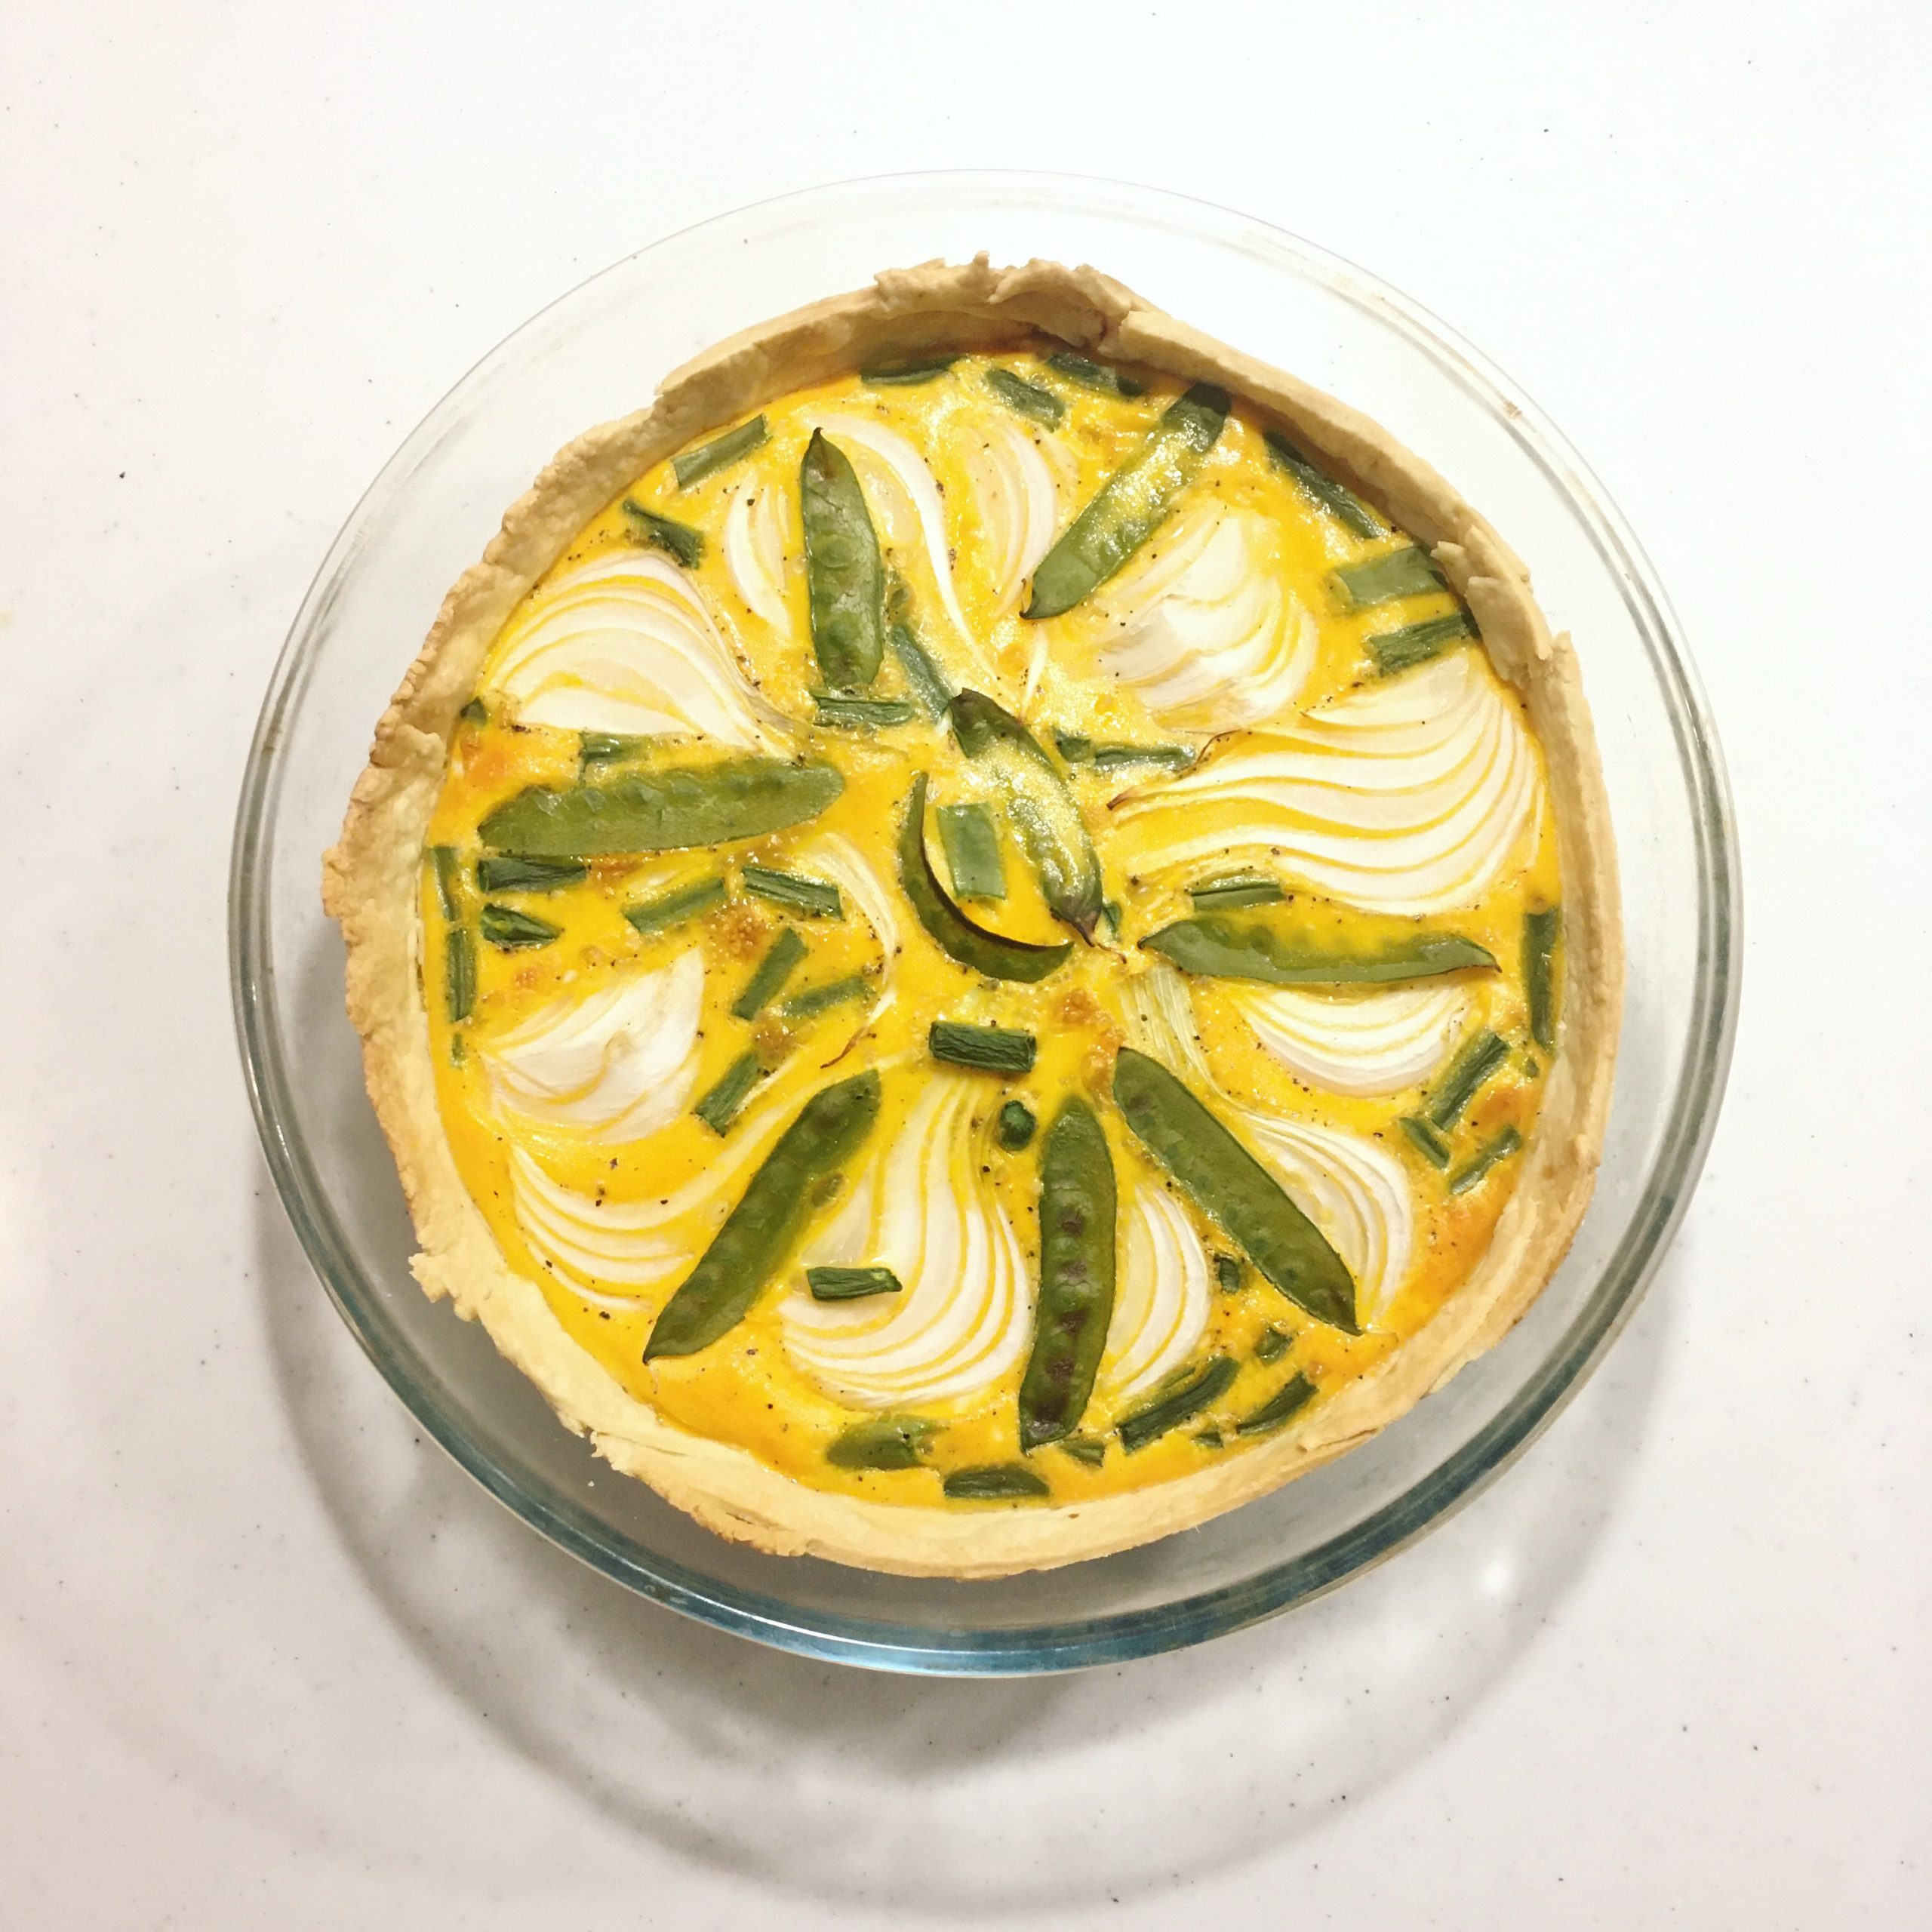
But I’m happy that spring is now coming fully with it’s collection of greens, new something and the freshness that goes with it. I’ve cooked new onion a lot these days, new potatoes and snap peas too. For example altogether in a pan fried version, separately with rice, in chahan, or in a quiche version.., and they are always delicious… the pictures speak for themselves, and I assume no recipe is needed!

Kwarezimal, my way

When we decided to go to Malta last winter I didn’t know what to expect… the history of the island is so much different than this of the neighbouring places such as Sicily and Greece… I imagined that the landscapes and the culture would overwhelm me with beauty and mystery but I didn’t expect that the Maltese food would have such a strong impact on me and on my cooking. More than the food, in general, it’s been breads, pastries and sweets that completely bewitched me. The mix of spices: clove and cinnamon more than any, the citrus fruits, the almonds, pistachios and hazelnuts, the dates, figs and honey… well I am still under the charm and cloves have made their way back to my pantry. When we were in Valetta our friends had in mind to test many of the pastizzi, so we stopped at several places to taste some and ended up rather full, but the kids didn’t seem that full, or the adults eat all the pastizzi and left nothing to them… ??? and so when after hours of walking up and down the city we stopped at caffe Cordina, they ordered some sweets. A. ordered Kwarezimal. At first, I wasn’t much interested in them but after a pause, my appetite was back and when she offered me to try I couldn’t resist. The small pastries attracted me, with the crushed nuts topping and the promise of a taste of honey. And yes, as soon as I had a piece in my mouth, there was something else on my to-do list of things to bake when back home. The one thing special at caffe Cordina is that their Kwarezimal is made from hazelnut powder and all the recipes I found afterwards were made with almond powder. The good point for me, it’s that it is a lot easier to find almond powder than hazelnut powder in Tokyo, the bad point is that the Kwarezimal I made didn’t match my experience at caffe Cordina, but it’s a good reason to try again with hazelnut powder, would I find some!

None the less the almond base treat was truly delicious. I used a combination of recipes I found on the internet to make my Kwarezimal and I was very happy with the results. Having eaten Kwarezimal only once in my life I cannot claim that they were true to the Maltese taste, but at least taste-wise and texture-wise it was delicious. So let me share my recipe here because not only it is delicious but it is super simple to make and vegan: no butter, no egg and no yeast or baking powder… I think it could easily become an energy bar for active days!

Kwarezimal (makes 8 pieces)

– 150g of almond powder (or hazelnut powder)

– 100g of flour

– 60g of brown sugar

– 1tsp of orange blossom flower

– 1tsp of cocoa powder

– 1tsp of cinnamon

– 1tsp of clove

– 1/2tsp of cardamom

– the zest of half an orange or any other citrus fruit

For the topping:

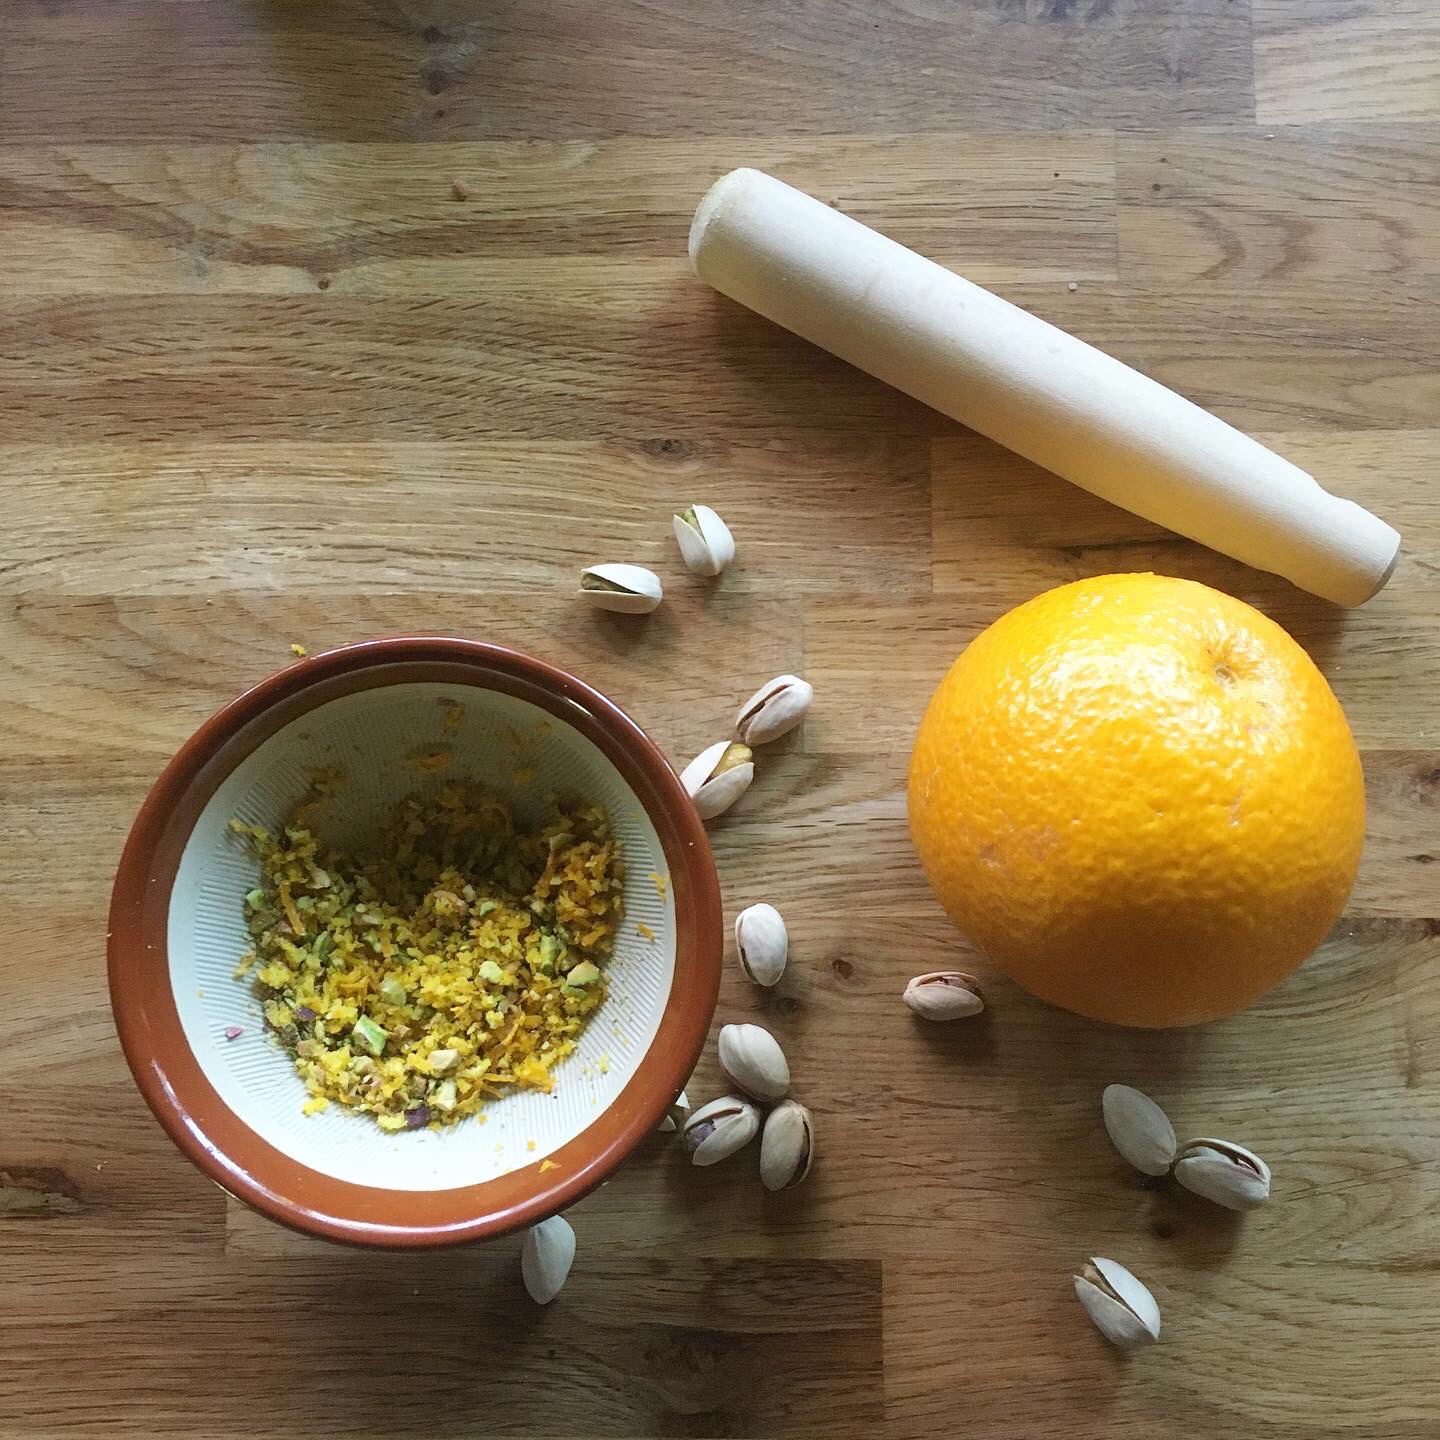
– a handful of crushed pistachio

– some zest of citrus fruit

– 3tsp of honey

Pre-heat the oven to 180 while mixing all the ingredients (but those for the topping) together. Add a bit of water if needed until you obtain a very dense and not too sticky dough. Cut in 8 and make oblong shapes slightly flatten on top (easier for the topping!). Set on cooking paper in the oven for 20minutes. As soon as out of the oven, spread the honey on top of each Kwarezimal, sprinkle the crushed nuts and zest. Let cool down before enjoying (it’s hard to wait, it smells so good!!!!!).

Proudly powered by WordPress | Theme: Baskerville 2 by Anders Noren.

Up ↑

Verified by MonsterInsights