Croissants… help!

It’s been the 5th time at least I try to bake croissants and each time is a failure… I never reach the level of a fluffy and buttery croissant. I have tried online recipe, Kayser’s recipe from his book but it didn’t work, ever… and with the 100% success I got with each single recipe I tried from bread in 5 book, I was pretty confident that I would finally succeed… but no, again… For once, I followed the recipe very exactly, not trying to make it lighter with less butter, or shorten times… the result was yet a great disappointment: the croissants were not at all light or even buttery, they were some sad over baked brioches…

Anyone that has a good recipe, or even experience with baking croissants, can you please teach me??? I think I seriously need a hand here…

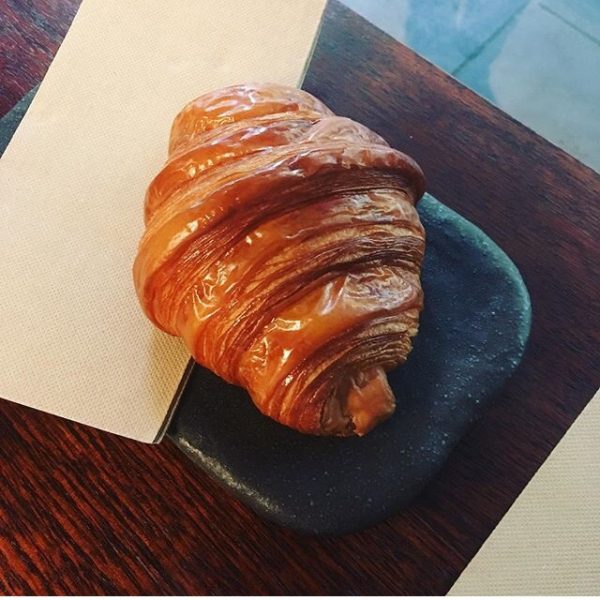
Oh and the picture is not my croissant… it is a croissant from Lune in Melbourne, that I had last March…

Handkerchief pasta…

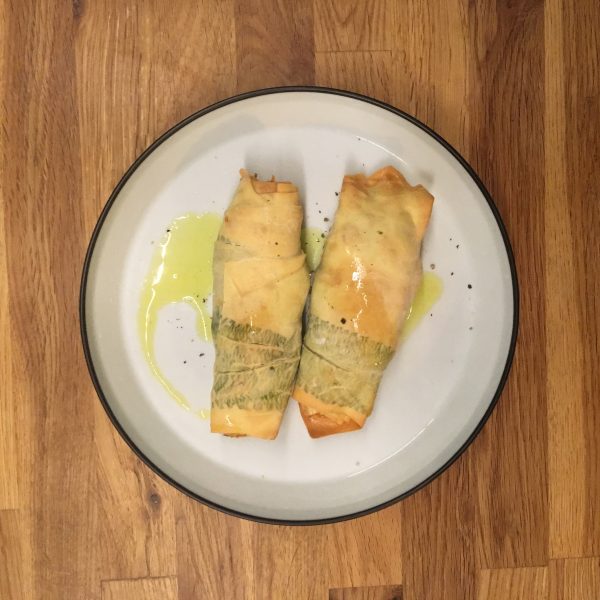
The other day on my instagram feed I got surprised by a beautiful pasta. The art of plating IG feed had this “handkerchief pasta” picture of flowers rolled between two layers of lasagna. The result was for sure beautiful. And since it’s been some time I didn’t roll pasta it was a good time to try. Though fresh flowers surely make a very colorful and elegant plate, usually I find that the flavor is very thin or inexistant, except for chrysanthemums and a few other few flowers. So I wasn’t going to try flowers. Rather leaves. Indeed, I had a bit of jute mallow and I was thinking of making lasagna or cannelloni. I opted for cannelloni as I could use different filling for mine and A.’s. The filling for A’s was jute mallow and grilled salmon, mine had an addition of cream cheese.

But let’s get back to this handkerchief pasta… it all starts like a normal pasta or lasagna, that I rolled with my mercato to the thinest level: 9. I washed the jute mallow, removed the hardest and thickest parts, then set the leaves on on a piece of lasagna, cover with another one and roll two size thicker: 7. The result is quite interesting! The leaves rolled in the pasta machine and trapped between the lasagna extend significantly! The result was really nice, but I made a few mistakes:

  1. I rolled the pasta too thin, 8 would have been better, to have a stronger pasta
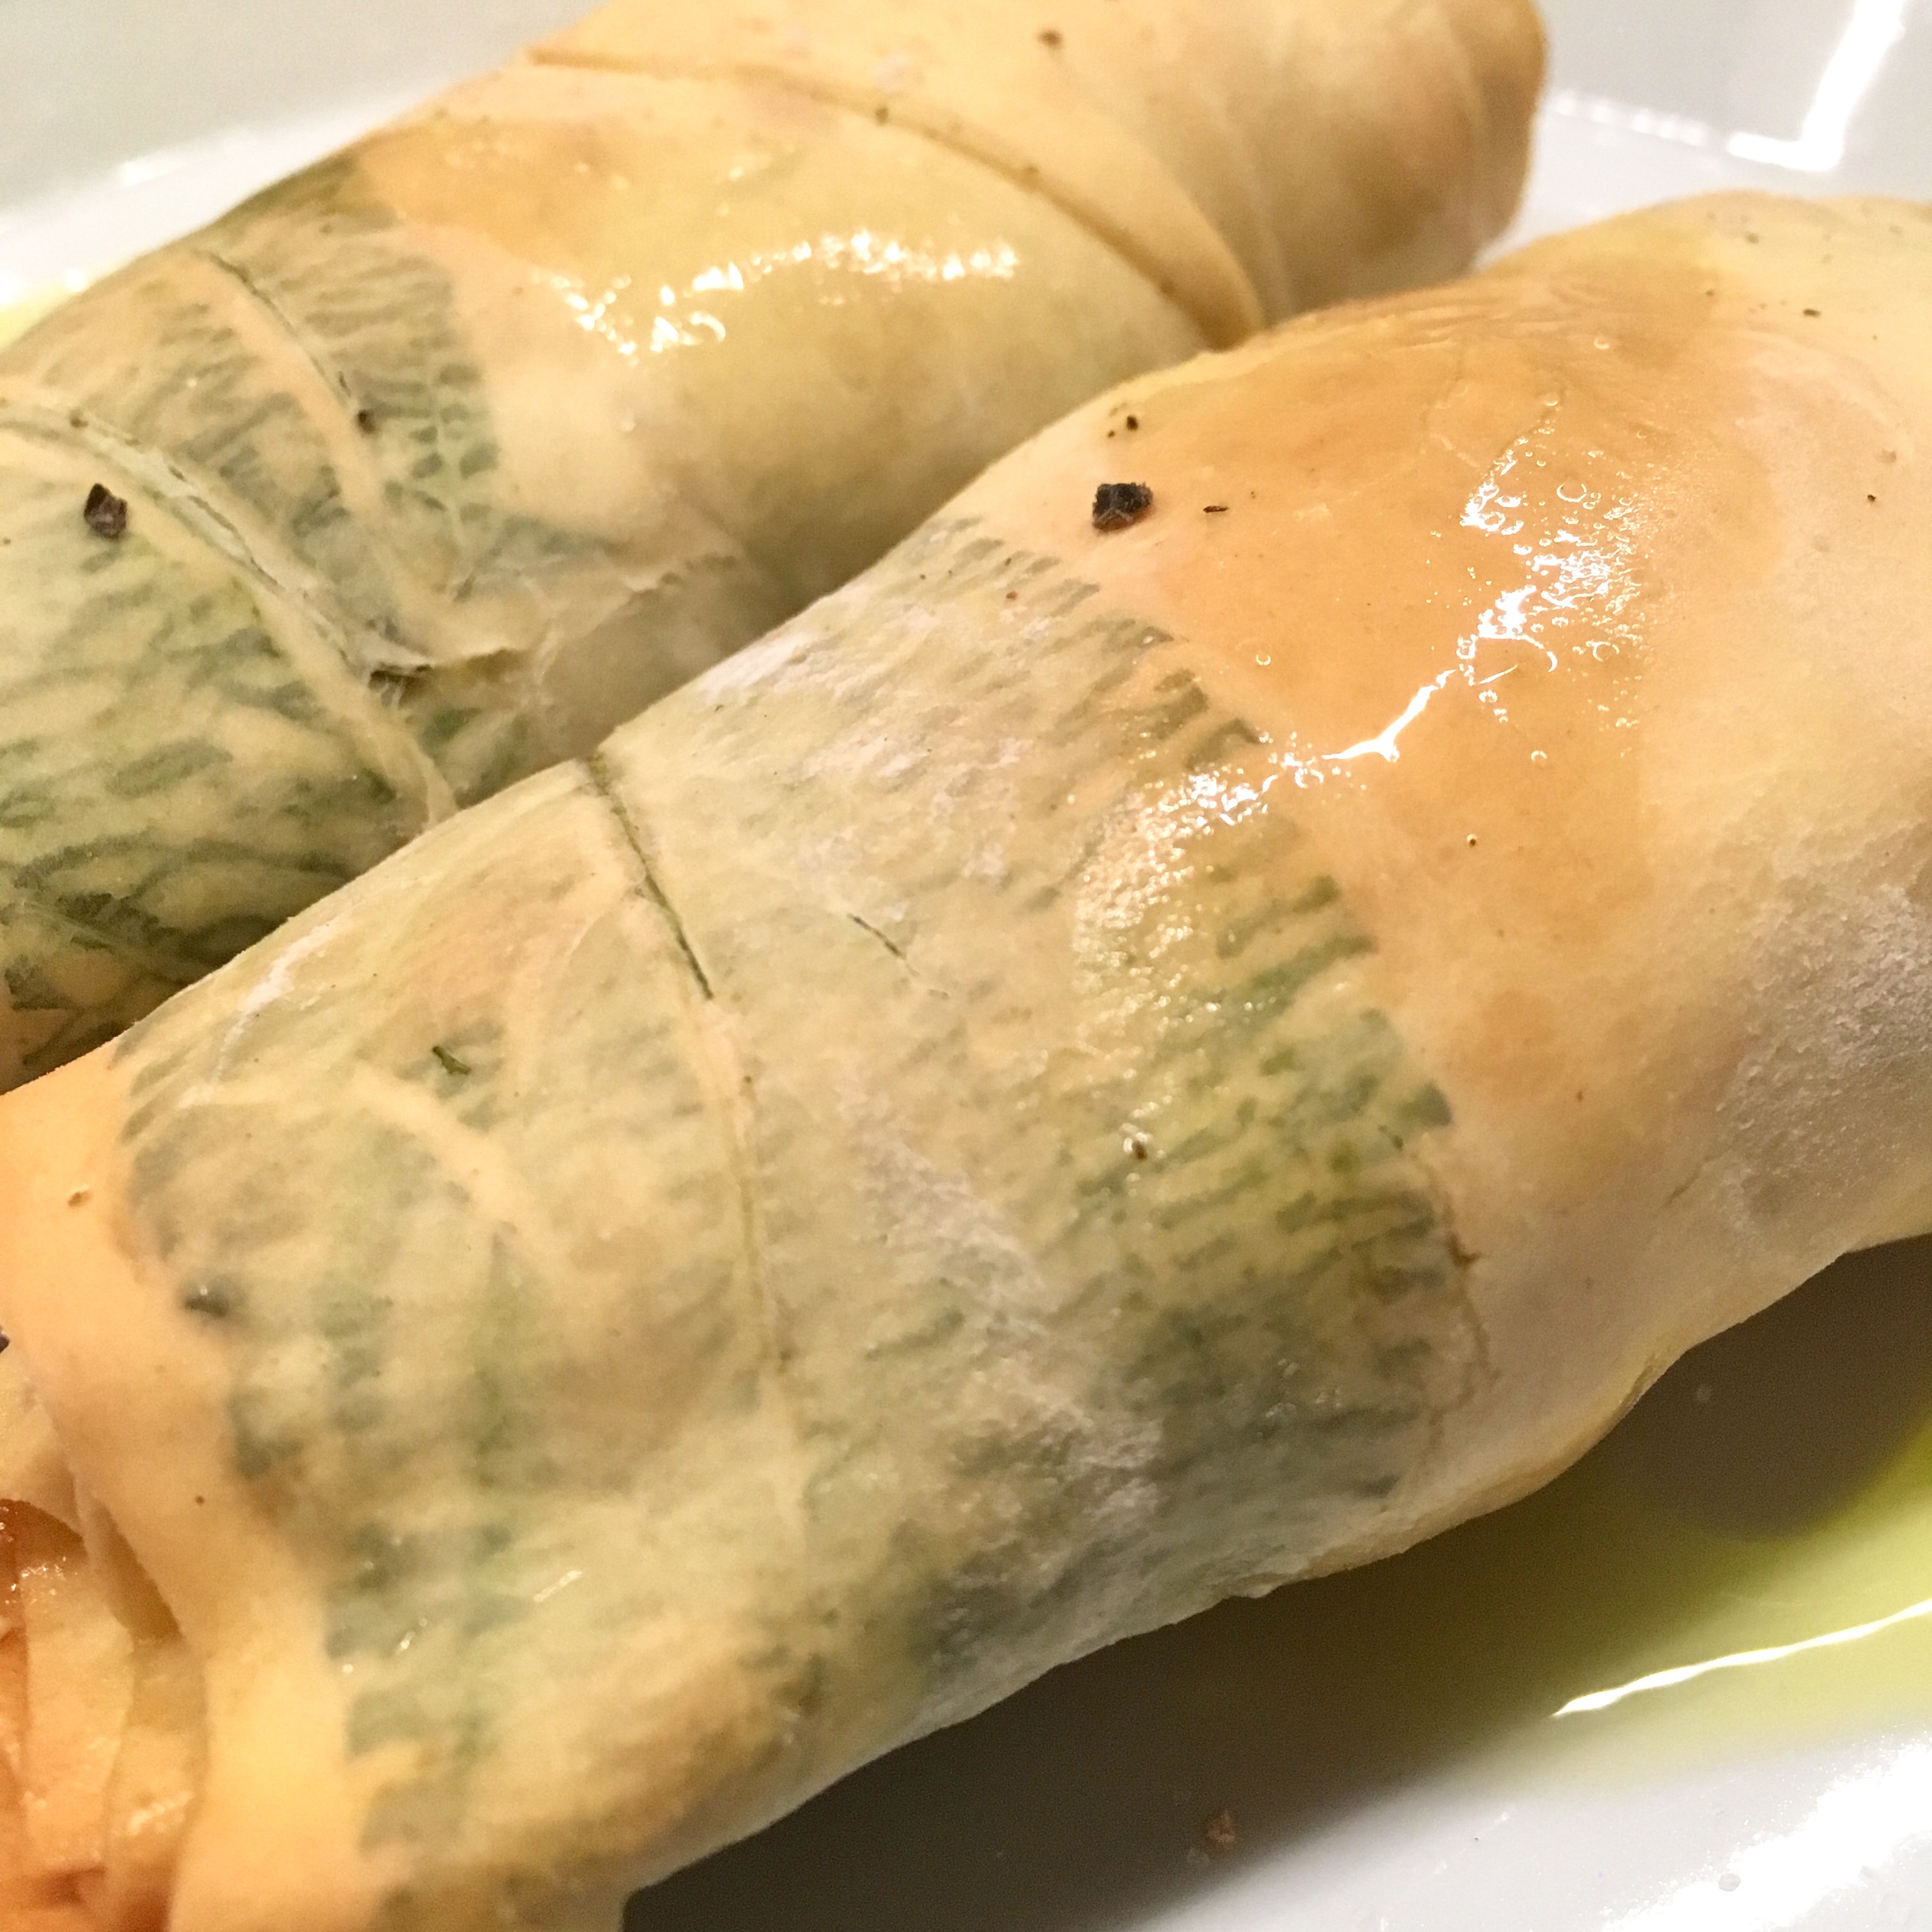
  2. Rolling 3 size down rather than 2 would have avoid to stretch the leaves so much and to have the pasta cut along the hardest parts of the leaves.
  3. Put a lot more leaves, and much smaller ones.
  • Otherwise it was quite easy and straightforward to make and the result was really beautiful. I think the lasagna would have been a better choice in the end.
  • Jute mallow and salmon, dressed with olive oil was a great combo!!
  • I’ll try again for sure rolling lasagna with decorations!!
  • Close up on the leaves enclosed in the pasta, and the cut from rolling to thin…
  • Tofu ae – 豆腐和え

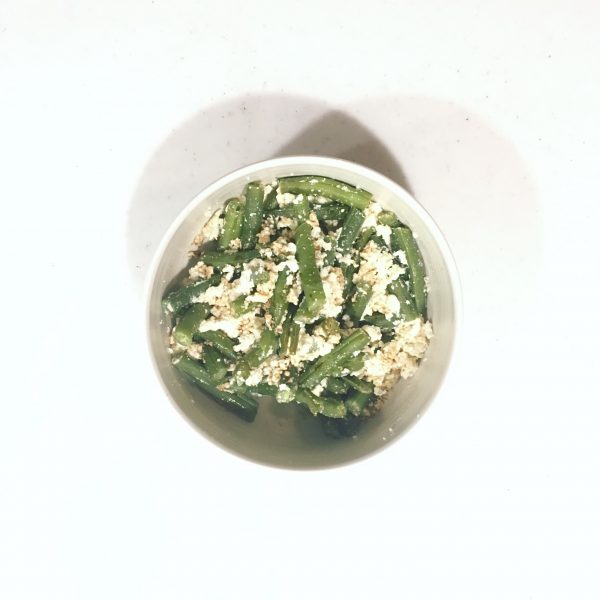
    This recipe is a classic from Japanese cuisine and Japanese cha kaiseki cuisine. I’ve eaten it many times when going to typical Japanese restaurants and I learned how to make it properly when I was taking cha kaiseki lessons. I use the same base in a persimmon recipe I created and it’s called tofu ae. It’s a sort of vegan creamy tofu dressing in a sense, that you can accommodate with many different vegetables all year round. In the fall with persimmons, winter with spinach, in the spring with green peas, and now with green beans, edamame… A full version of the recipe would include a bit of dashi, but I prepared a simpler version with only tofu and sesame, and a bit of salt. Here it is

    Tofu ae

    – a piece of hard tofu

    – 4tbs of sesame, white or black depending of color effet wanted

    – a pinch of salt

    Drain the tofu with a weight on top. Once well drained, squeeze in a clothe to remove more water and obtain a paste. Grind the sesame (if you don’t have sesame, or the tools to grind it, just use gomasio)

    Mix the tofu and the sesame, add a pinch of salt.

    Boil a vegetable of your choice: green beans, edamame, broad beans… and mix with the tofu dressing.

    Bonito

    Not far away from our house is Katsuura 勝浦, a city on the ocean with a fishing harbor, a fish market, a few nice street to browse and a sea front further south where we paddle surf (or least try to!!).

    Katsuura is quite famous as a bonito fishing harbor in the area and they indeed have delicious fresh bonito in season, which is basically from spring to mid summer. We’ve eating quite a bit of bonito, and one of my classic way of preparing it is either pan grilled or in a sort of ragù with vegetables. But after a few times eating it that way always, I wanted a new recipe.

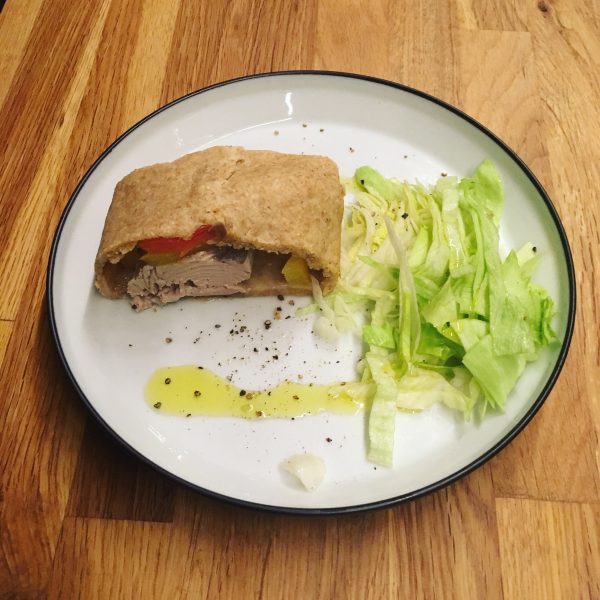
    Inspired by the pies and other yummy pictures I saw on IG, I decided to try making a bonito pie. The shape of the filet is perfect to fit in a cake dish and with the season of bell peppers starting, I had a perfect combination. The pie cooking is quite interesting as all the juices and flavors are trapped in the pie and reveals when you cut it, guaranteeing a very interesting tasting experience. Though I could have worked a bit more on how to shape and plate it (as usual), the taste was amazing. Definitely a recipe that will go to my favorite recipes of the moment.

    Bonito pie (2-3 servings)

    For the pie crust

    – 200g of flour (I used whole wheat)

    – 4tbs of olive oil

    – water

    – a pinch of salt

    For the filling

    – 1 bonito filet (for sashimi)

    – 2-3 bell peppers red, yellow, orange… you name it

    – 2 leaves of laurel

    – olive oil, salt and pepper

    Prepared the pue crust. In a bowl, mix the flour, salt and olive oil. Add water little by little and knead until you have a smooth dough. Roll it in a rectangular shape to fit your cake dish, yet twice bigger.

    Set it in the cake dish. Add the laurel leaves in the bottom of the pie, then add the bonito on top. Wash and slice the bell peppers. Arrange them around and on top of the bonito. Add salt, pepper and a bit of olive oil. Close the pie with the dough. Make a small hole on the top and make a small chimney with baking paper. Bake at 180deg for 40min. Or until golden.

    Travel… I’m back

    I was away for one week for work, in Krakow, Poland, with a very very intense schedule that gave me little time to do anything else but work. Hopefully, with the jet lag I woke up early enough to have breakfast out before work and test a few cafes (see instagram about that!). Now I an back in rainy Japan, and to my beloved kitchens. But no time to take a break with a mountain of work to do before Monday… so the rain is more than welcome… Kion (barking deers) are taking care of the garden, eating the fallen strawberry tree fruits, and the grass. The rest will have to wait for better days.

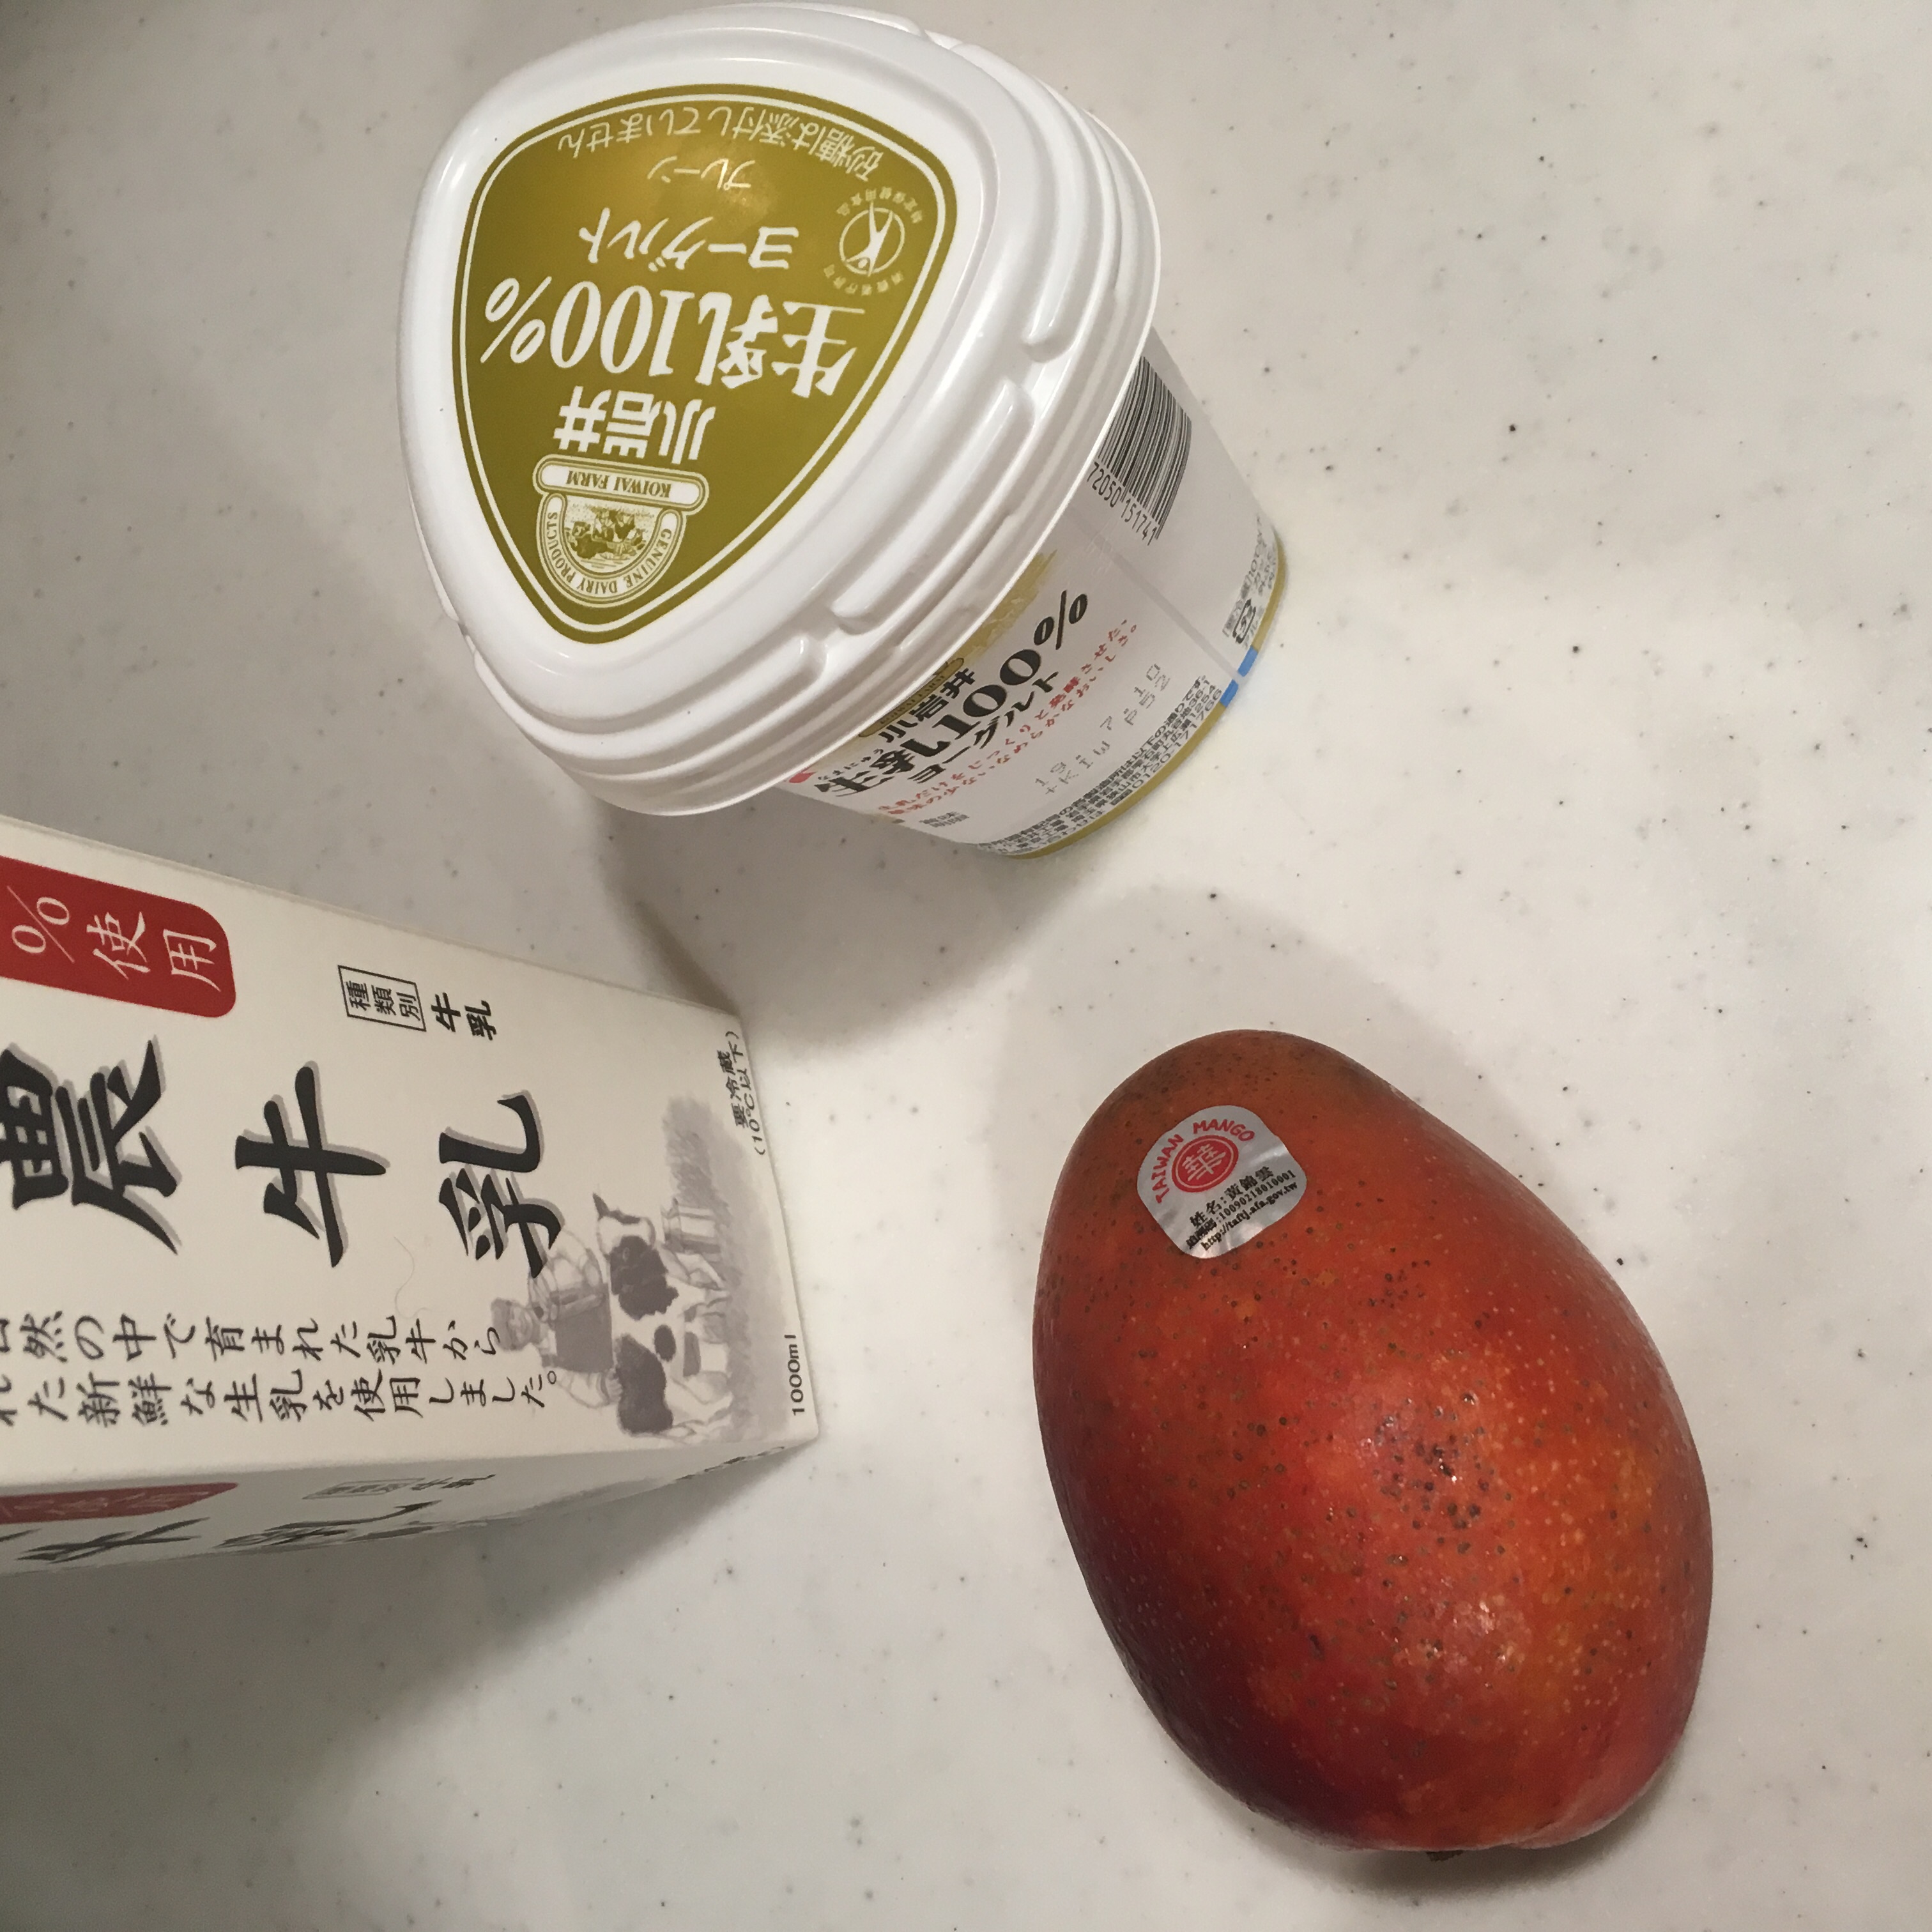
    The first thing I did when I arrived in Tokyo was a quick refill of the fridge and to prepare myself something go eat (I usually don’t eat in the plane or very little). I was craving for a toast with emmental cheese, and an egg, and when I went shopping and saw this beautifully ripped mangos coming from Taiwan (which is much more “local” than those coming from Philippines or Mexico) I couldn’t help but starting to crave for a mango “lassi”, or rather a mango latte. I first discovered mango lassi 20years ago when we were in Berlin, eating at a Thai restaurant, and since then, I’ve prepared. Not proper ones, rather my way. The best recipe is super simple, 3 ingredients only, no added sugar and is the following.

    Mango lassi (one large glass)

    – 1/2 mango very ripe

    – 4tbs of yogurt

    – 100ml of milk

    Peel the half mango without the seed, put all the ingredients in a blender, blend until smooth and serve!!!

    If that is not simple!!!

    Enjoy the rainy season…

    Korinky creamy summer pasta

    Creamy and summer don’t necessarily get along well together I reckon, but it’s not like we’re in Europe and temperatures are very high for the moment in Japan. It’s still the rainy season and the “real” summer will only start in 2 weeks (hopefully not later!!). While in the meantime the summer vegetables and fruits are not to be seen everywhere: tomatoes, eggplants, cucumbers, melons, peaches, apricots… So how resisting in preparing some summer dishes?

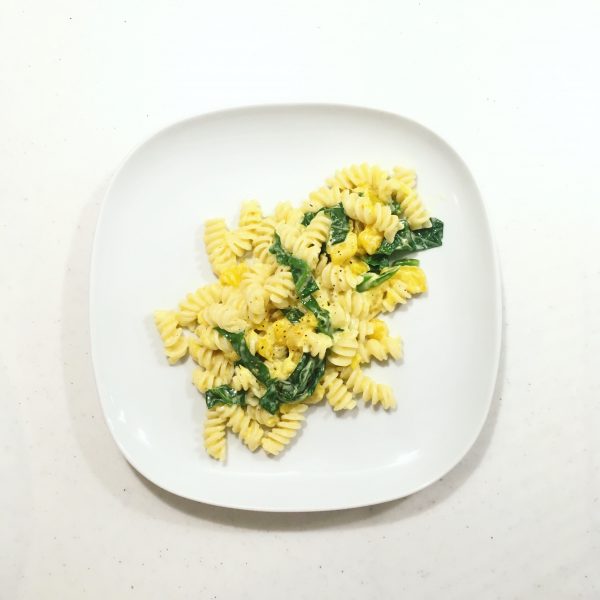
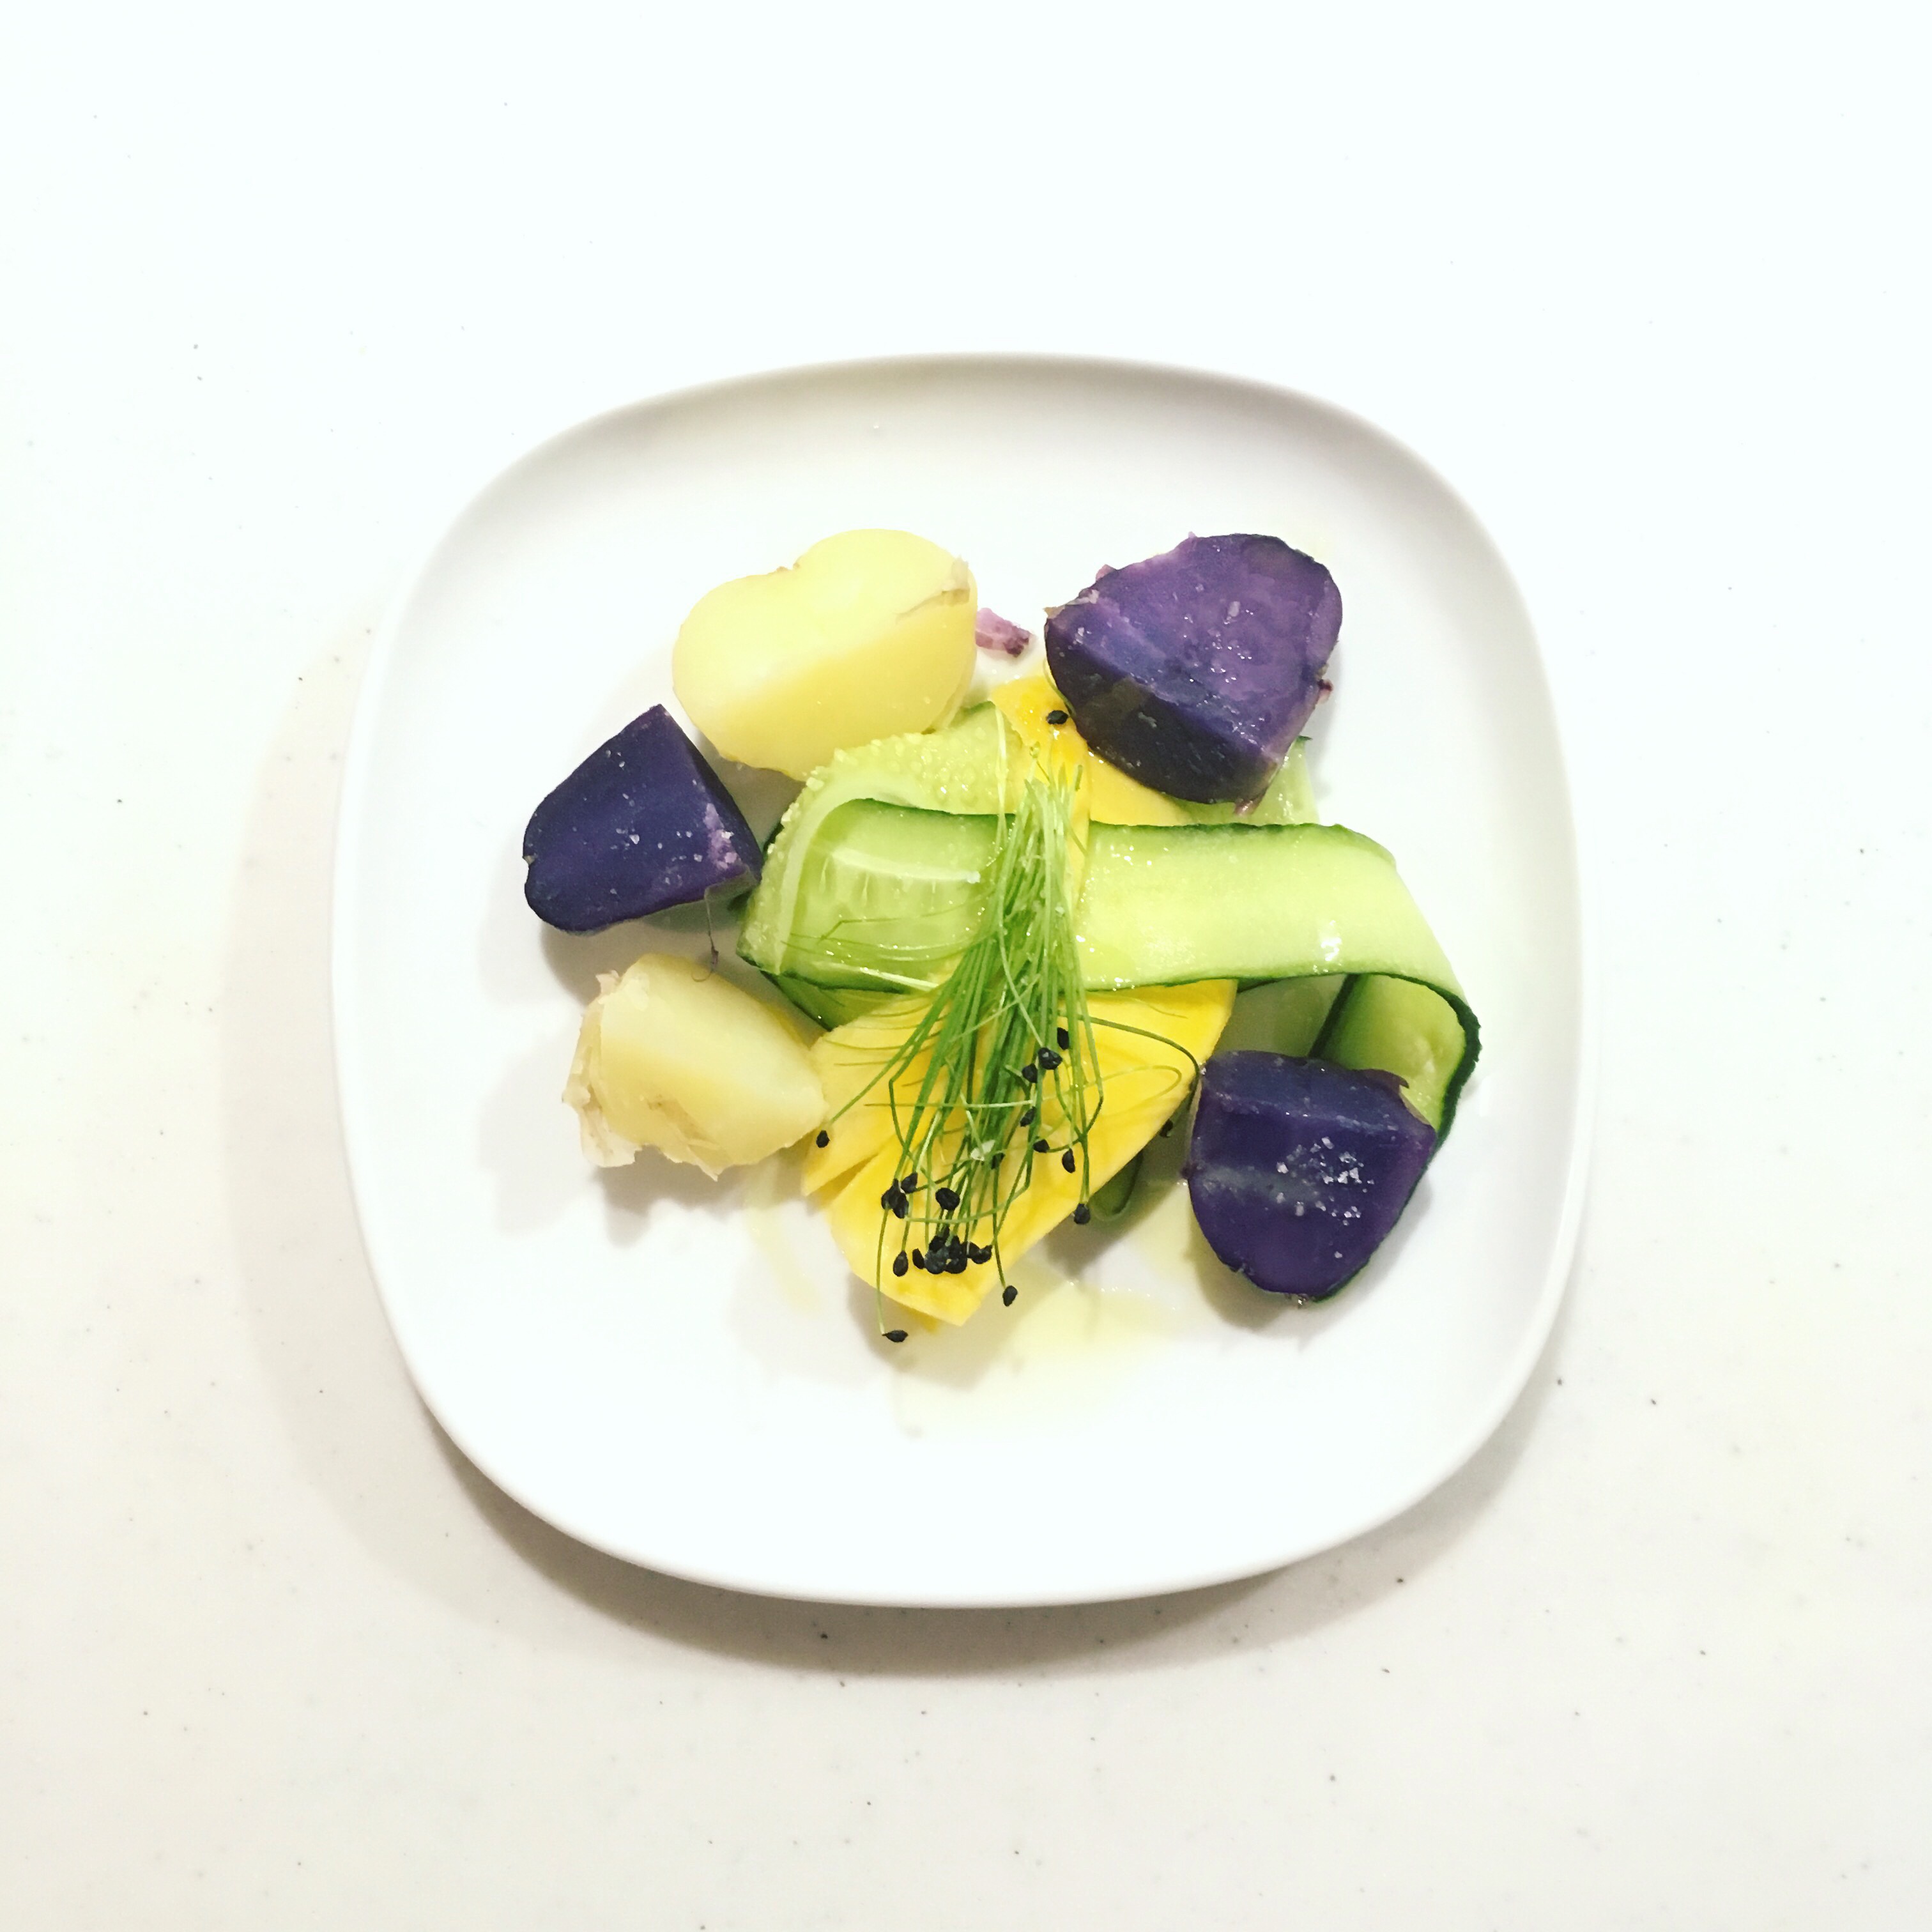
    Two years ago I felt in love with malabar spinach and really starting preparing many last year. So when I started seeing some at the farmers market I was really happy. This year, at the Blind Donkey, I discovered korinky コリンキー, this summer pumpkin also called サラダカボチャ which can be eaten raw. I tested it in the potatoes and cucumber salad I served to my guests last Friday. But with still quite a bit to eat I decided to cook it and mash it roughly, to eat with pasta. And because once in a while I like to eat light creamy pasta, I added cream and malabar spinach to obtain a delicious topping. Below follows my recipe.

    Enjoy the rainy season if your in Japan!

    Raw korinky in salad

    Korinky creamy pasta (for 2 servings)

    – 1/2 korinky

    – 4 branches of malabar spinach

    – 150ml of cream 45

    – salt and pepper

    – 125g of pasta of your preference or gnocchi

    While boiling pasta. Peel the korinky and remove the seeds. Steam. When sift enough mash roughly in a pan with a fork or a wooden spoon. Add cream, salt and pepper and mash again. Cook at low heat for five minutes. Wash the malabar spinach and chop roughly. Add to the mixture. Cook an other 5 minutes. The cream should reduce by half. Add the pasta drained to the mixture and stir well. Serve and eat immediately or wait until it has cooled down and eat at room temperature.

    Garden greens

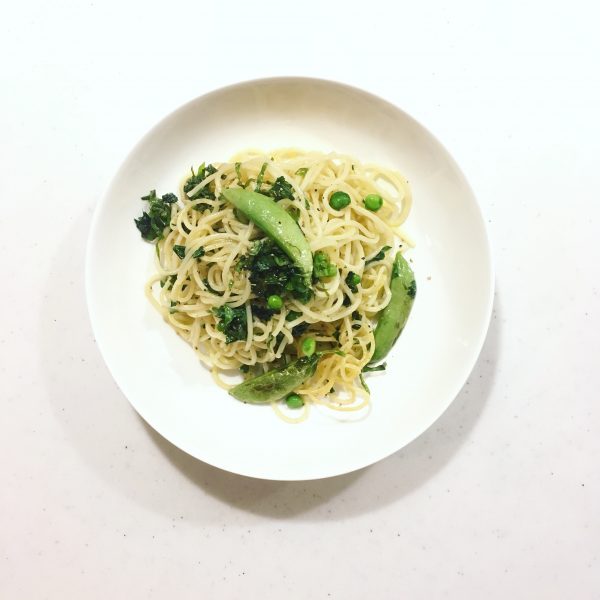
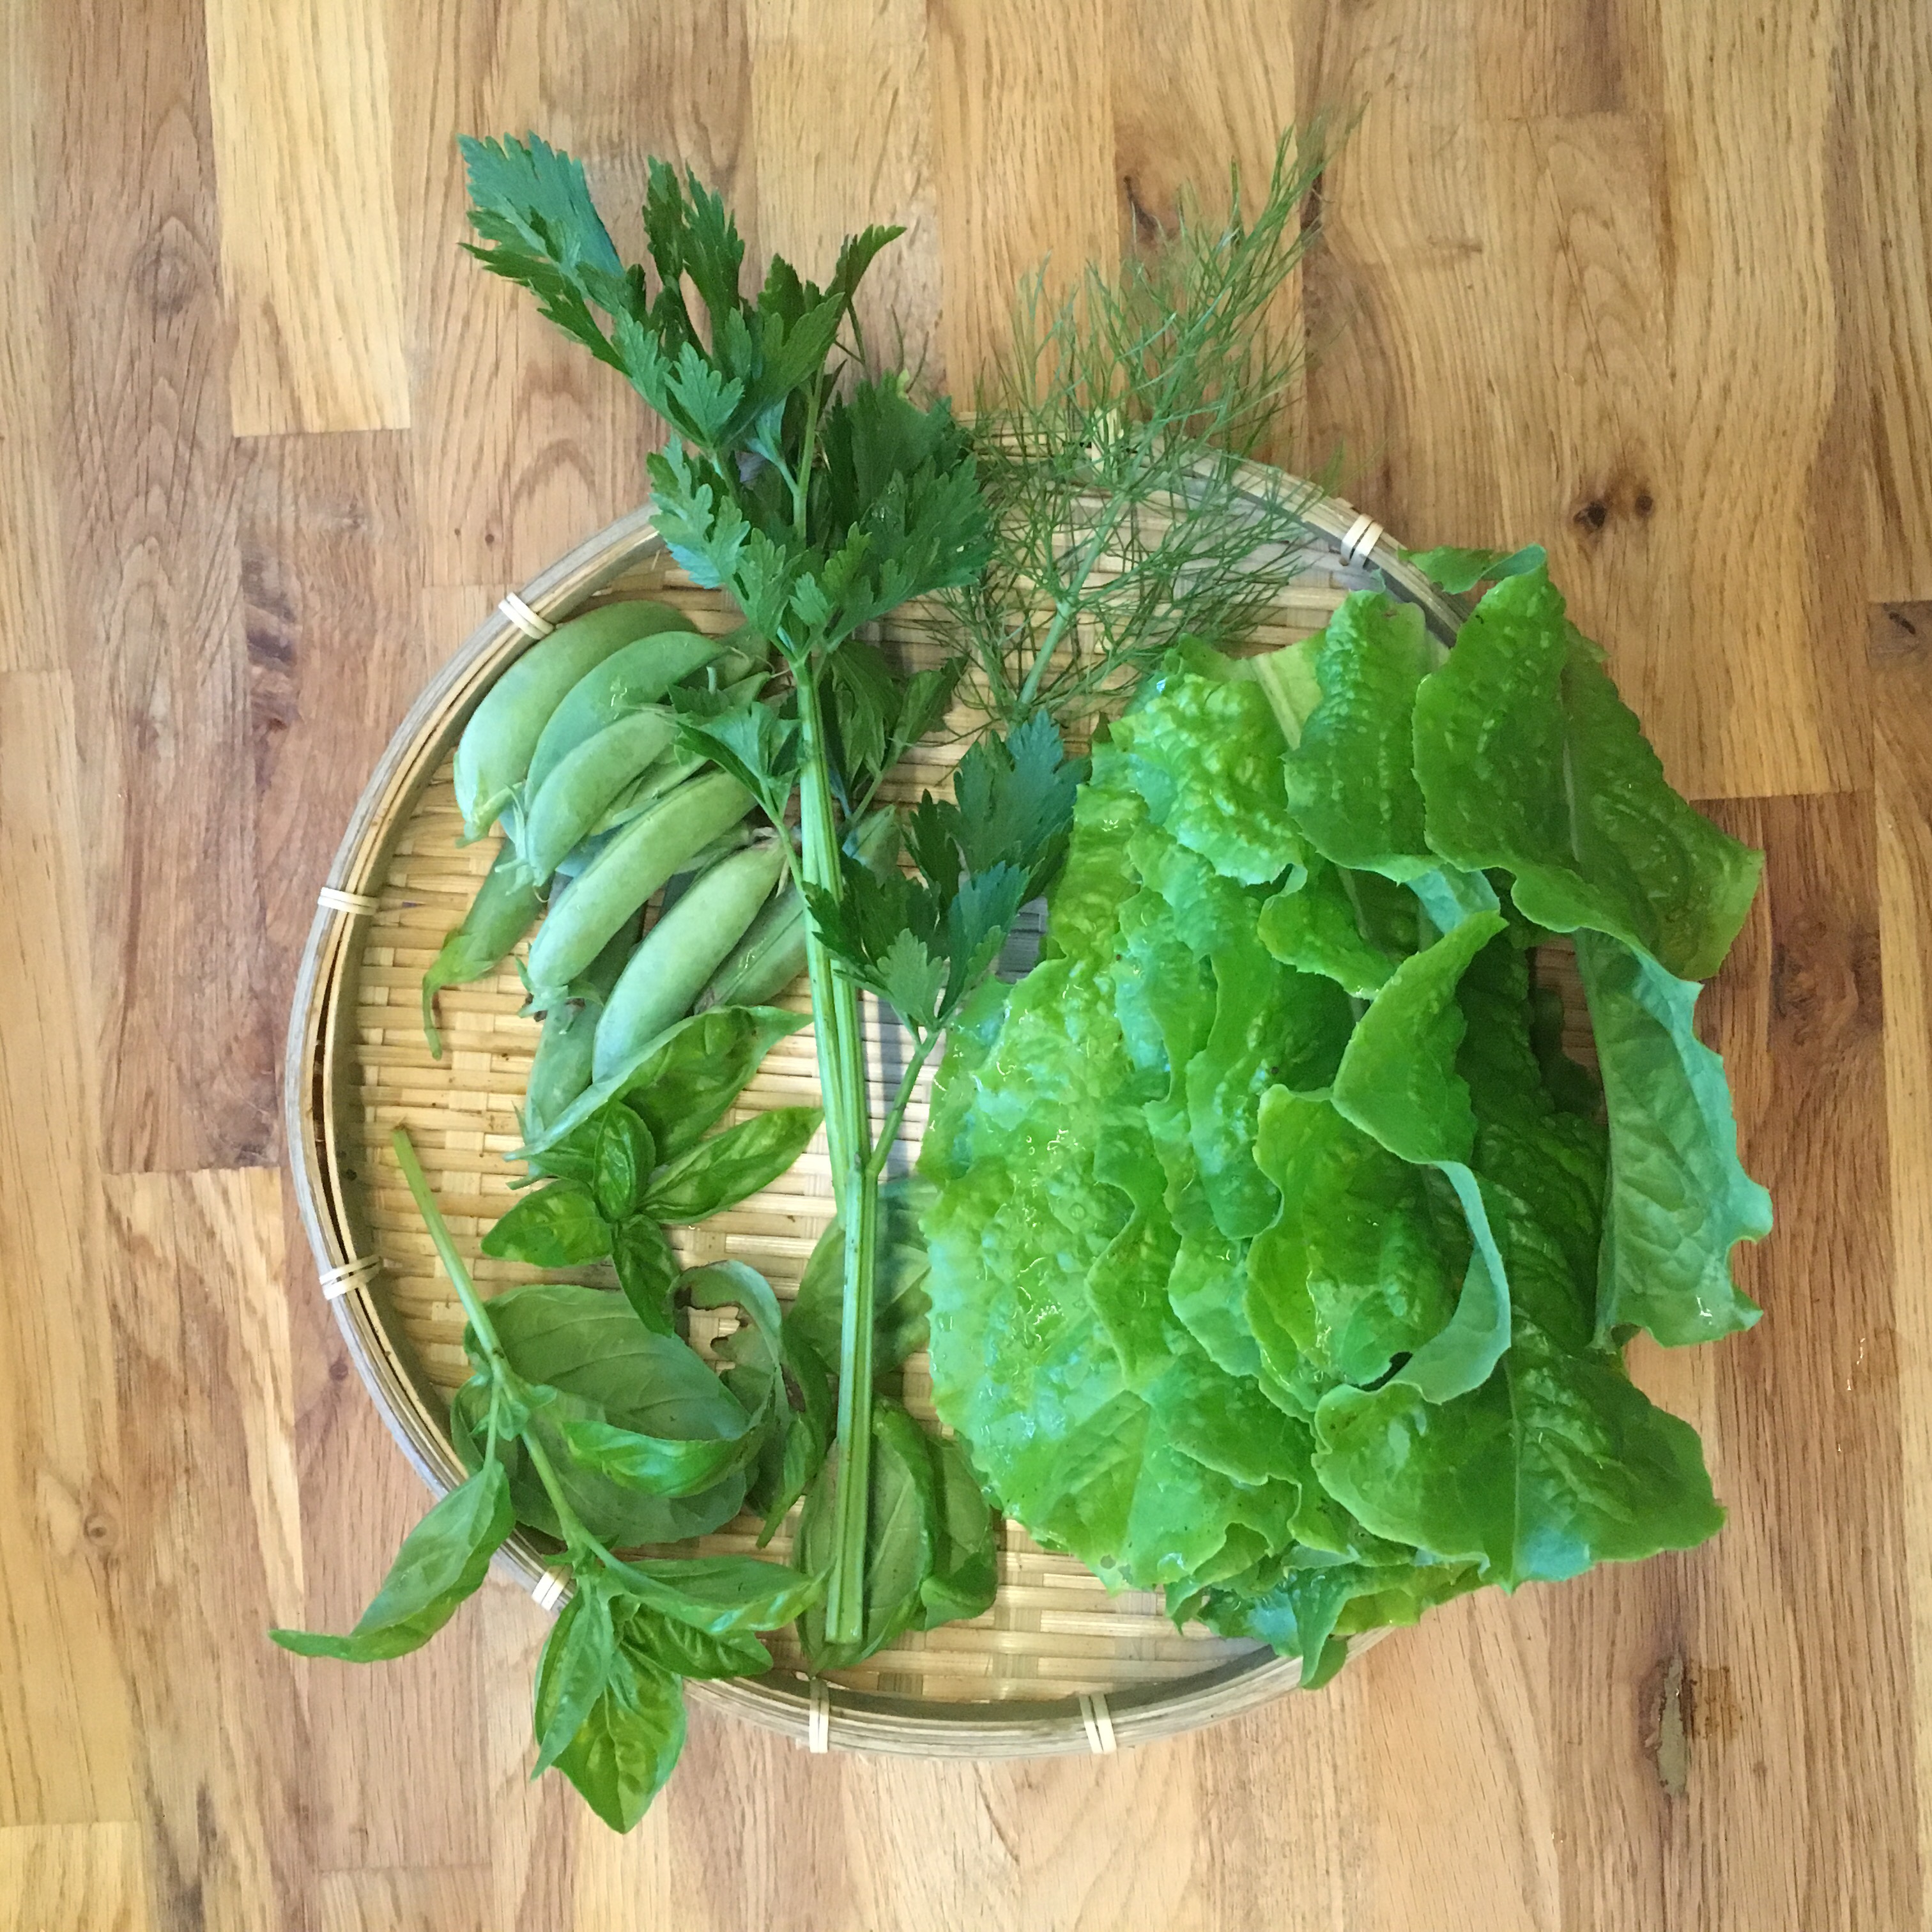
    After one week cooking potatoes in many different ways, we started missing pasta. So it was time for a change to cook some. I love all sort of pasta and often forget how delicious spaghetti are, in particular when well dressed. So with the garden producing a little more than potatoes, though I must admit we had quite a bit of failures… I harvested more peas, celery, and basil, and decided to prepare some pesto with a touch of celery and serve it with blanched peas to top my spaghetti. And it was damn good!

    Well now the week is not yet over and it’s been a bit crazy with some traveling for the upcoming days, so I’m not sure I’ll be able to post as often as I would like… we’ll see!

    Brandade

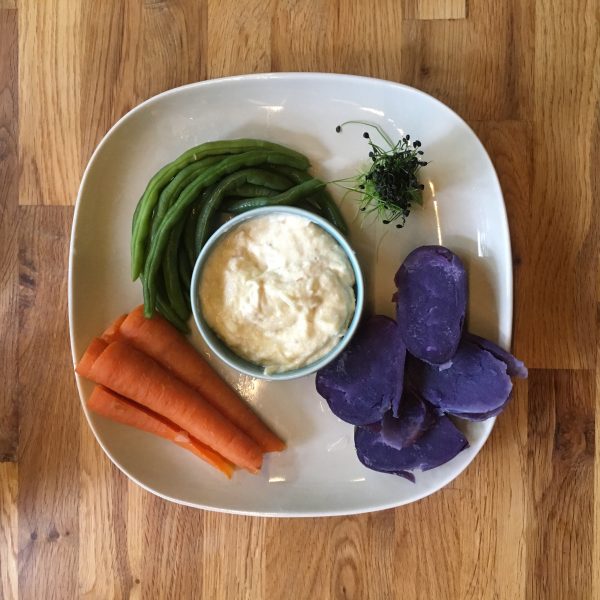
    Probably the last recipe of this potatoes week. I could have talked about gnocchi (but I have so many times done already), about hachis parmentier, or oven grilled potatoes, and I may some other times. But it’s true that with new potatoes I love simple recipes when they are steam or pan fried. Yet there was one recipe I had never tried before and I wanted to for quite a bit now: brandade. It’s a traditional recipe from Provence and Occitanie and I grew up eating some quite often. Like many traditional dishes it is rather simple to prepare, and it requires very few ingredients: salted cod, potatoes, milk, olive oil. It just requires to prepare in advance the salted cod that needs to bath in water for 12-24h or so. I made a very light version on brandade, and we ate it as a dip for steam vegetables. It can be used further in a few recipes too: with bread toasts, potatoes, tomatoes… But without further delay here is the recipe. I hope you’ll enjoy it!!

    Brandade

    – a piece of salted cod

    – one mid size potato

    – olive oil

    – milk

    – pepper

    12 to 24h before eating bath the cod in water. Change the water once in a while. If you use Japanese salted cod, the quantity of salt is much less than in Europe so I only had mine bathing for 6h.

    Now that the cod is soft and almost unsalted, boil it in a large pan and boil the potato to without peeling it. When cooked, remove the bones of the cod and peel the potato.

    I used my blender but you can do it in a bowl too and do it manually. Put the cod and the potato and purée the mixture, add a tablespoon of milk and one of olive oil each time it’s needed to smoothen the mixture. Repeat until you have a creamy dry texture. It should not be liquid so be careful when adding the liquid, not to add to many. Add pepper and your brandade is ready!!

    Potatoes and green beans

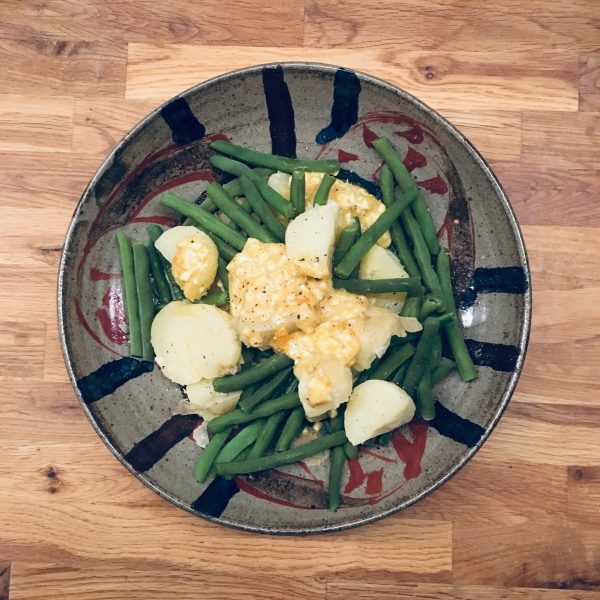
    If there is one combination I love it’s potatoes and greens: green peas, green beans, broad beans… usually I would prepare them with new onions blanched and olive oil. Today I decided to try for new sauce, a lazy mayonnaise. Mayonnaise requires that you emulsion the oil, the egg yolk and the mustard together. It requires a lot of beating, and a lot of oil. A lighter and lazier option actually exists, and plus you use a whole egg so no wondering what to do with the remaining white. Here is my recipe. I hope you’ll enjoy it.

    Oh! We’ve also eaten up all the potatoes I’ve harvested last week. I’ll harvest some more tomorrow if the weather is not as bad as today… so there’s gonna be potatoes recipe coming again very likely…

    Potatoes, green beans and lazy mayonnaise

    – 3 new potatoes (billiard ball size) per person if a main dish, less if a side

    – a handful of green beans

    – 1 egg

    – 2tsp of mustard

    – olive oil

    – pepper

    Wash the vegetables. Boil the potatoes until just soft. Boil the egg for 6min. Blanche the green beans. Peel the egg.

    In a bowl, crush the egg, the mustard and the oil until the mixture is creamy. It’s ok if the white is roughly crushed. Dressing is ready!

    Cut the potatoes in four, cut the bean in two if they are long. Add the dressing, stir well and it’s all ready. It warm, at room temperature or refrigerated.

    Proudly powered by WordPress | Theme: Baskerville 2 by Anders Noren.

    Up ↑

    Verified by MonsterInsights