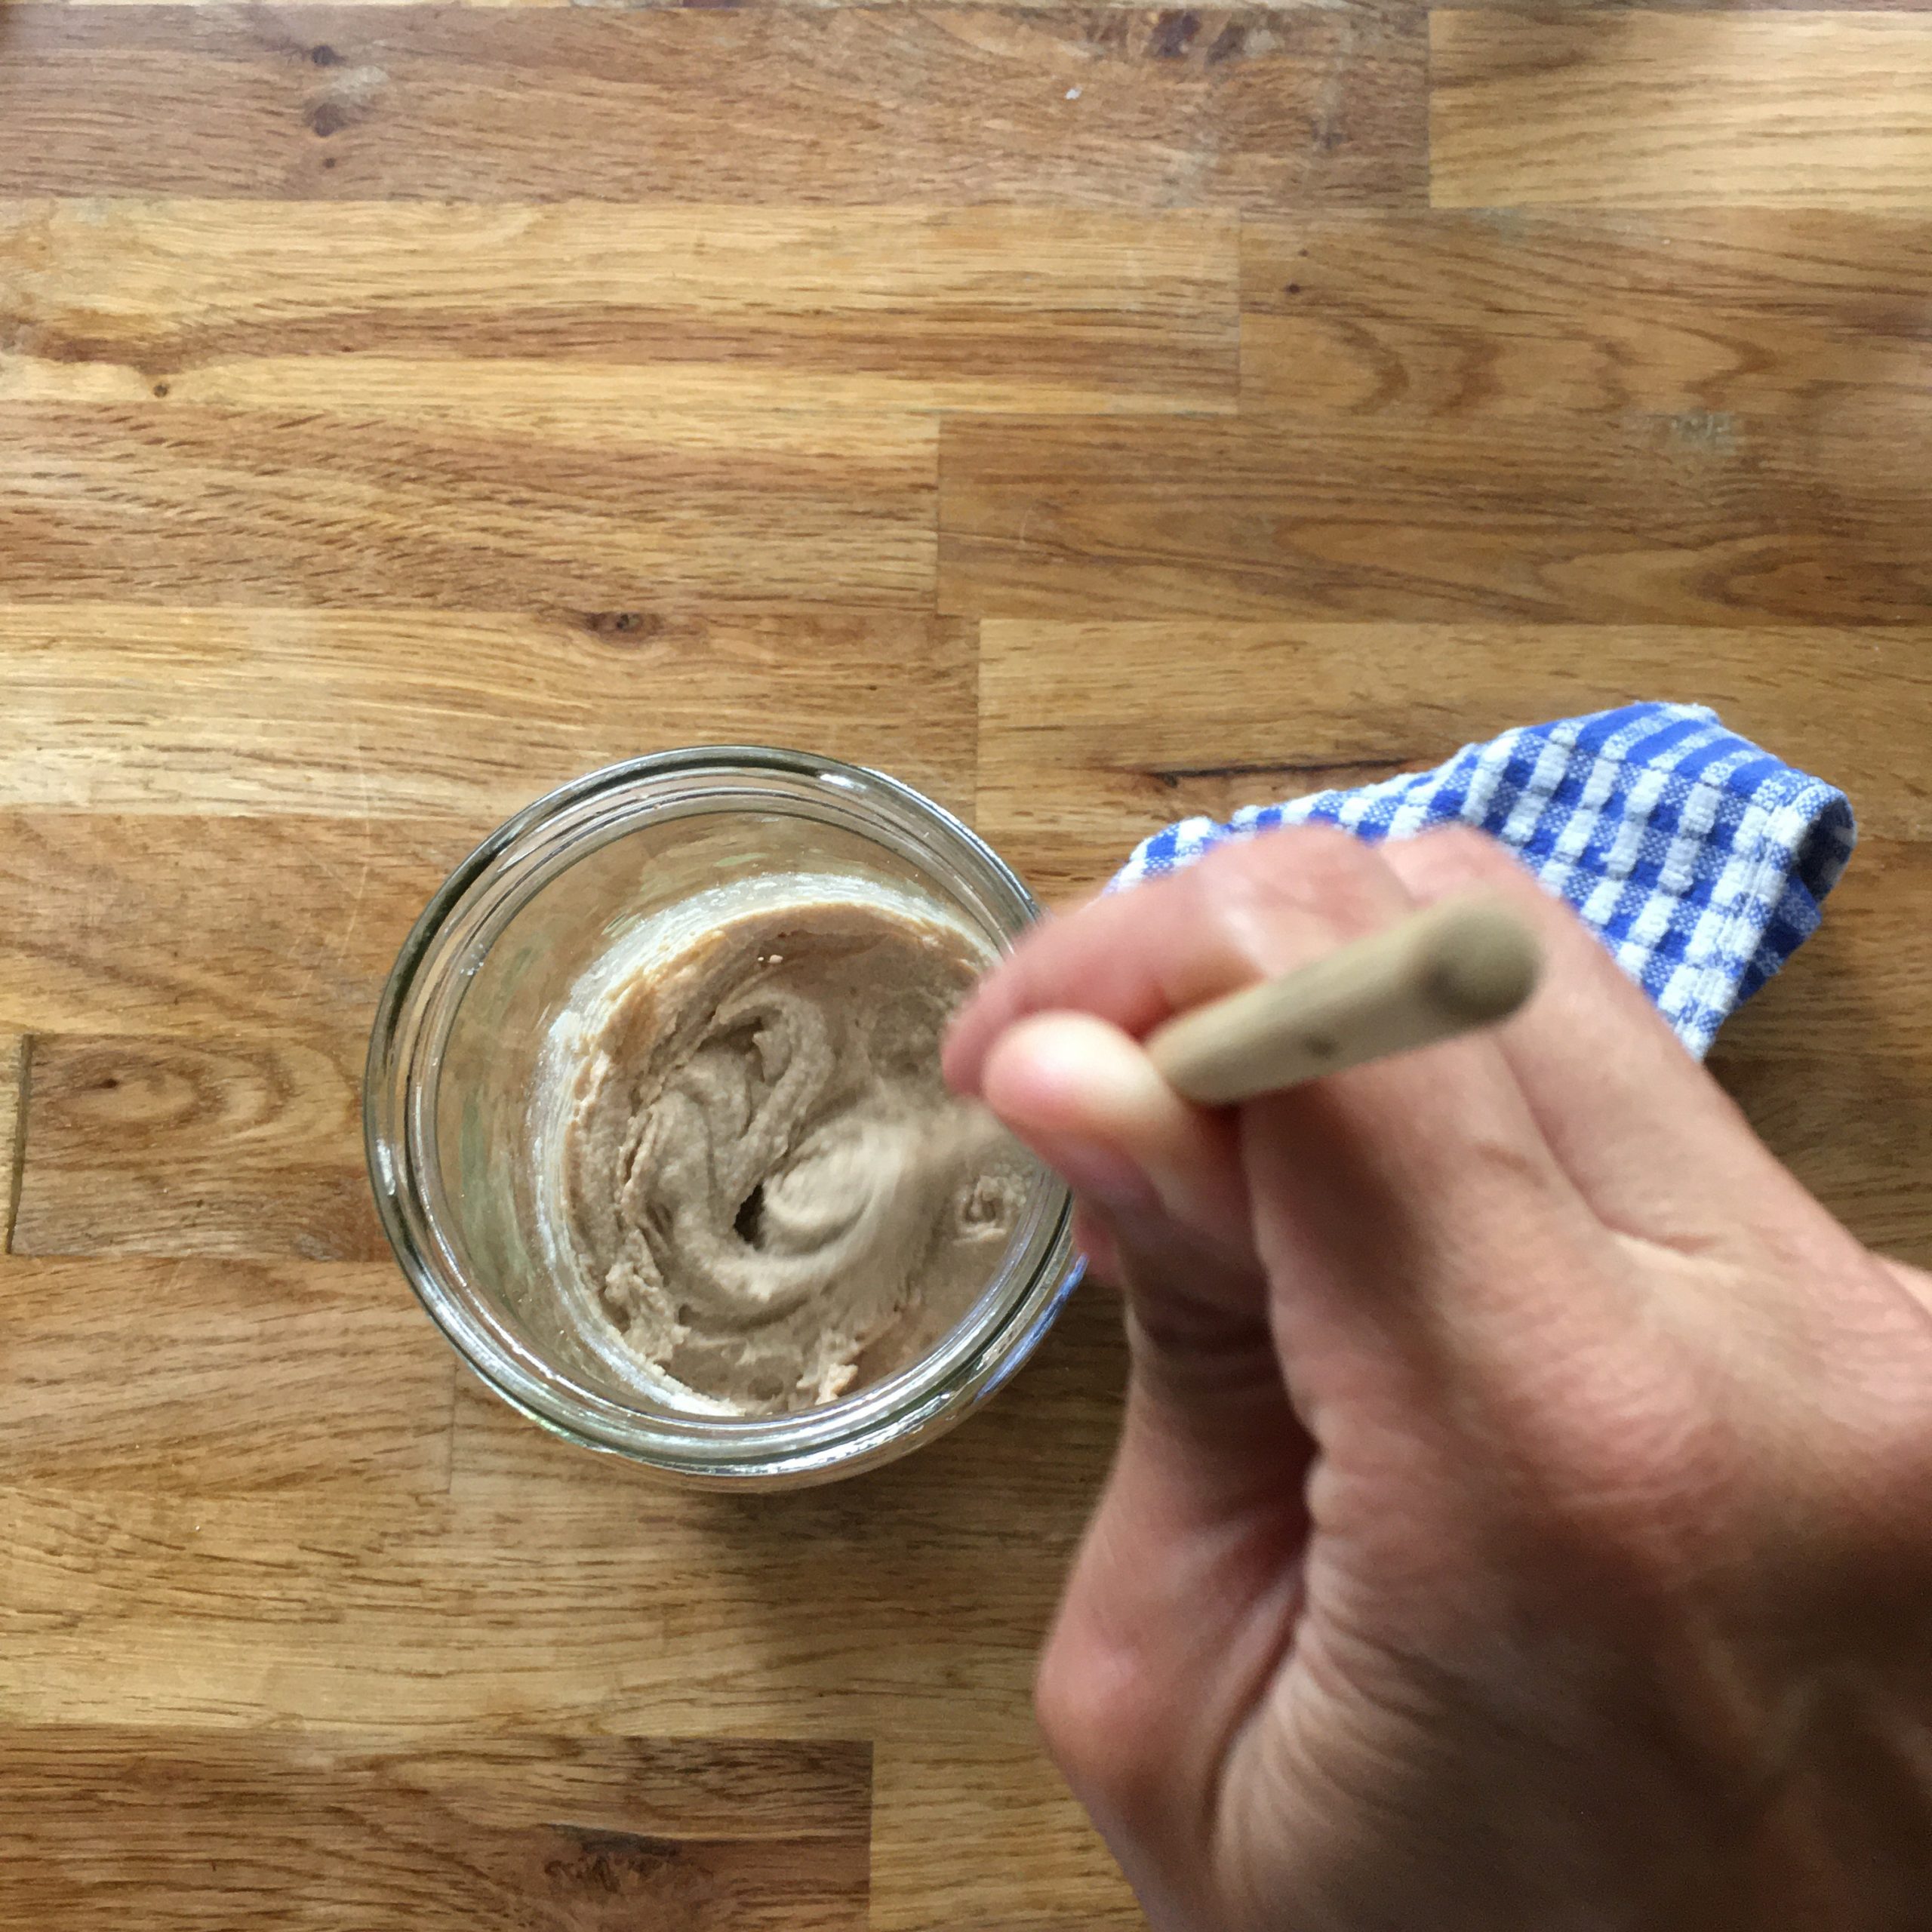
Quenelles…

That’s something I haven’t cooked for 4 years!!! Can you believe that??? The last time I made some was for that post back in 2016!!! And then… nothing… strange enough because (1) I like quenelle very much, (2) it’s not difficult to make, (3) it requires only simple ingredients I always have in the pantry… So with the weather getting chillier it was a good time for turning the oven on more than usual.

I used the recipe from my previous post and slightly adjusted it, it is for regular quenelles, they don’t become very fluffy… I still don’t know how to make them fluffier, I need to work on it. But even not fluffy it tastes great. This time also I used fresh cream, but I realized once again (I rarely use cream so I have a tendency to forget) that Japanese fresh cream sold in supermarkets is not very good for oven cooking, it dries out and only the fat remains, which looks buttery and not creamy anymore… Milk to cook the quenelles first and adding the cream later is probably a better solution…

Still here is the recipe adjusted.

Quenelles (2-3 servings)

For the quenelles

  • 150 flour
  • 2 eggs
  • 50g of butter
  • a pinch of salt and nutmeg

For the sauce

  • 6 large shiitake or the equivalent of other simple mushrooms
  • 4tsp of fresh cream (if you like it) or olive oil can work…
  • 1 cup of milk
  • salt and pepper

In a pan the butter. Heat until the butter has melted. Add the flour, and cook at low heat for 8min. If you have a hard time mixing in all the flour add a few drops of water.
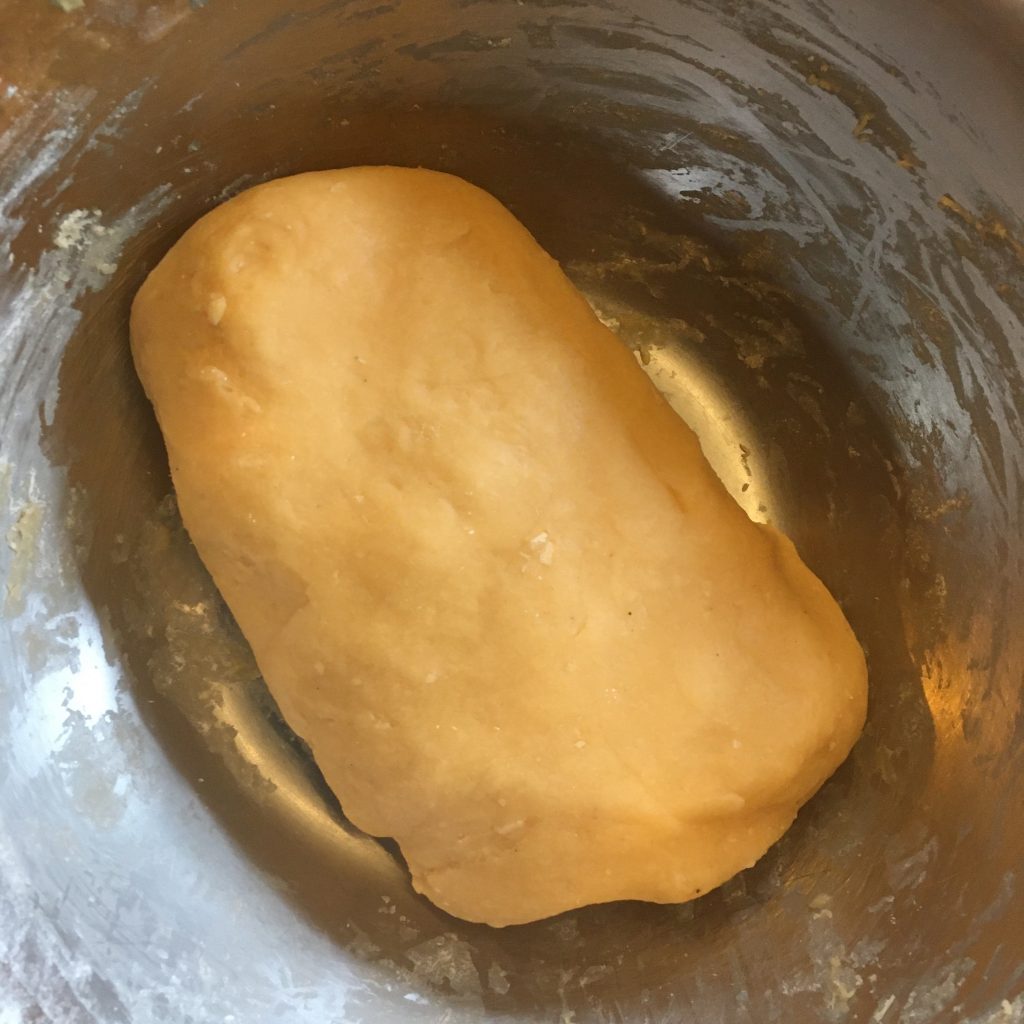
The final dough after cooking and smoothing

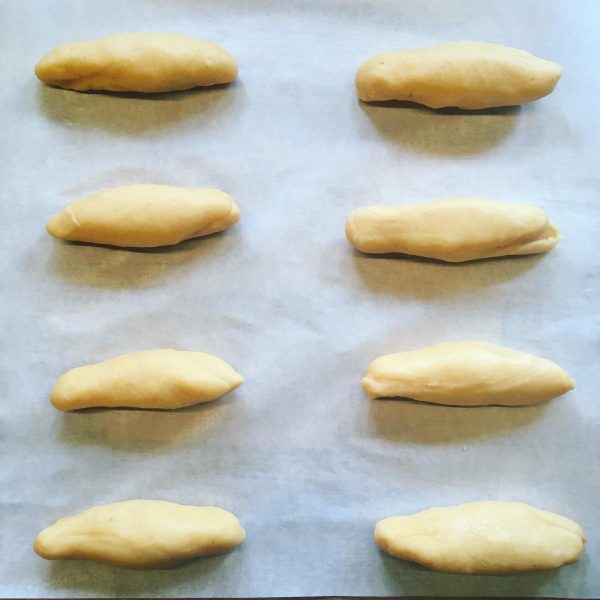
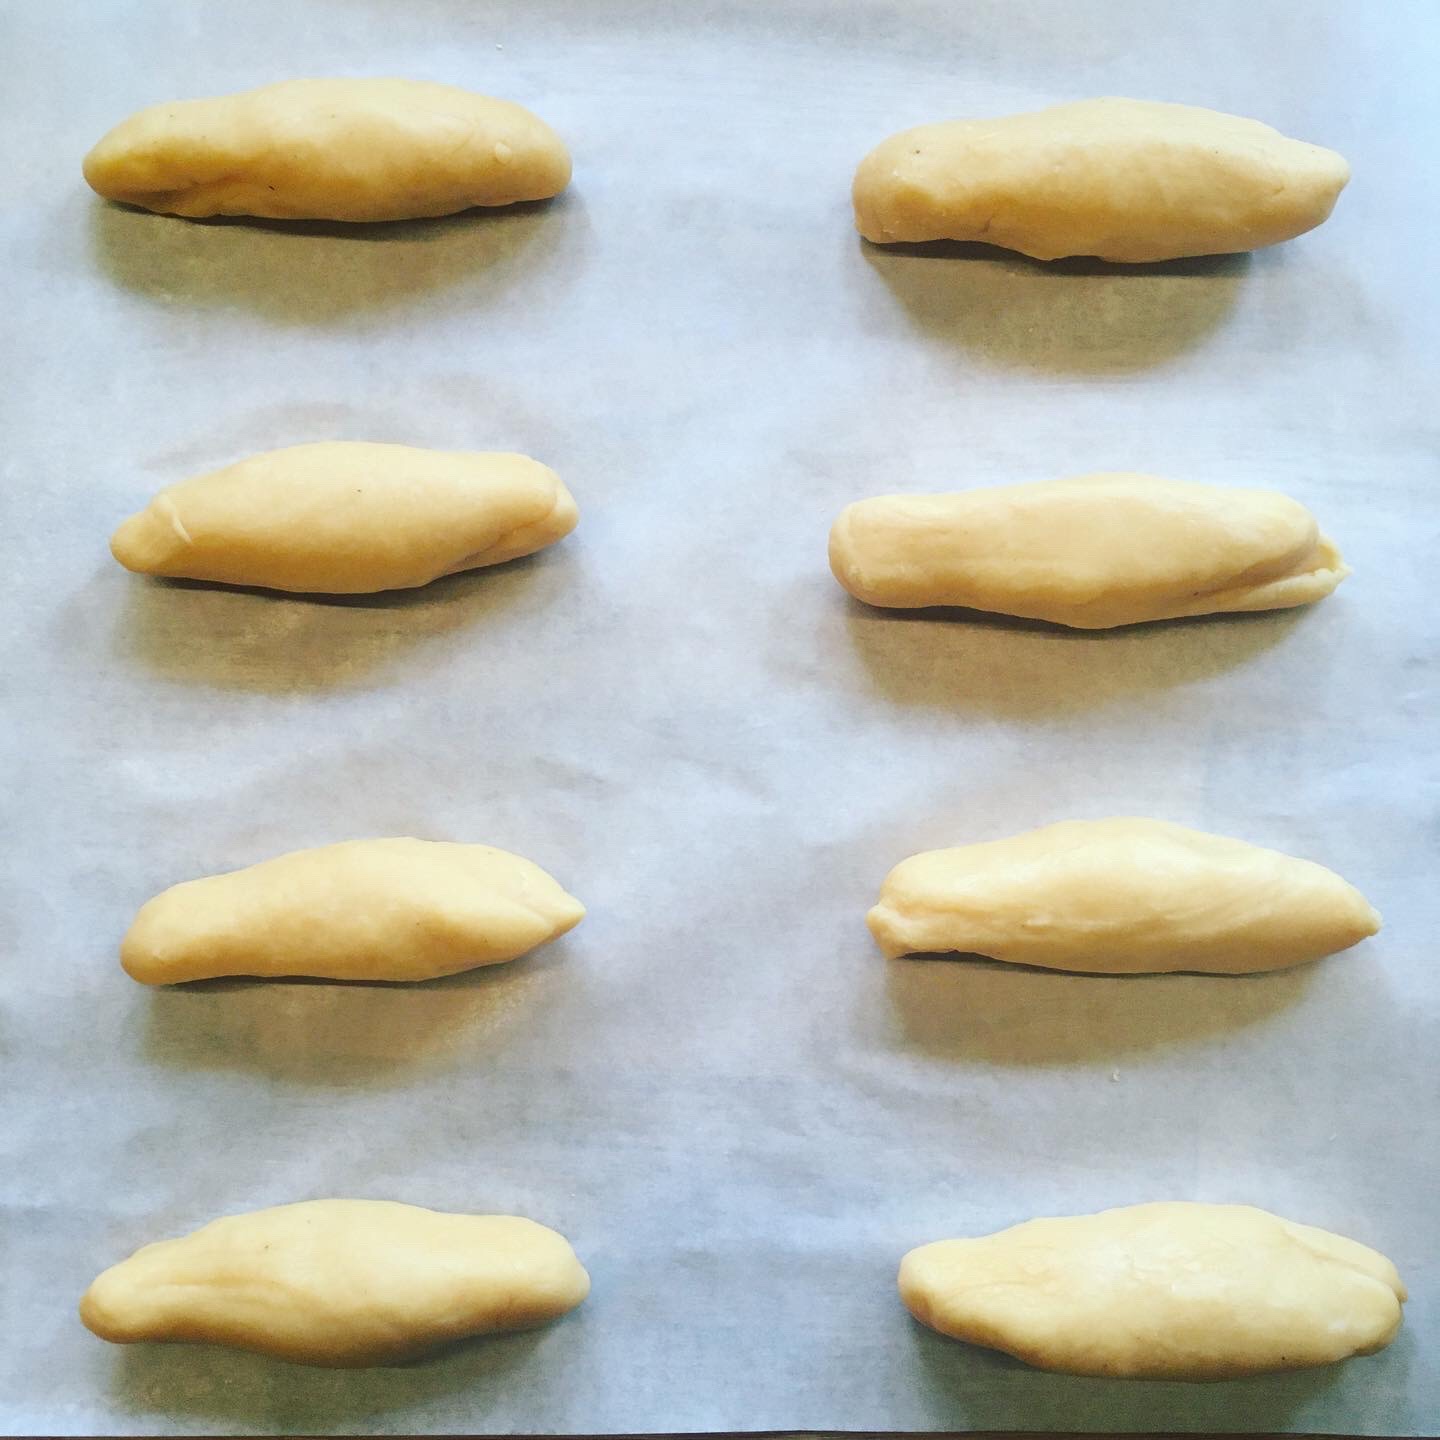
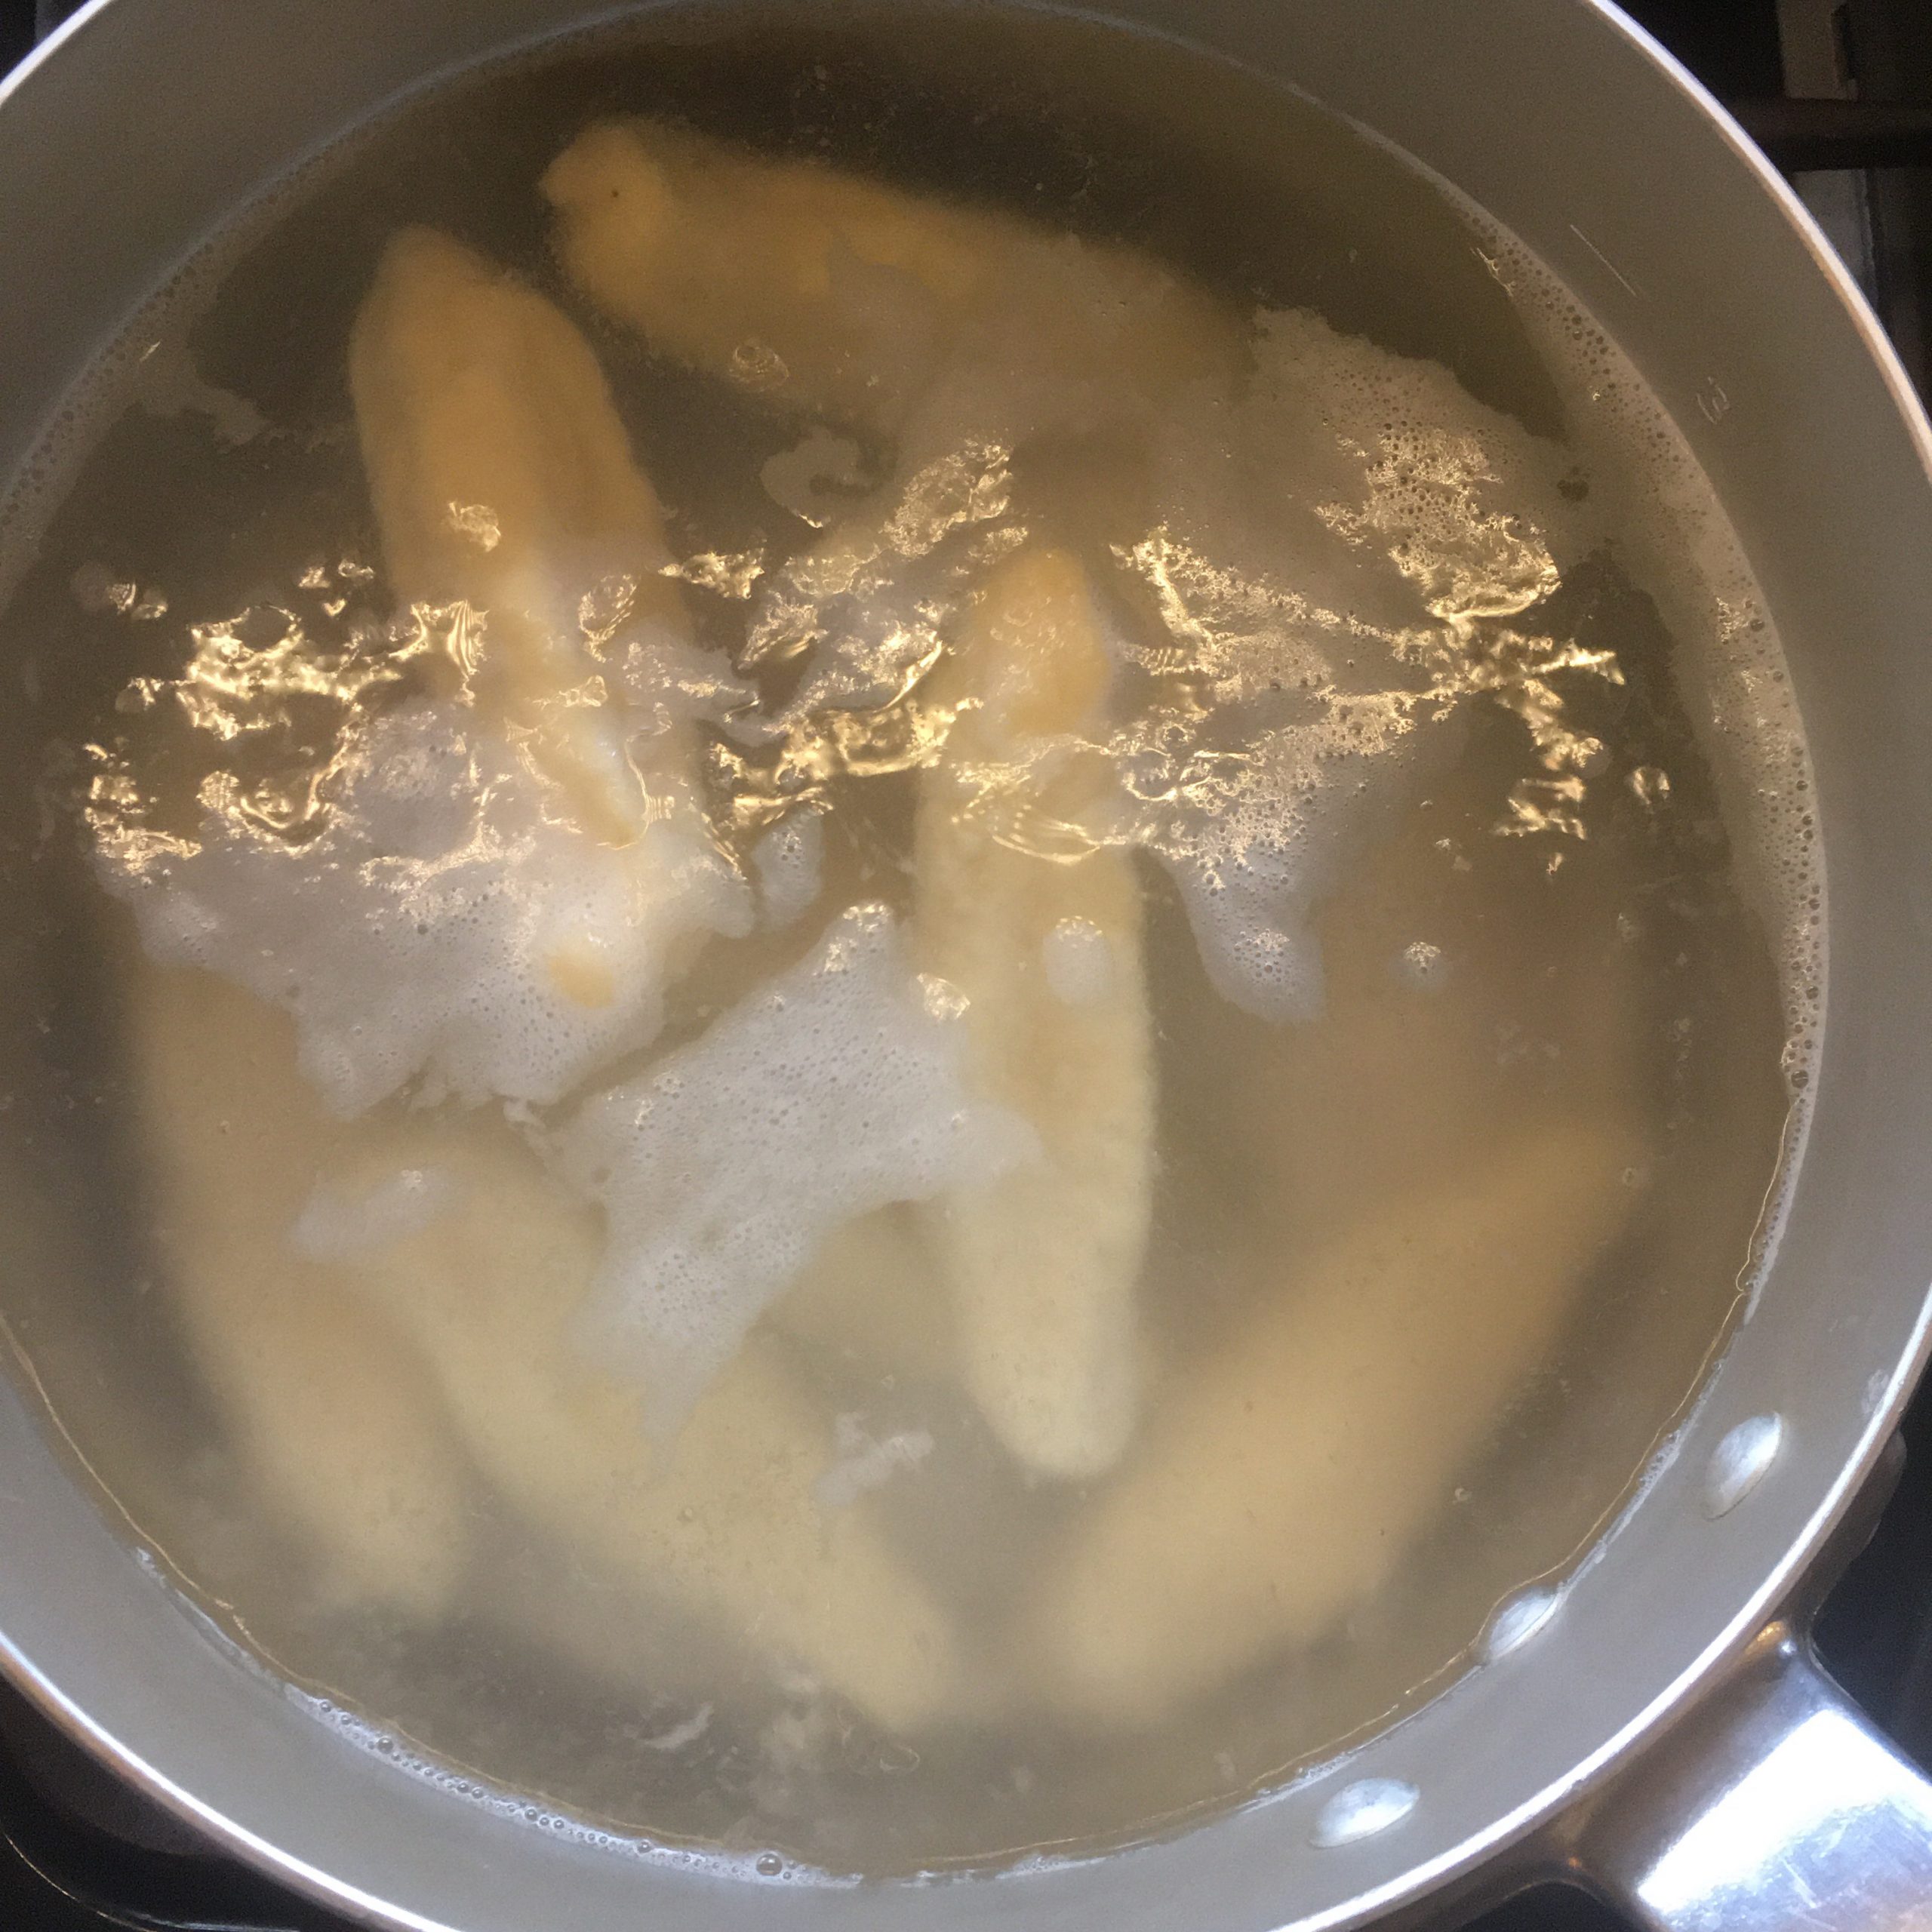
Cool down a bit and add the eggs, the salt, the nutmeg, and stir well. You should obtain a smooth dought that doesn’t stick. If it sticks add a little more flour, if too dry add a bit of water. Cut the dough in 8 pieces and form the quenelles as shown in the picture below. Boil a large amount of water and poach the quenelles until they float.

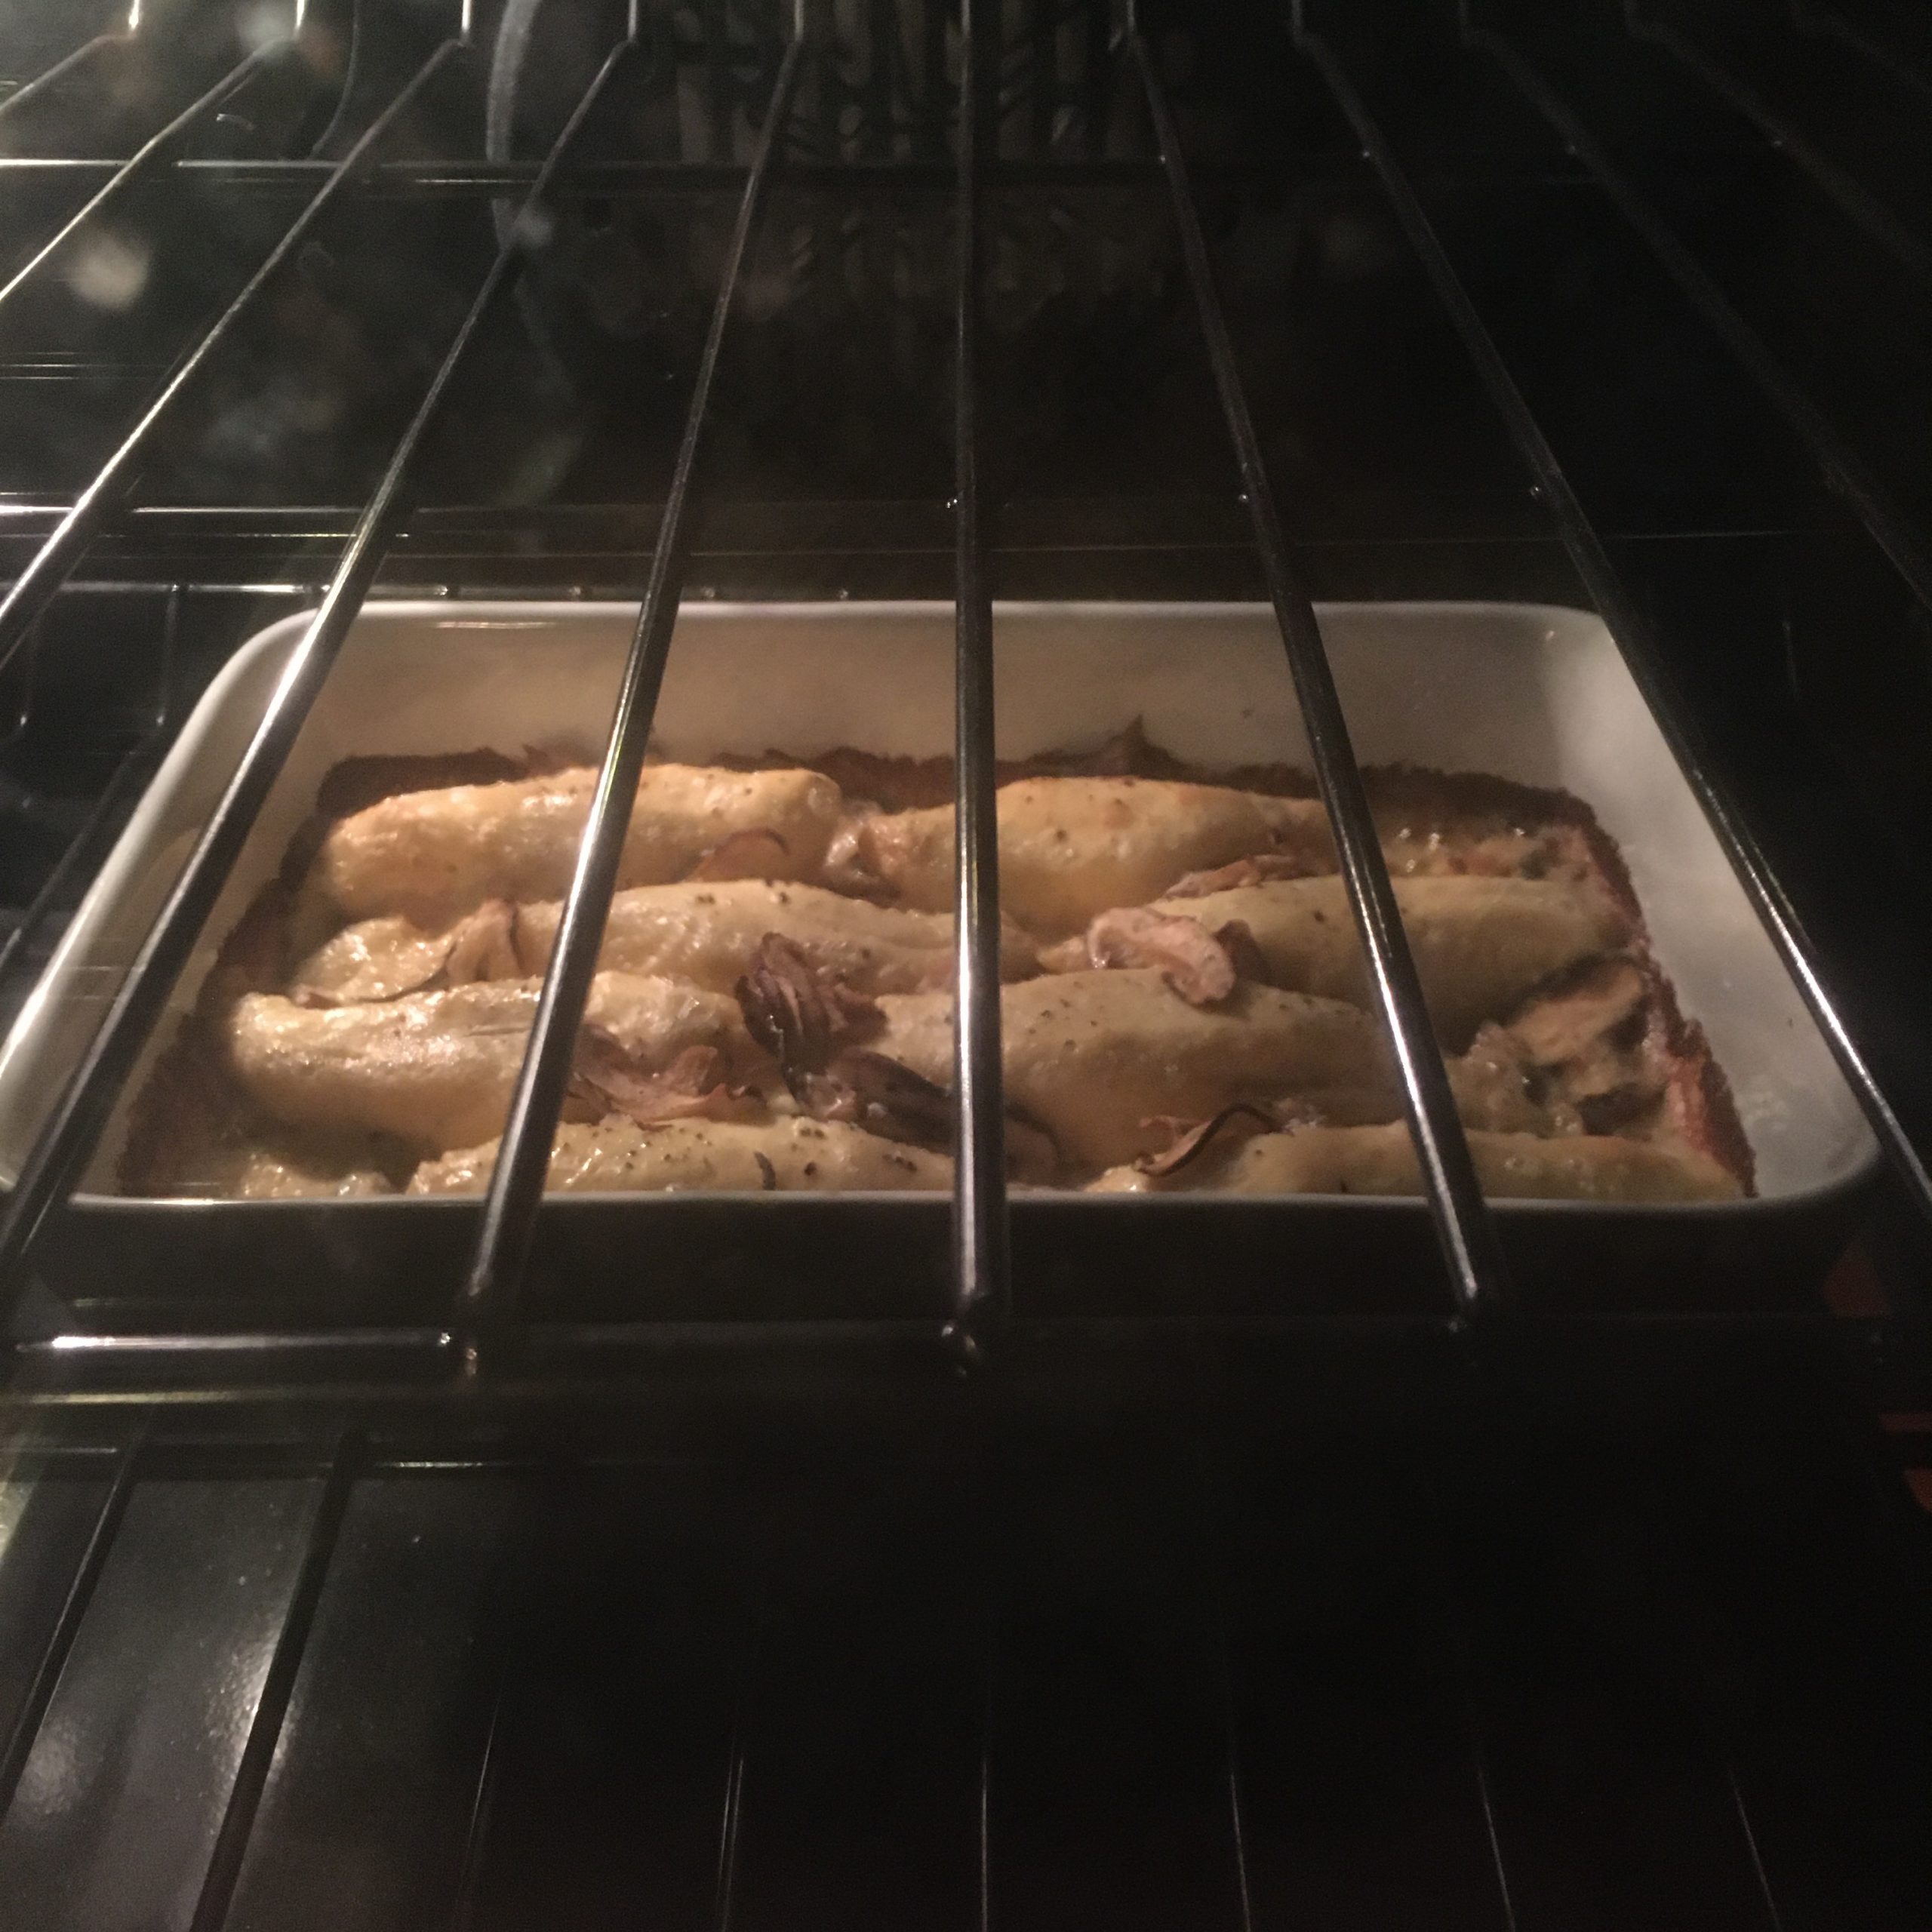
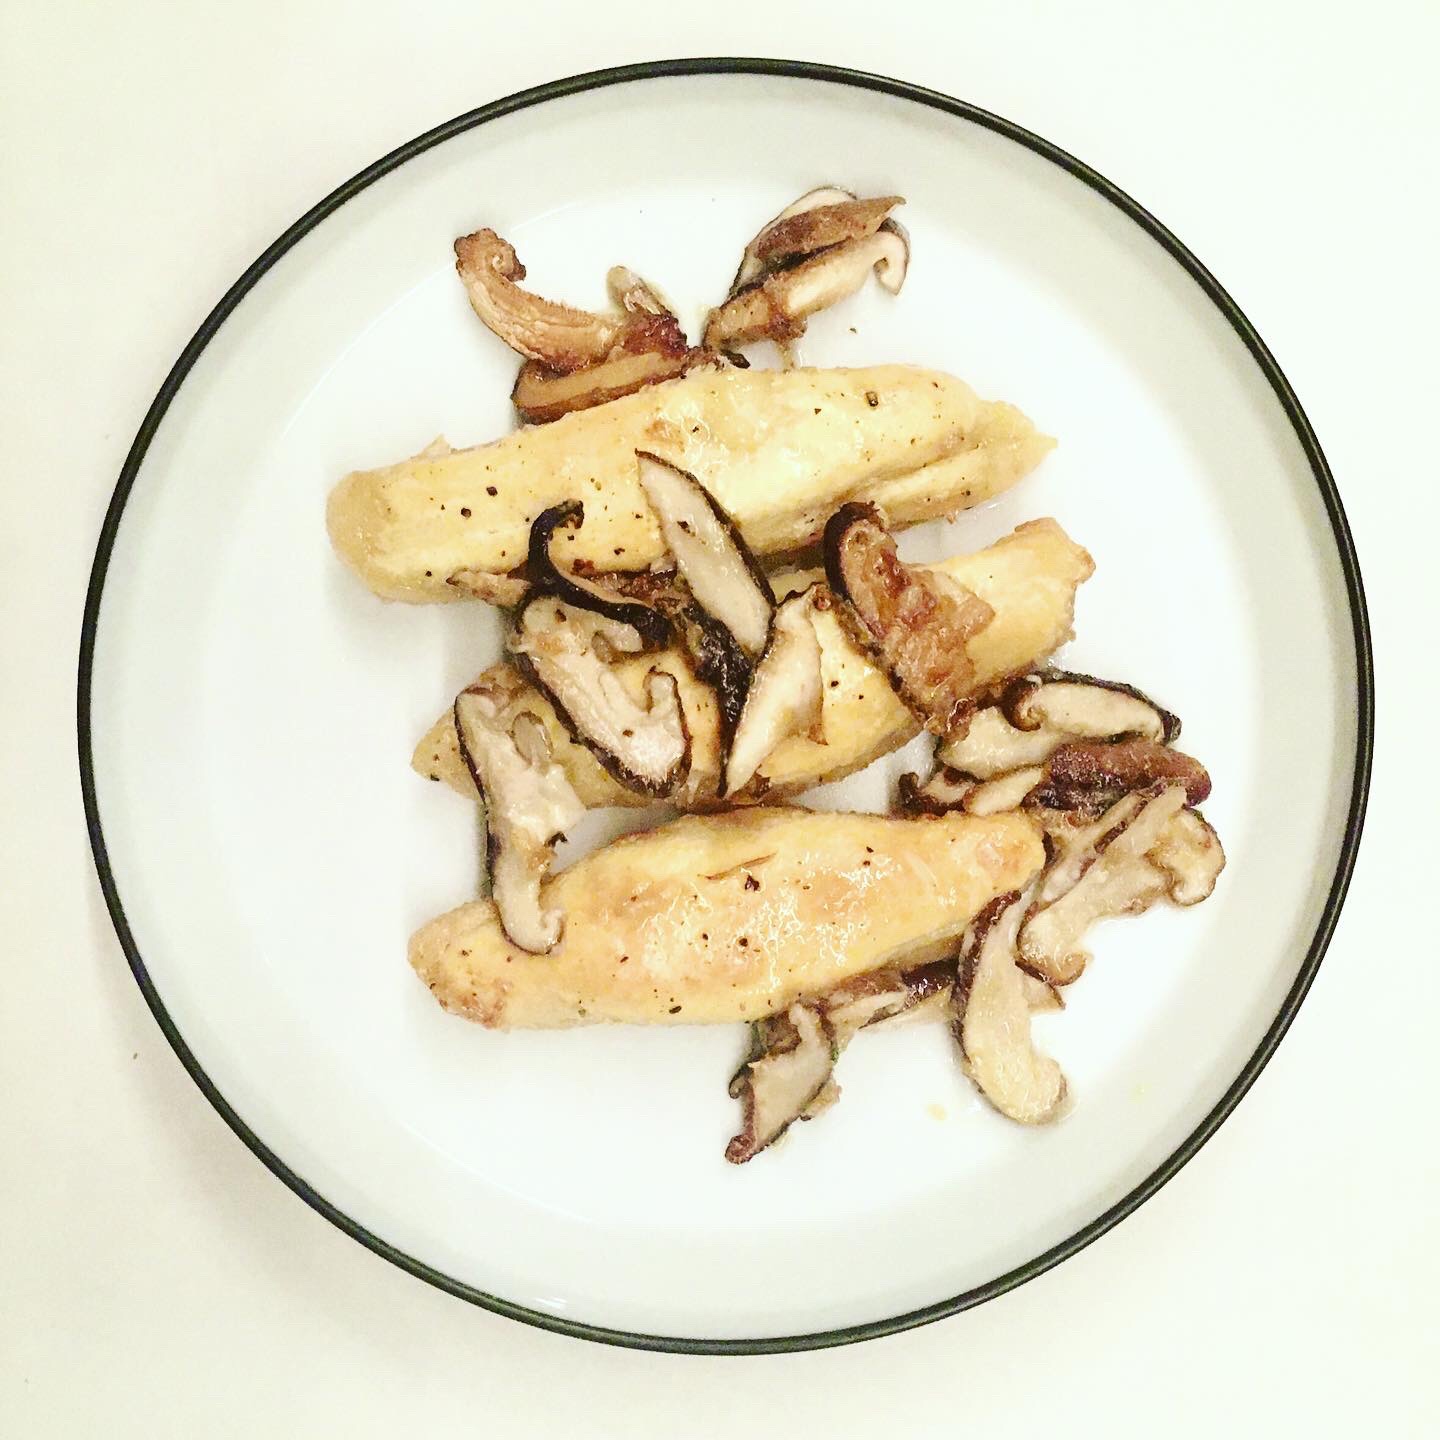
Set in an oven dish, add the milk. Wash and slice the mushrooms, add to the whole. If you use fresh cream (not Japanese) add it now. Add salt and generously add pepper. Pre heat the oven at 200 degrees. And bake for 30min. At 20min add the cream (if you use Japanese cream). They get golden brownish on the top when ready. Serve and eat immediately.
A twisted “nimono” recipe

I love nimono, that is not new… I learned how to make them right with Japanese cookbooks and when I was going to cha-kaiseki classes, but for some reasons, I often wrongly thought that it takes time to make a nimono dish, and so not cook some as often as I should. But as my cooking evolves with time and changes subtly every month, every year, nimono has been more and more often on the menu. Enough often for me to test twisted versions of nimono, using different ingredients for flavouring and always managing to get it right. I also understood clearly that it can be really quick to make depending on the ingredients chosen. One ingredient that goes really well with nimono is green bell peppers. They fit perfectly the recipe and also are a good match with any white fish. And for white fish, we are lucky, in Ohara it is easy to find delicious local fresh ones: snappers of all sorts, sea bass, flounder…
As I don’t often cook with sake, I recently replaced the sake in the classic recipe by my ume-dashi pickled soya sauce. It adds a bit of sourness and a delicious flavour and when in season I love to add a few slices of lime, or of green yuzu, or any other green citrus fruit. So here is my twisted nimono recipe for a simple Japanese preparation that everyone can make!

Twisted nimono recipe (for 2 servings)

  • a nice piece of fresh white fish
  • 4~6 green bell peppers depending on size (red, yellow, orange can work as well but not as good…)
  • 1/2 lime or 1 green yuzu…
  • 2tbs of soya sauce, better ume pickled in soya sauce
  • 1tsp of cooking oil
  • 1/2 cup of water

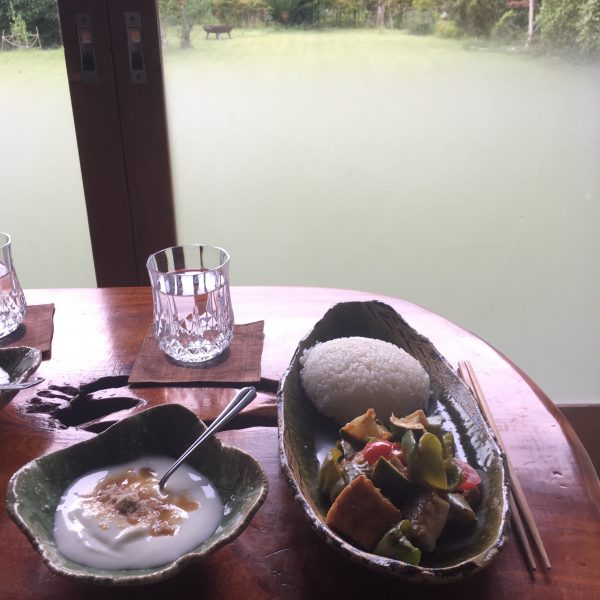
Wash and cut in rough pieces the bell peppers. Cut the citrus fruit in large pieces. Clean the fish and cut in large byte size. In a wok or pan, heat the cooking oil, add the fish and wait until half cooked, add the bell peppers. stir gently. Add the soya sauce, the water and the citrus fruit. Cook at medium-high heat until the liquid starts to reduce significantly and thicken a bit. Stop here the cooking and serve not too hot, with some white rice ideally.

Tonkatsu!!! No, hirekatsu!

What the heck!!!

Tonkatsu is the famous, and usually most beloved by foreigners, Japanese fried pork cutlet. It is a fatty part of pork, further rolled in panko and deep fried. It’s heavy, fatty and honestly the rice and the shredded cabbage on the side cannot help pumping the fat!!! We never eat it. But there exist slightly better version of it: hirekatsu – ヒレカツ (filet katsu…). Instead of the fatty cutlet it is the most meager part of pork: filet. That makes thing more bearable and not without reminding me the veal escalope my grandmother was making. My father and A. are big fans of it and I would usually (before it closed) buy hirekatsu at Genji in Isumi, and we would have it altogether. So about once a year or so!! Another option would be Saboten, a chain store in Tokyo that prepares on the spot a variety of fried meat and fish and croquettes.

With the travel ban, my parents didn’t come in March and so A. didn’t have had much a chance to eat hirekatsu in the past year… so the now that it is rainy and chilly, I could venture in making some richer food, and just had a nice piece of pork filet from Isumi. All set!! Of course I don’t deep fry, so it is a panfried version, but it works as well… and here is my recipe, but really you don’t need one for making this!!!

Pan fried hirekatsu

  • A piece of pork filet
  • 1 egg
  • Panko
  • Frying oil

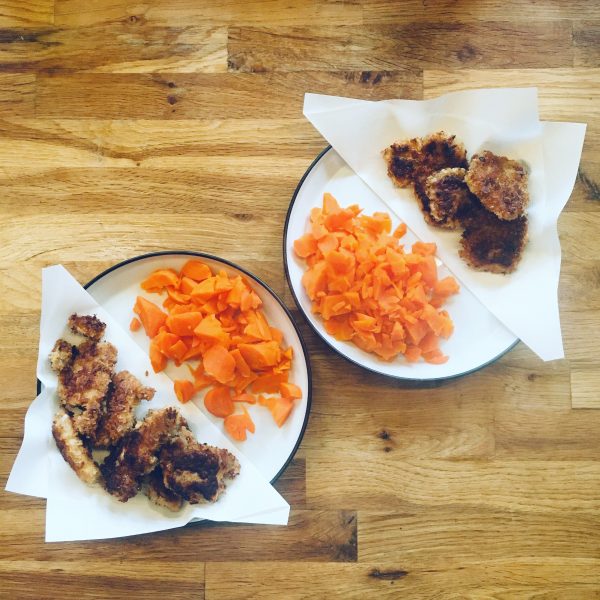
Cut the pork filet in 5mm~1cm slices (count 4 slices per person). Break the egg in a bowl and make and egg batter. Set the panko in a plate. Heat sufficient oil in a fry pan at high heat. Dip one pork slice in the egg batter the in the panko until fully covered and fry in the pan. Continue until all done. Turn the piece on all side until golden. There’s really nothing special about that preparation in fact!!!

Serve with some shredded cabbage for Japanese style, or anything else if you prefer: I served with steamed carrots.

Koyadofu – 高野豆腐

There is more than one ingredient in Japanese cuisine that is intriguing, konyaku, fu and koyadofu are some of them. So let’s talk about koyadofu this time…

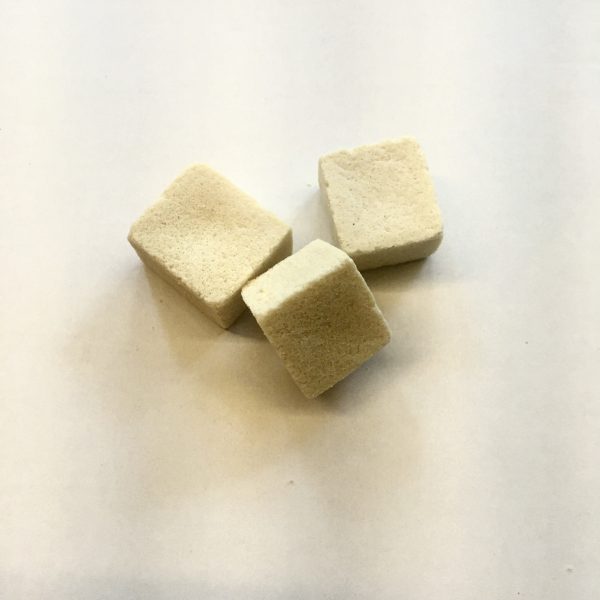
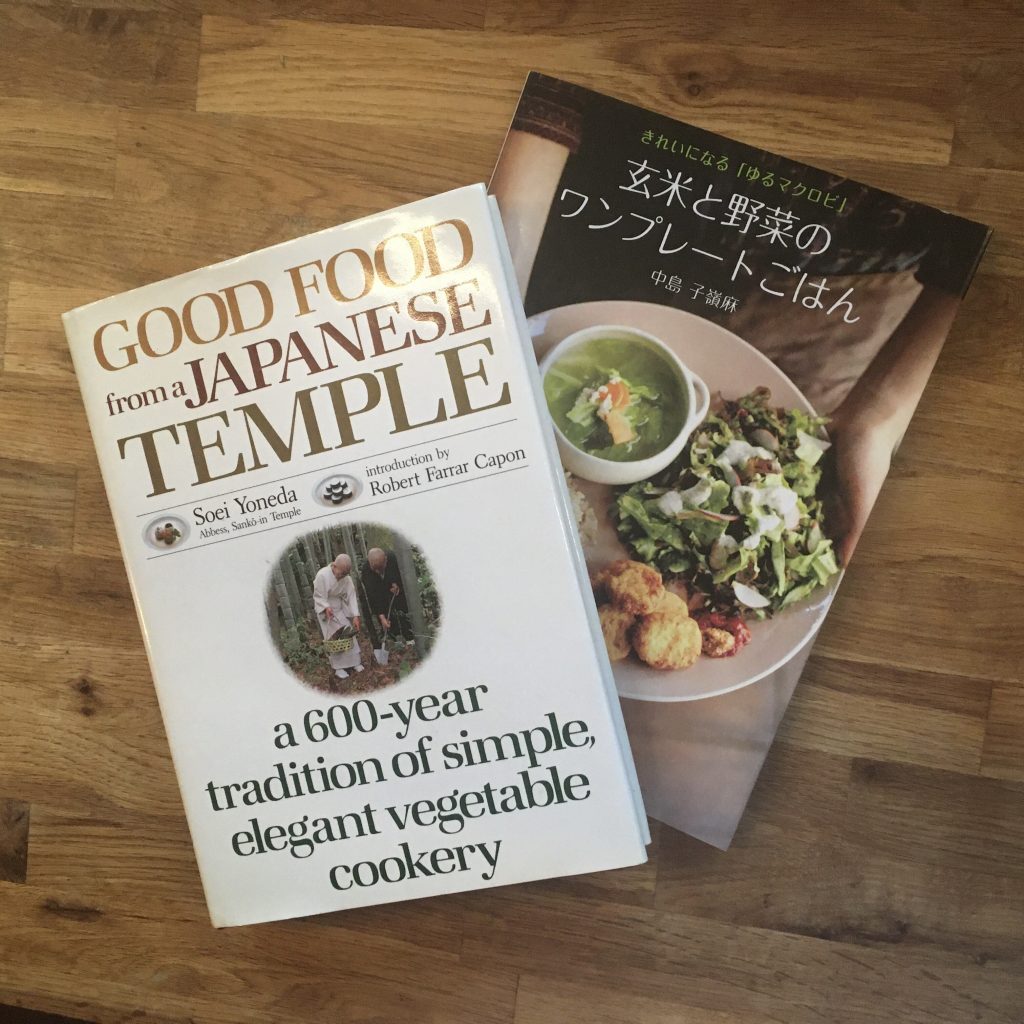
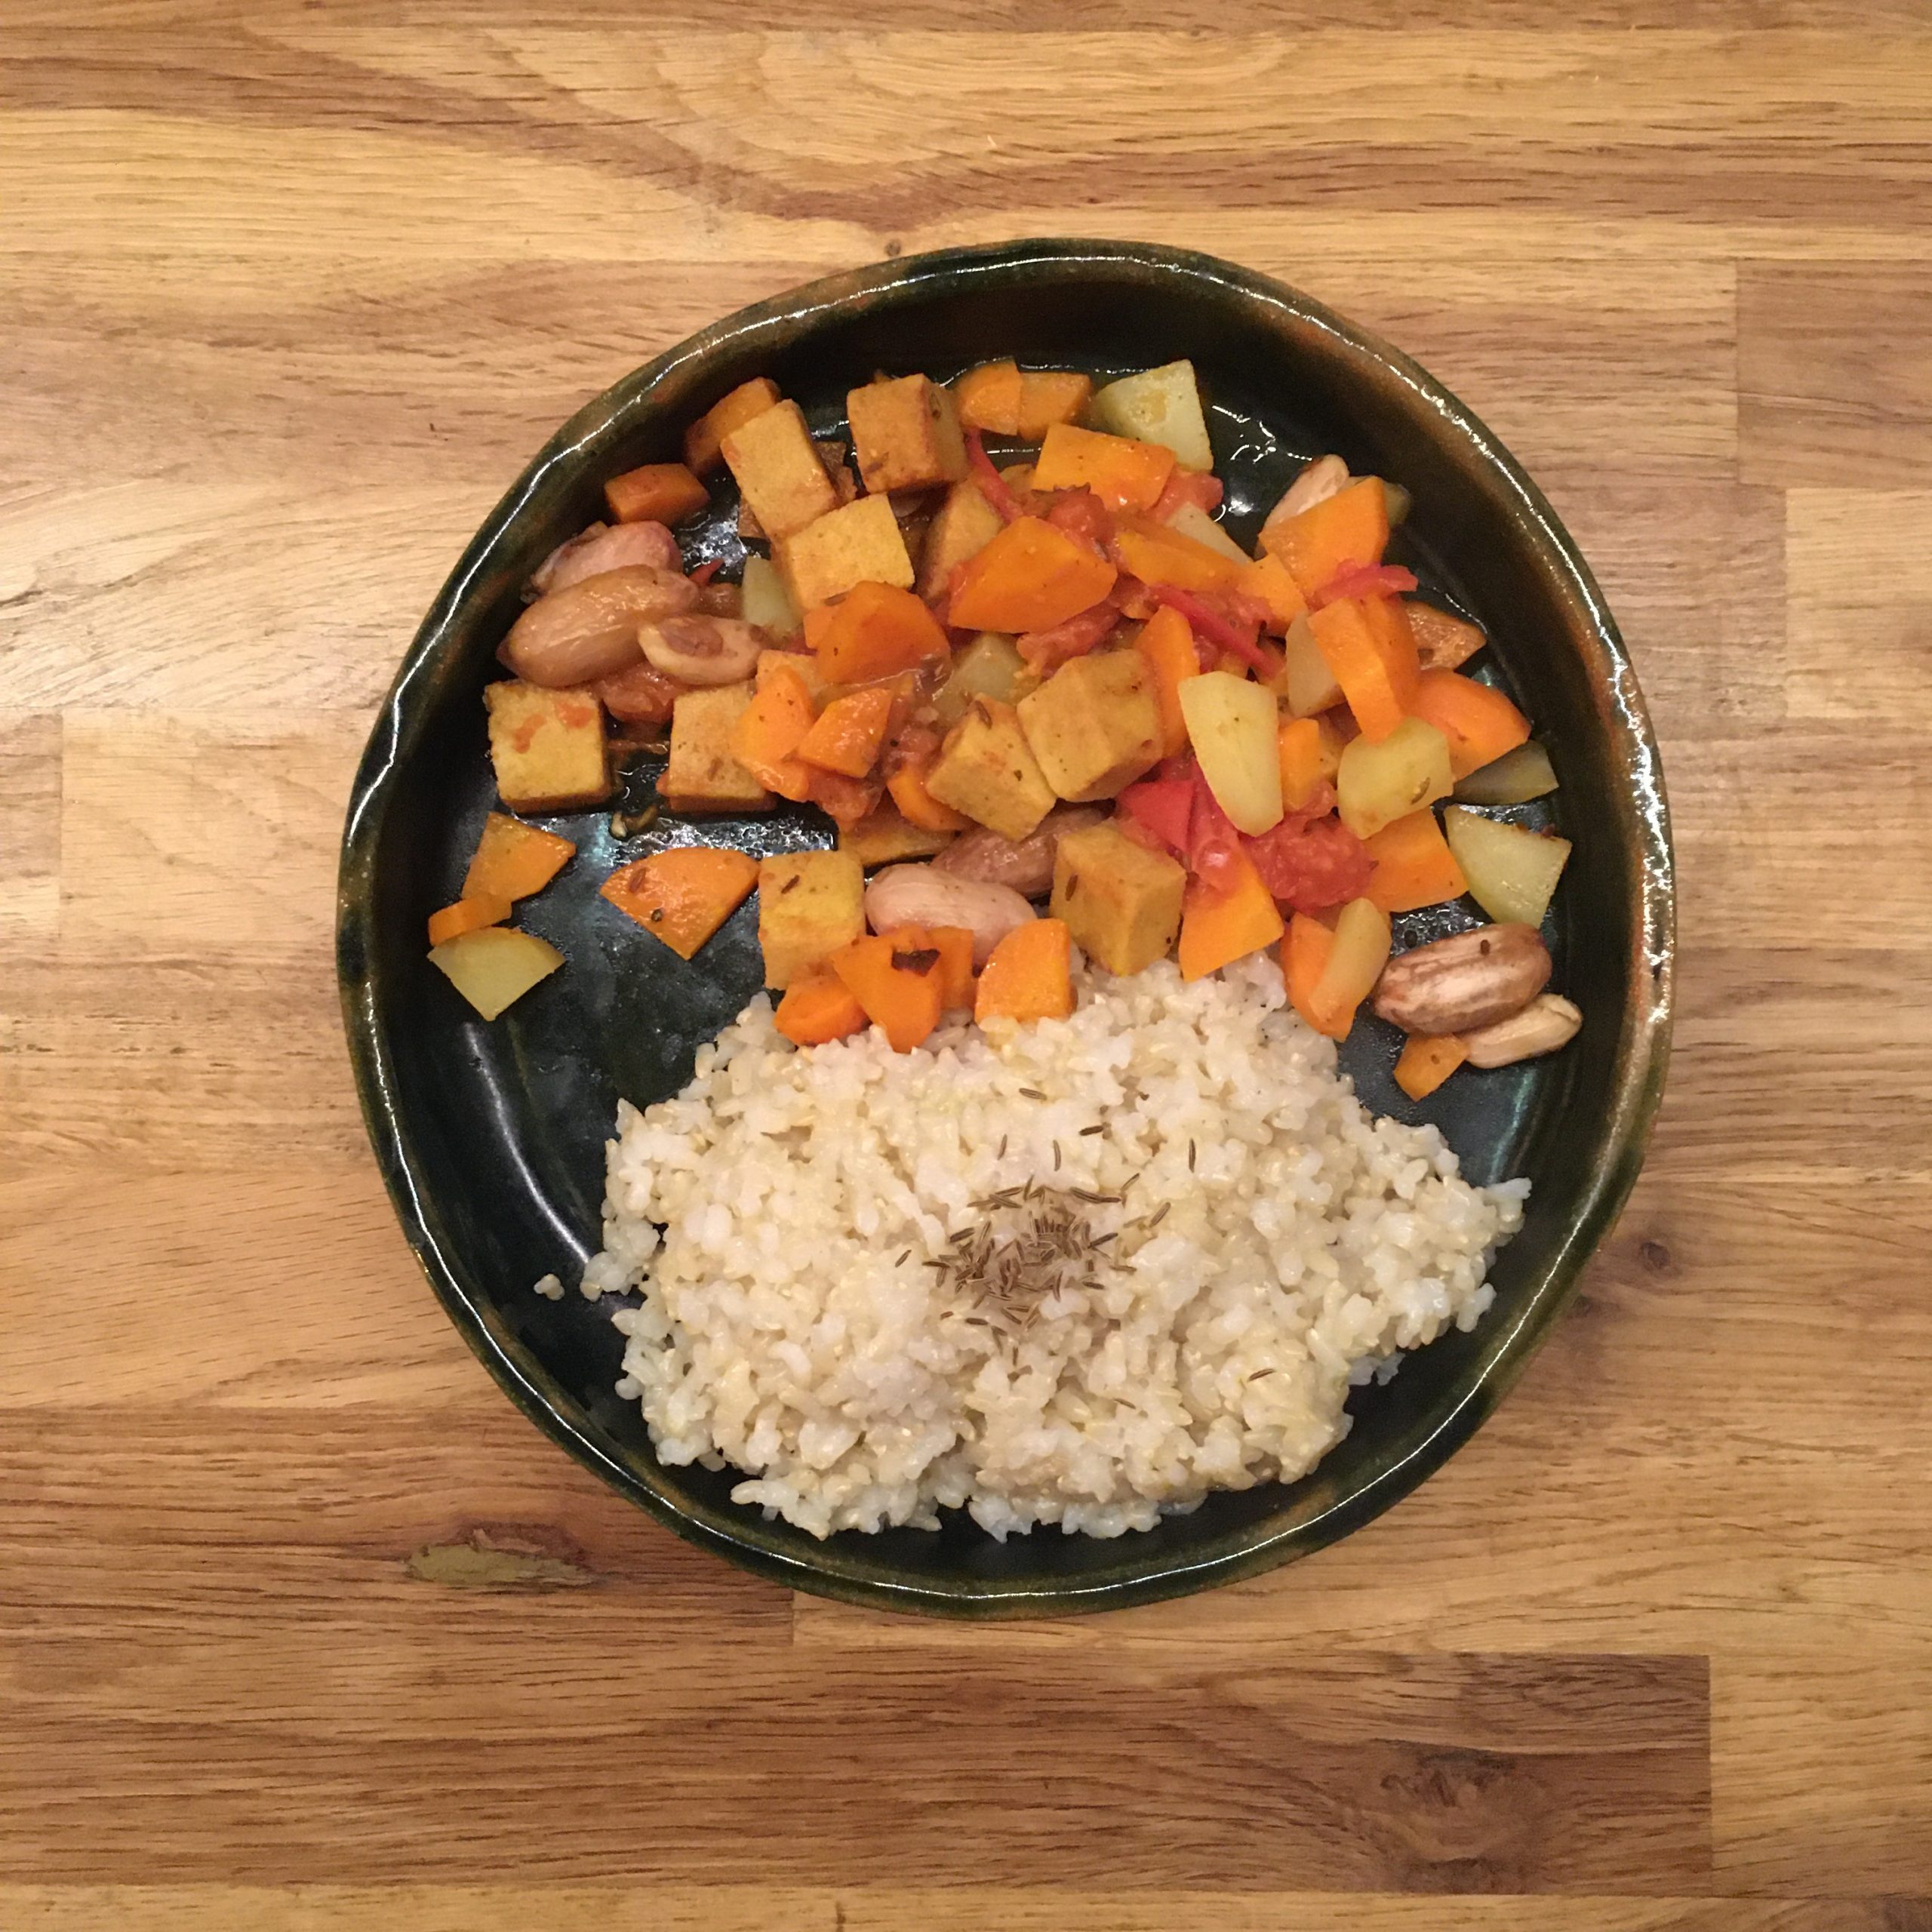
Koyadofu 高野豆腐 or freeze-dried tofu is a product that has been used in temple vegan cuisine and for traveling warriors for about 500 years. It is a way to preserve tofu for long times in a compact way, and very rich nutritionally. Indeed koyadofu is packed with proteins and fat. It’s a kind of space food in a sense, or one of its ancestors. To be honest, at first koyadofu doesn’t look like an attractive food: it is truly like a very thin sponge, and usually served soaked after simmering or in some kind of bouillon. For those that find tofu insipid, and I know many may think so, they should probably pass on Koyadofu because taste is even thiner and lighter. However, when well prepared it is a very nice ingredient to use and it adds an interesting texture to dishes. Most recipes of koyadofu will be found in buddhist and macrobiotic cookbooks. I find my inspiration from my two favorite of the kind: “good food from a Japanese temple” and “玄米と野菜のワンプレートごはん”. And the recipe I present today is inspired by both, it’s a curry with seasonal vegetables koyadofu served with brown rice. It is really simple and delicious.

Koyadofu curry-rice (serves 2)

  • 1 cup of brown rice, cooked
  • 6 blocks (2cmx2cm) of koyadofu or one large
  • seasonal vegetables of your choice: carrot, potatoes, butternut squash, tomatoes
  • a handful of peanuts (it’s a seasonal and local product in Isumi, so I used fresh ones simply boiled)
  • 1tsp of curry powder
  • 1tsp of ground coriander
  • 1tsp of ground turmeric
  • 1tsp of cumin seeds (carvi seeds or anis seeds can work…)
  • 1 pinch of ground red pepper
  • 1 pinch of salt
  • 1tsp of cooking oil of your choice

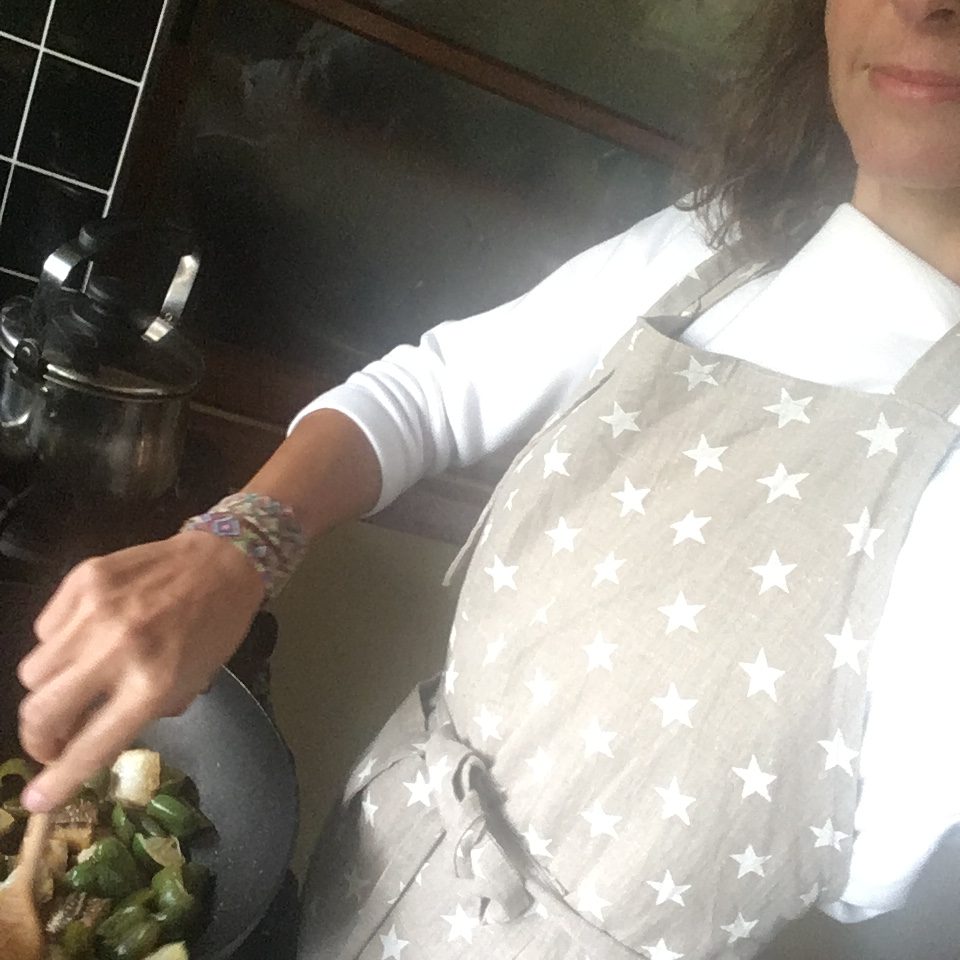
Koyadofu always needs to be returned to a moist status. So put the blocks in tepid water for 5min, then drain by squeezing gently, and rinse/squeeze under running water until the water turns clear. It’s basically like washing a sponge… now it’s ready to use.

Peel, wash, cut the vegetables. In large pan or wok greased with cooking oil, toss the vegetables in order of cooking time. And stir once in a while. Add the koyadofu. Stir. Then cover with water, add all the spices, and the peanuts. Cook at low heat until the liquid is almost gone, by then the vegetables should be just cooked. You don’t want to overcook them, to keep an interesting mix of texture. You can serve with the brown rice and enjoy!!!

Have a good day!

Failures… and successes

The weekend is so short that two days are not enough to do all we want to do… first there is the mandatory refill of fresh local products, there is no way we can miss that, it’s a must, I couldn’t imagine buying all my vegetables and fruits in Tokyo (I don’t know how I was doing before!!!). Then there is the surf, and last weekend was an amazing one, beautiful weather, great waves! (picture from Y. Kamo), the tennis, the trees trimming, the lawn mowing, the harvesting and the cooking and baking…

So I often forget when the weather is warm and beautiful that we are in the pick time for typhoons. It is so easy to forget them… We had one two weeks ago, and there is one coming now. And that typhoons can be really damaging for a harvest, particularly when it comes to flower harvests… and last weekend I knew I should have harvested the perilla flowers and the osmanthus fragrans flowers, but it was dusk when we finished the trees trimming, too late for a task that takes a lot of time, and requires time after to prepare the flowers… How many times have I carefully and patiently harvested staples from the garden and they ended in the trash because I couldn’t have the proper time to prepare them? Gingko nuts, ripe loquats, fukinoto, strawberry tree fruits etc… I always tell myself “no more”…

So by trying to avoid that, I end up missing the harvest time, feeding the birds (which I am fine with, we share the resources), or risking the harvest to the weather… and that’s what I just did this time… and with the rain and the wind I can already predict that the beautiful orange flowers will be covering the ground in a mushy soup… so no preparation that I was having in mind, no recipe that I wanted to test (osmanthus fragrans jam, coconut and osmanthus fragrans jelly etc…), or the classic syrup I wanted to make, and likely as well, no perilla flower miso this year… well that’s the way it is when you don’t live everyday in the same place and when you are too busy after the slowness of the summer, to shape up your garden among other things…

I learn by my (repetitive) mistakes that harvesting is something that doesn’t wait…

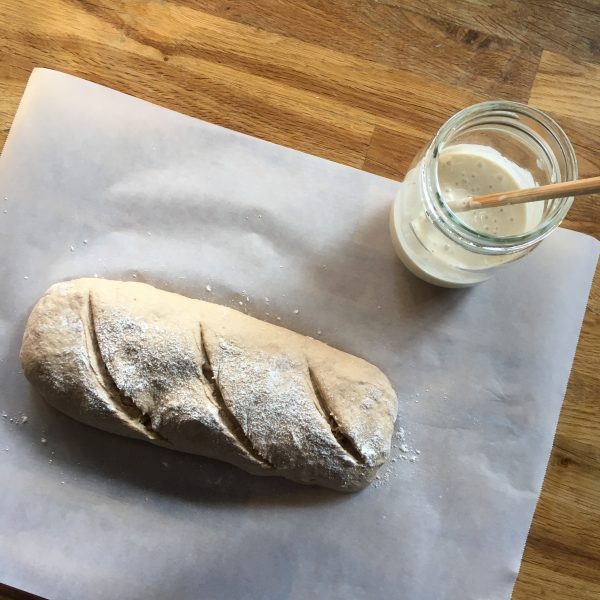
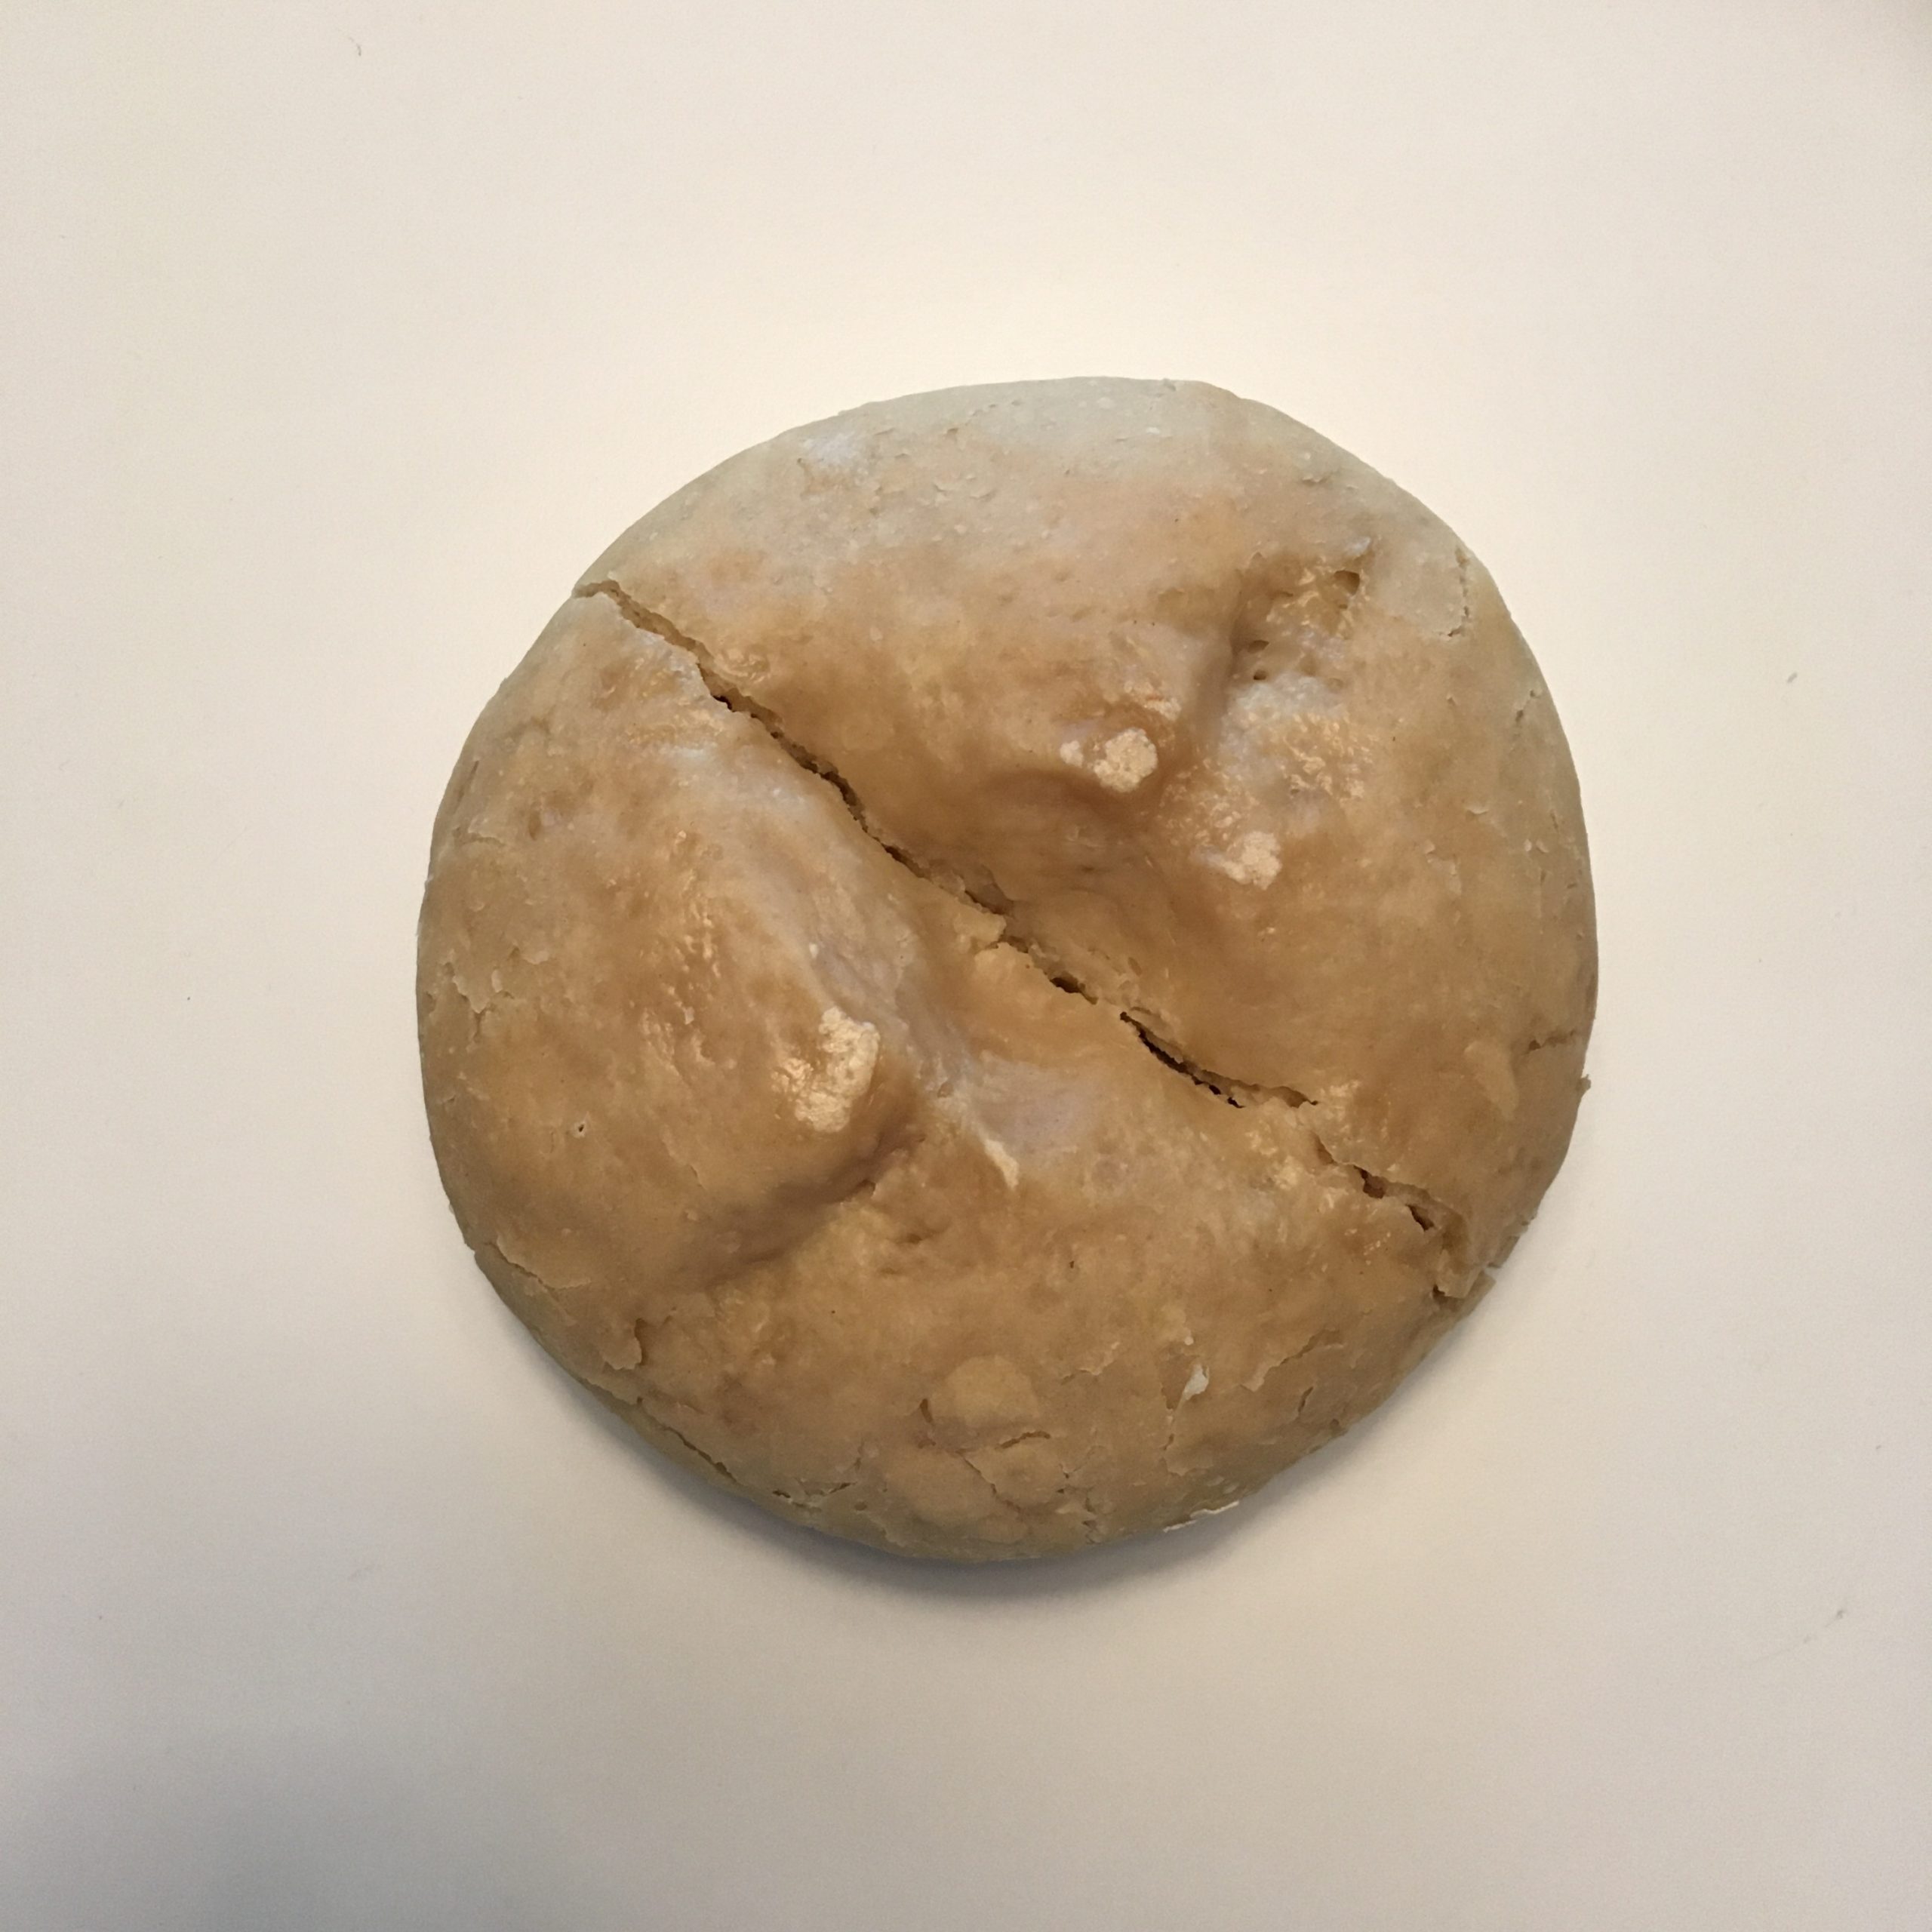
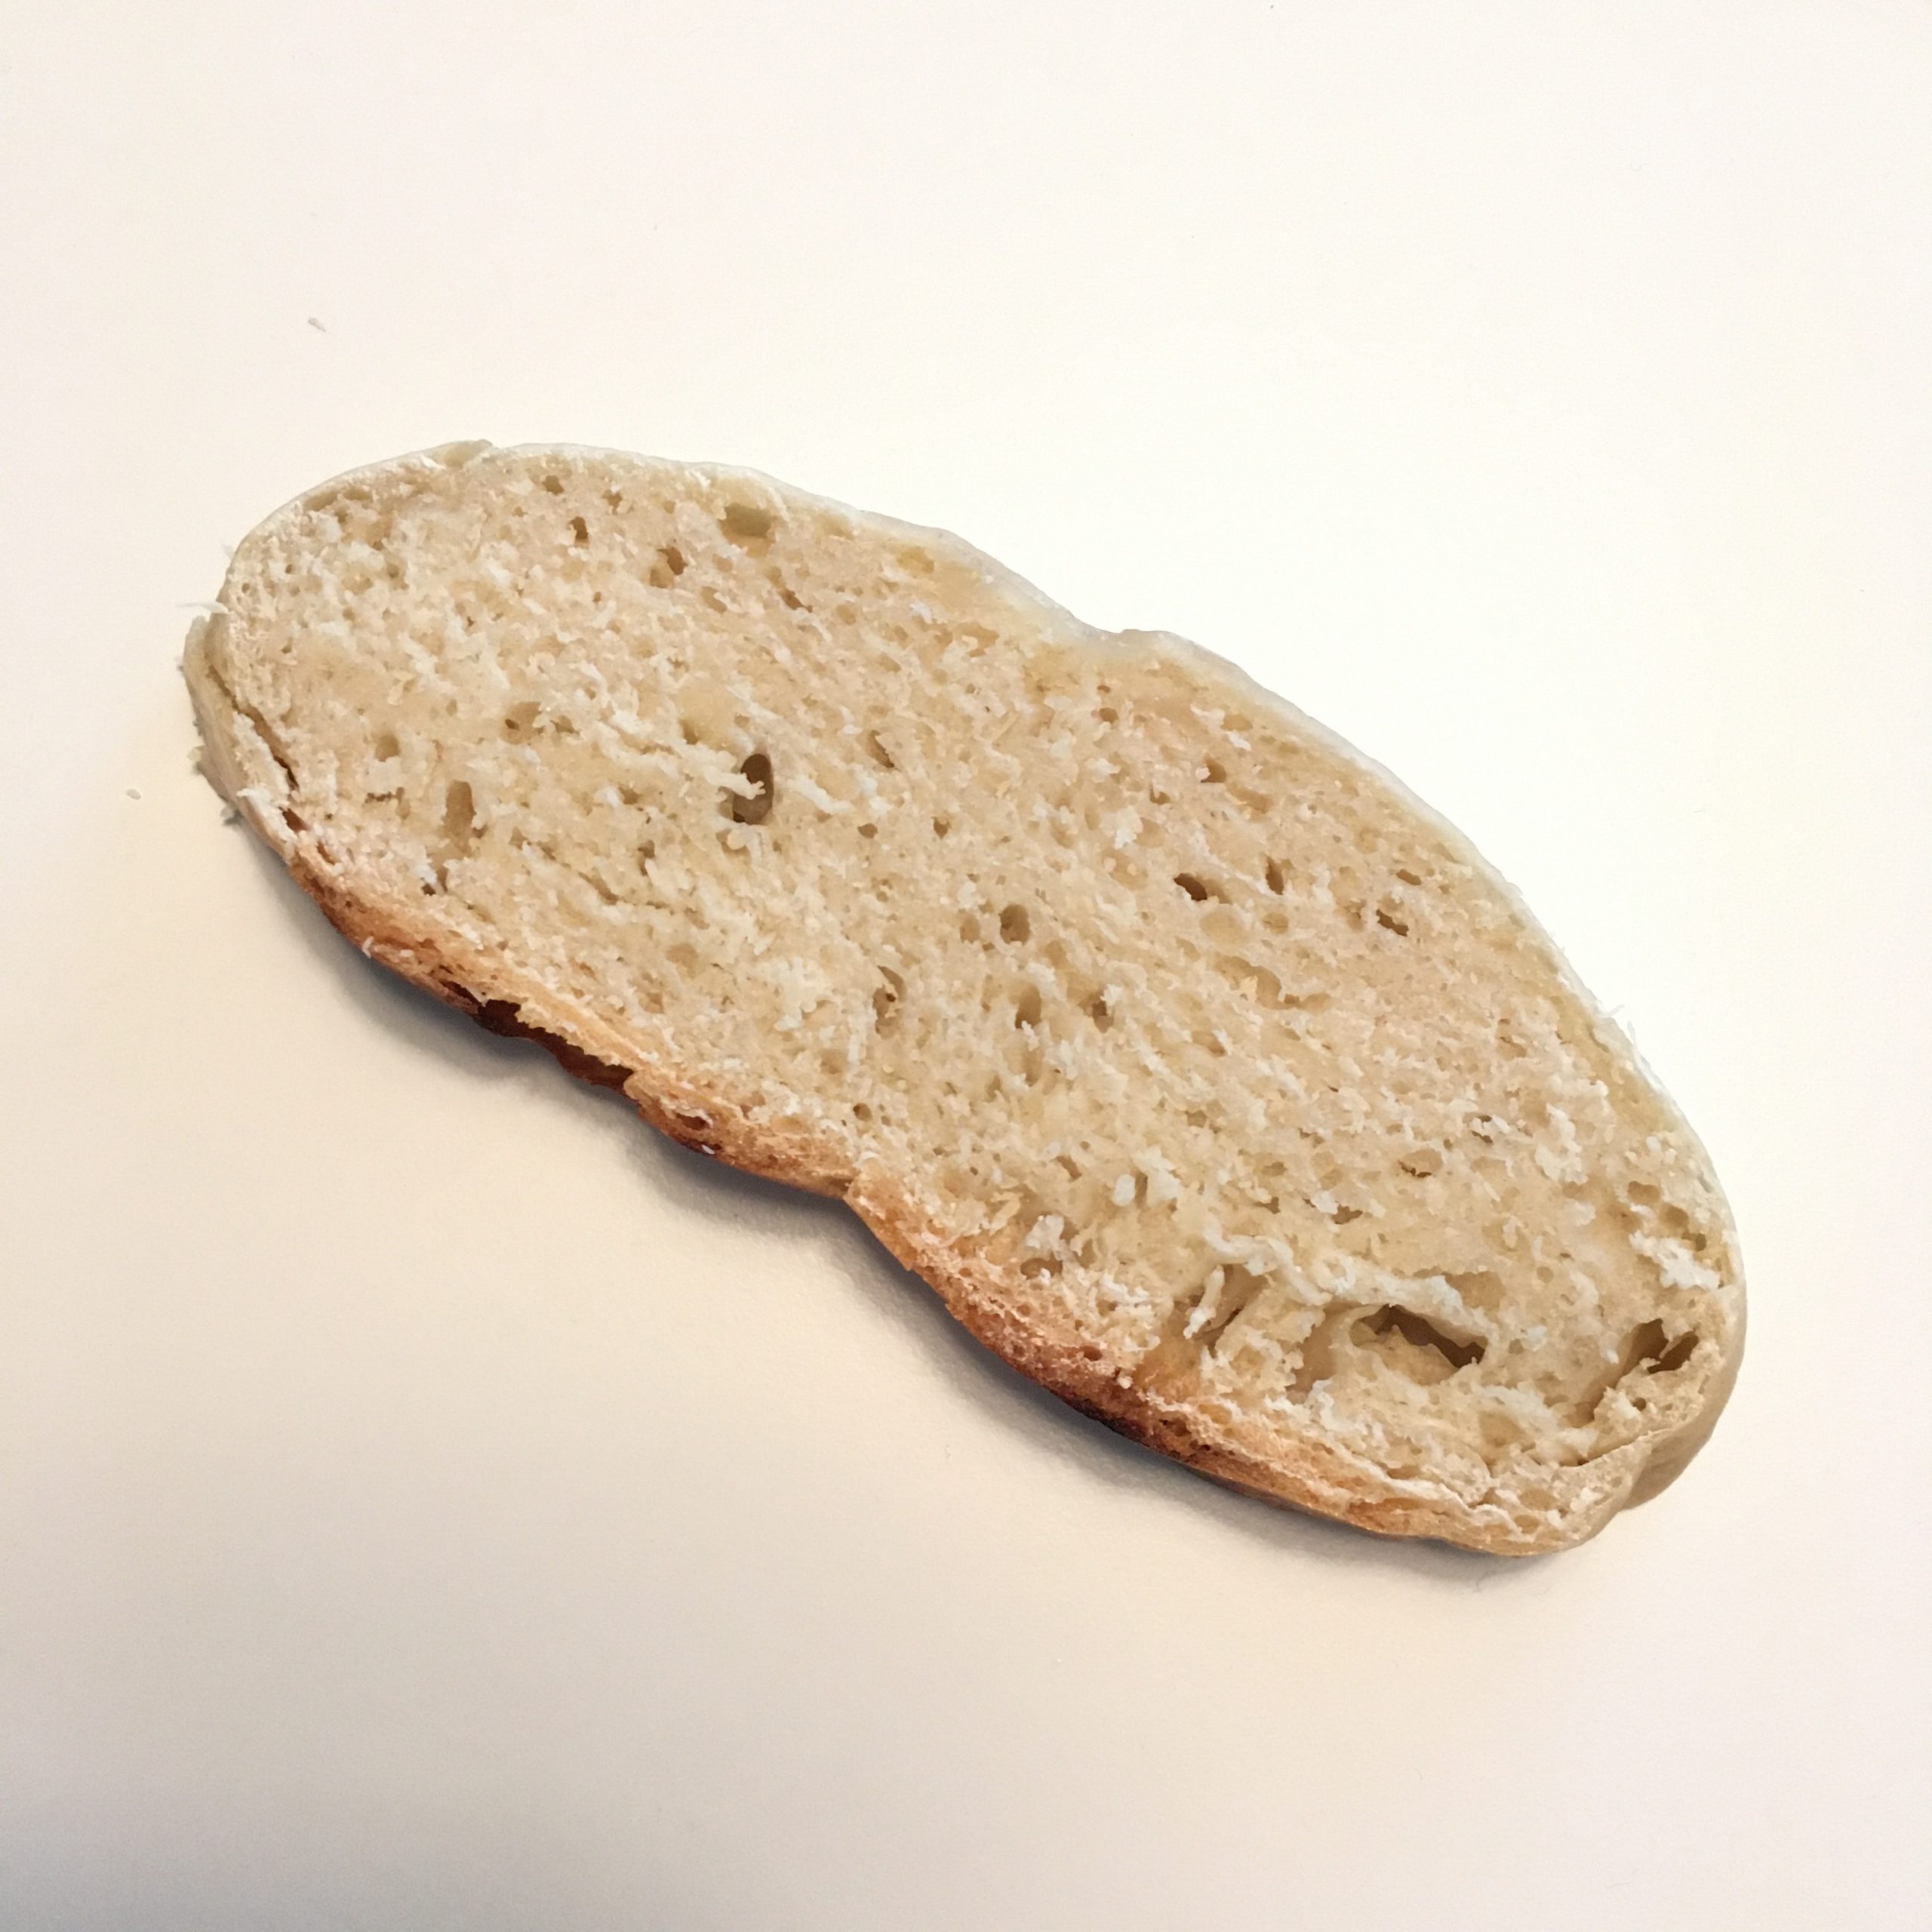
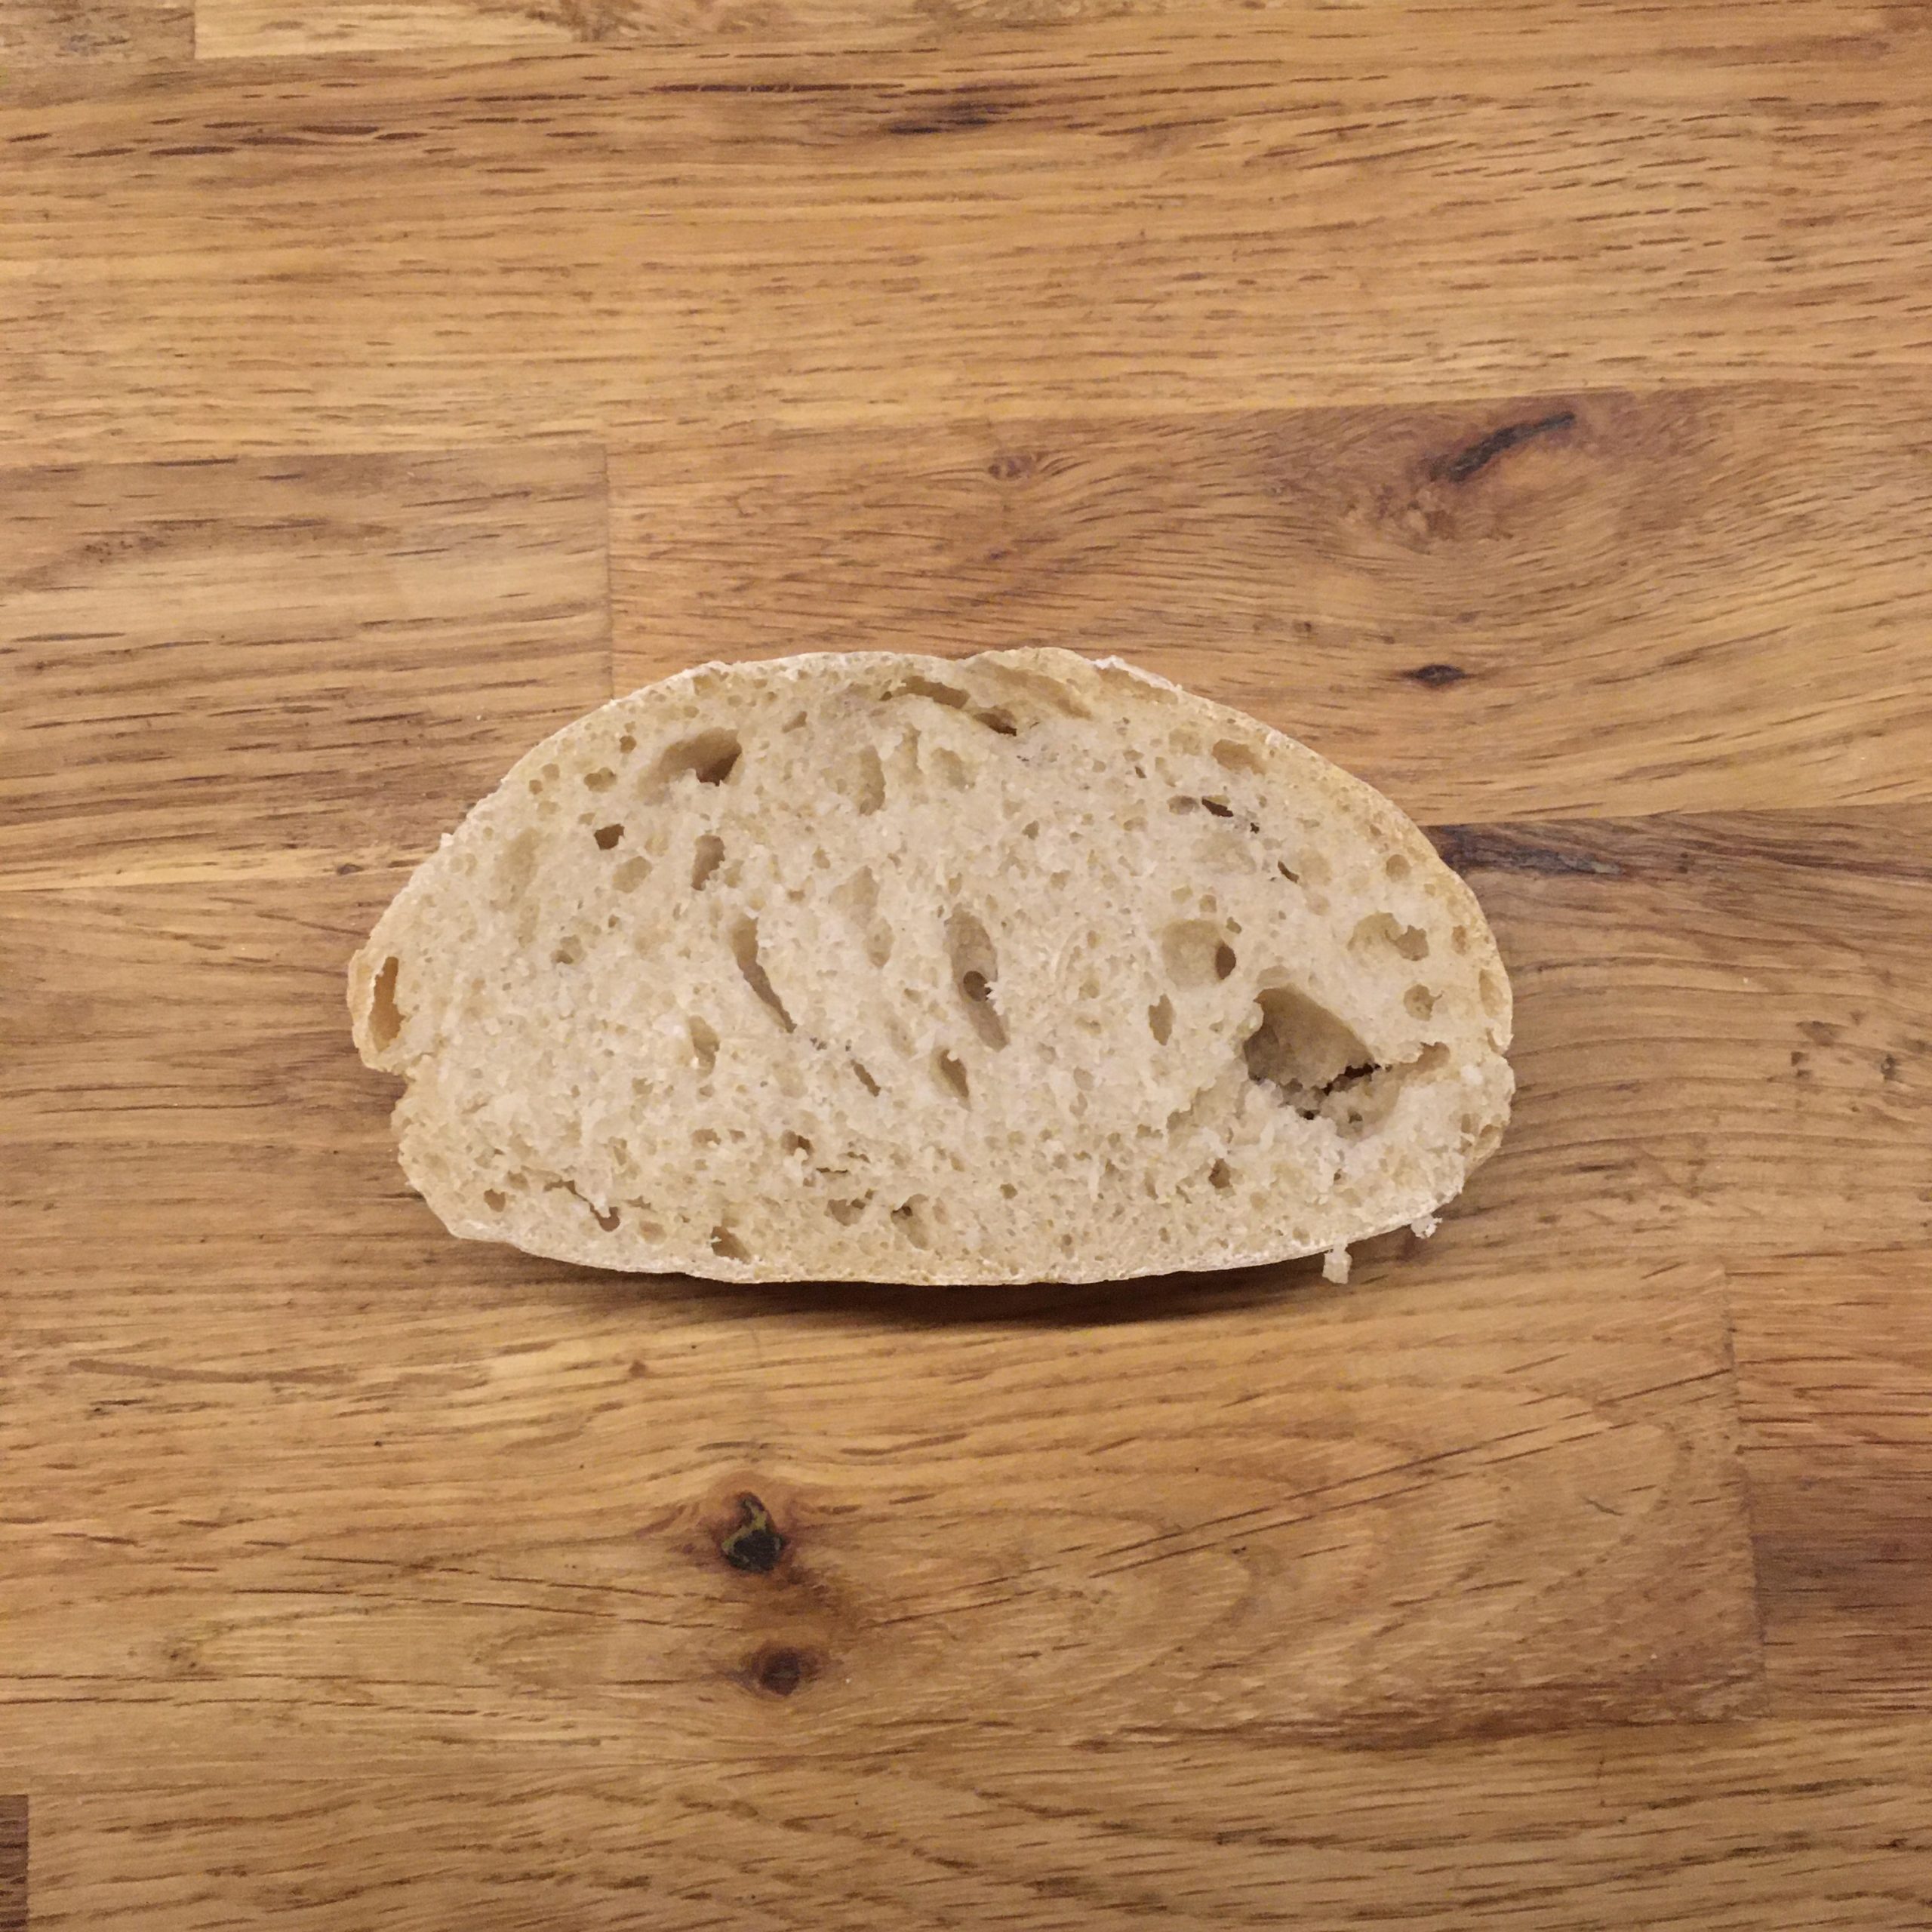
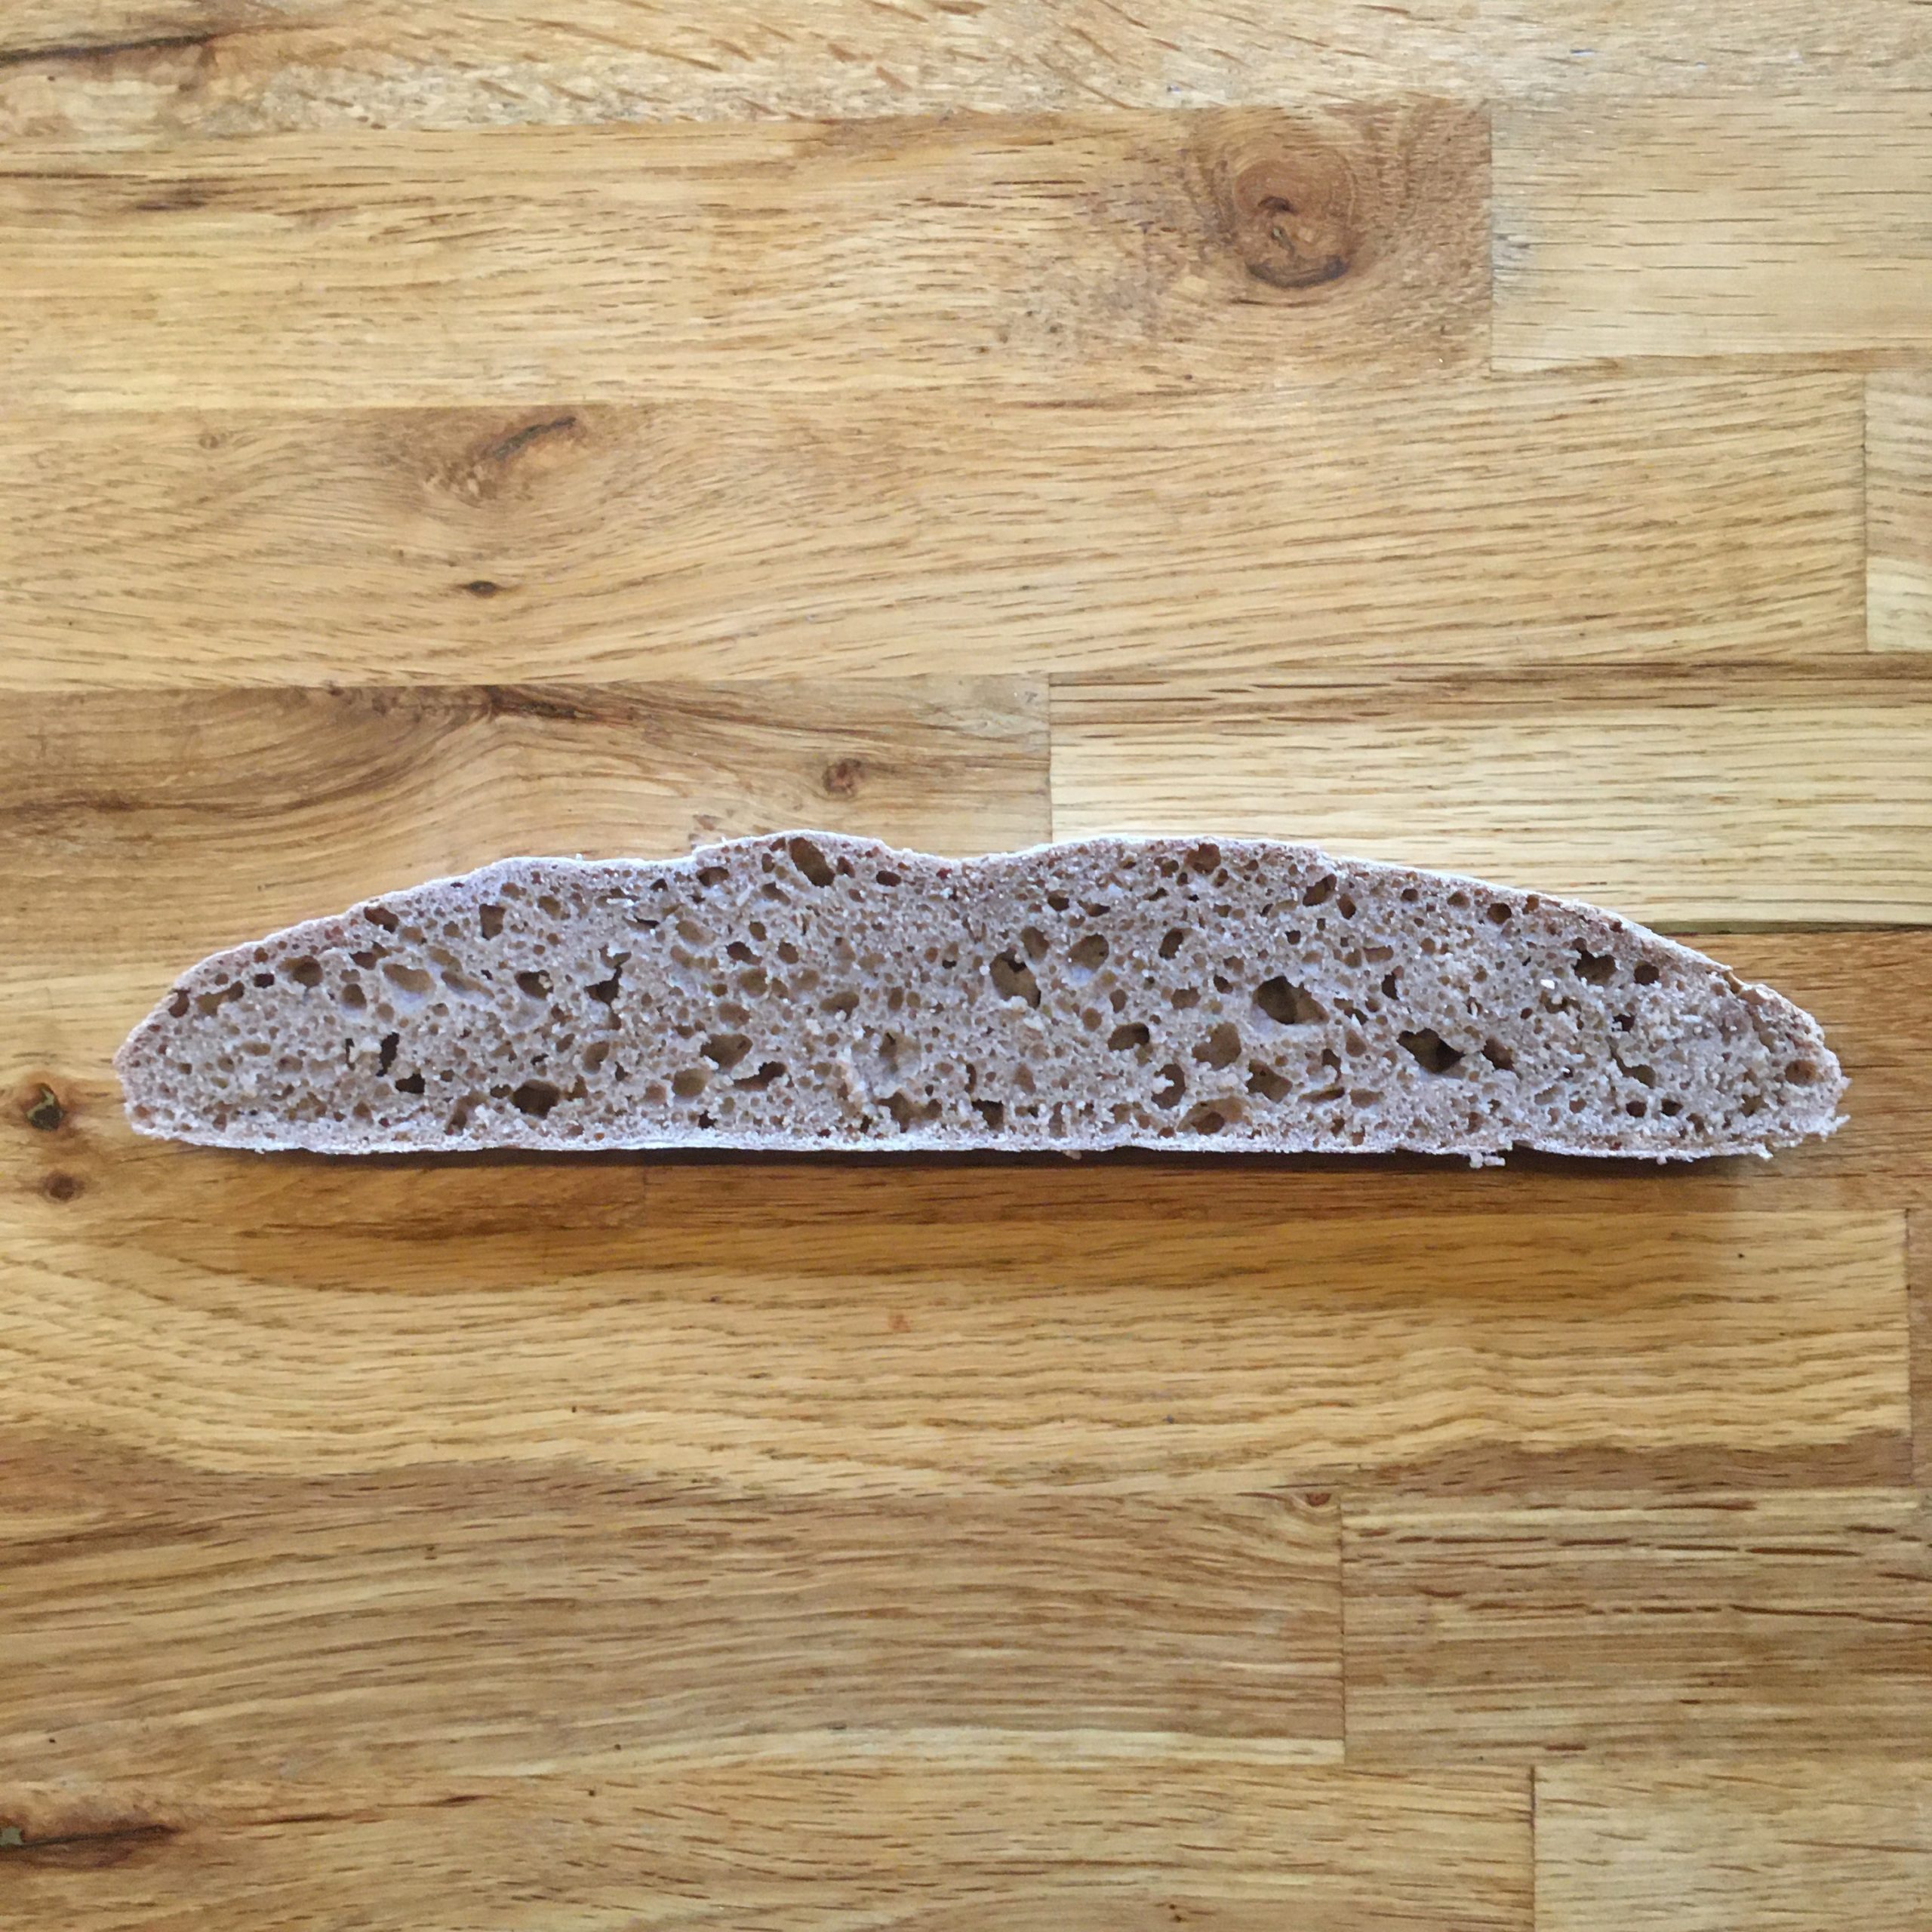
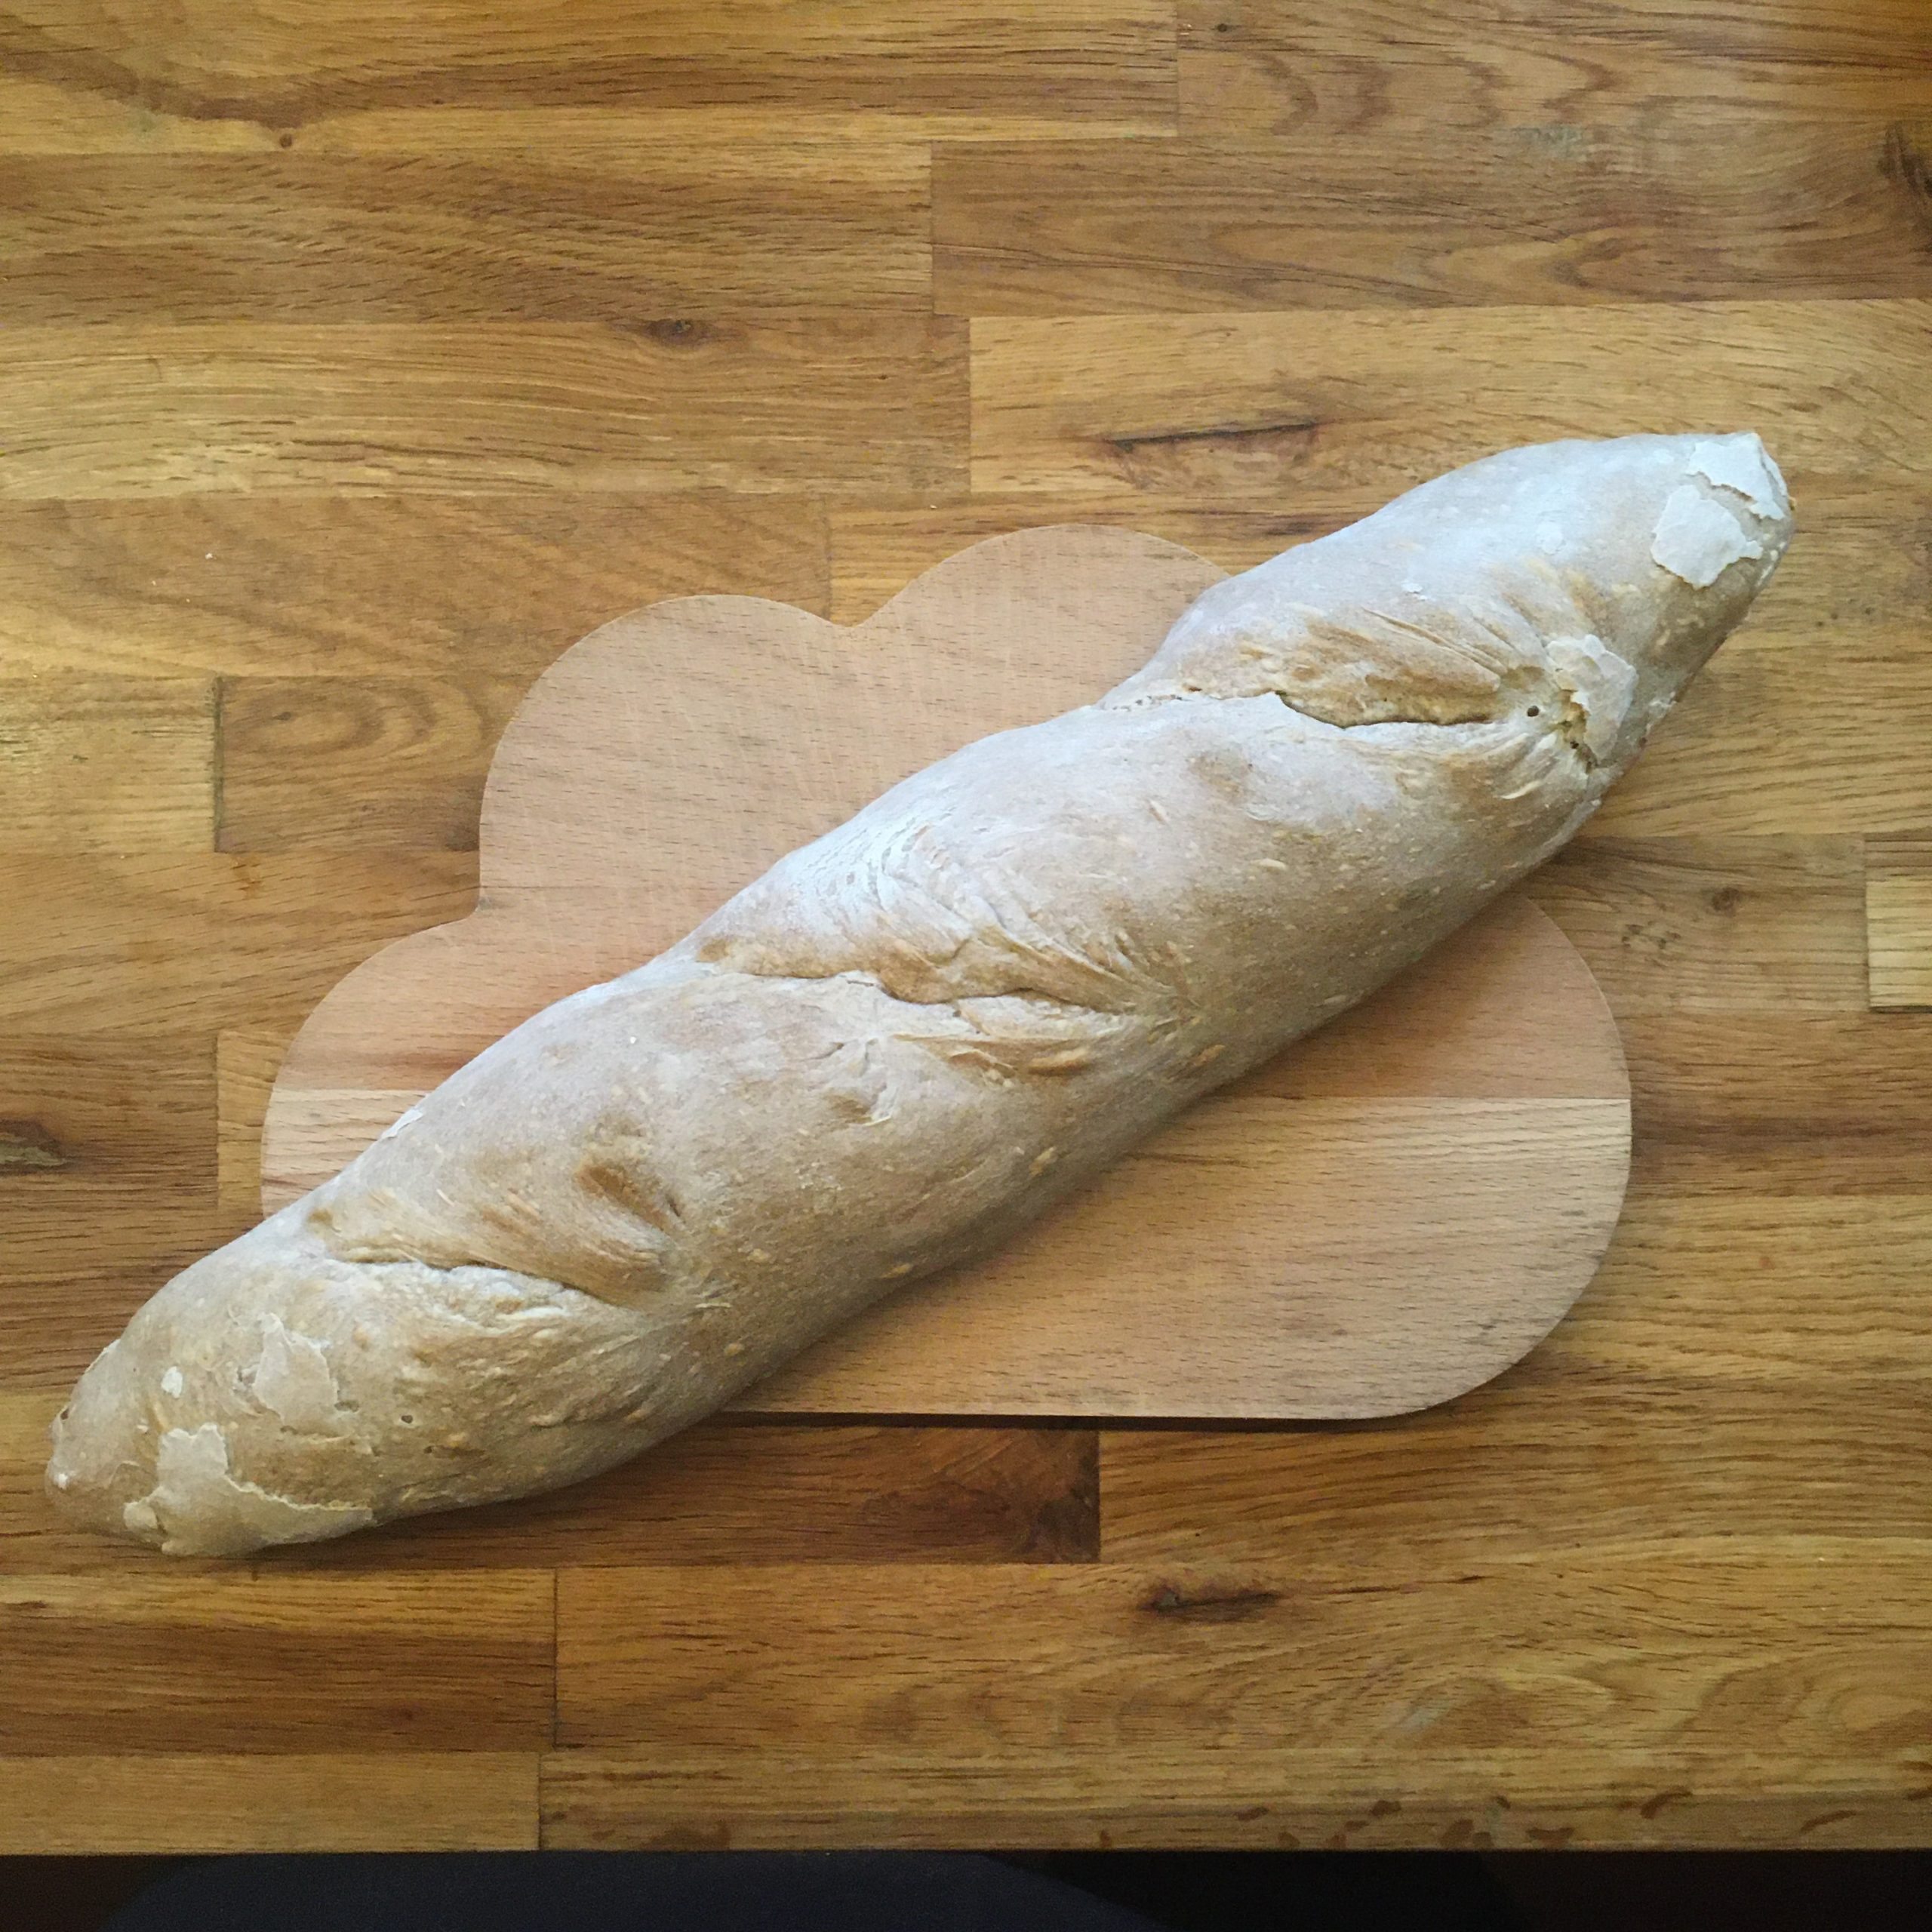
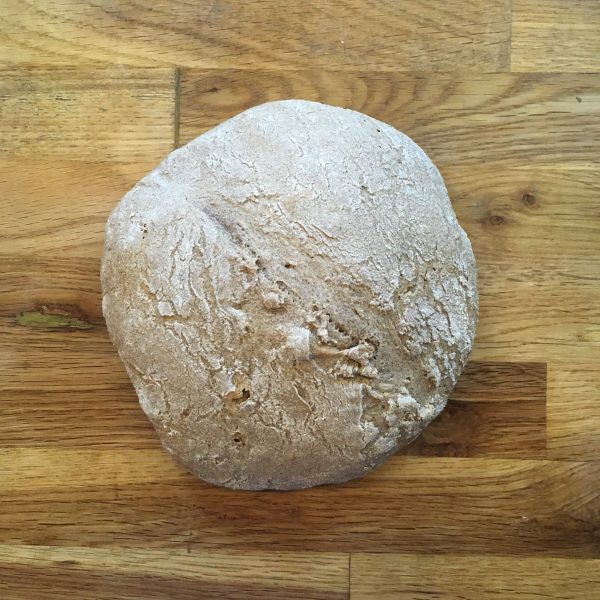
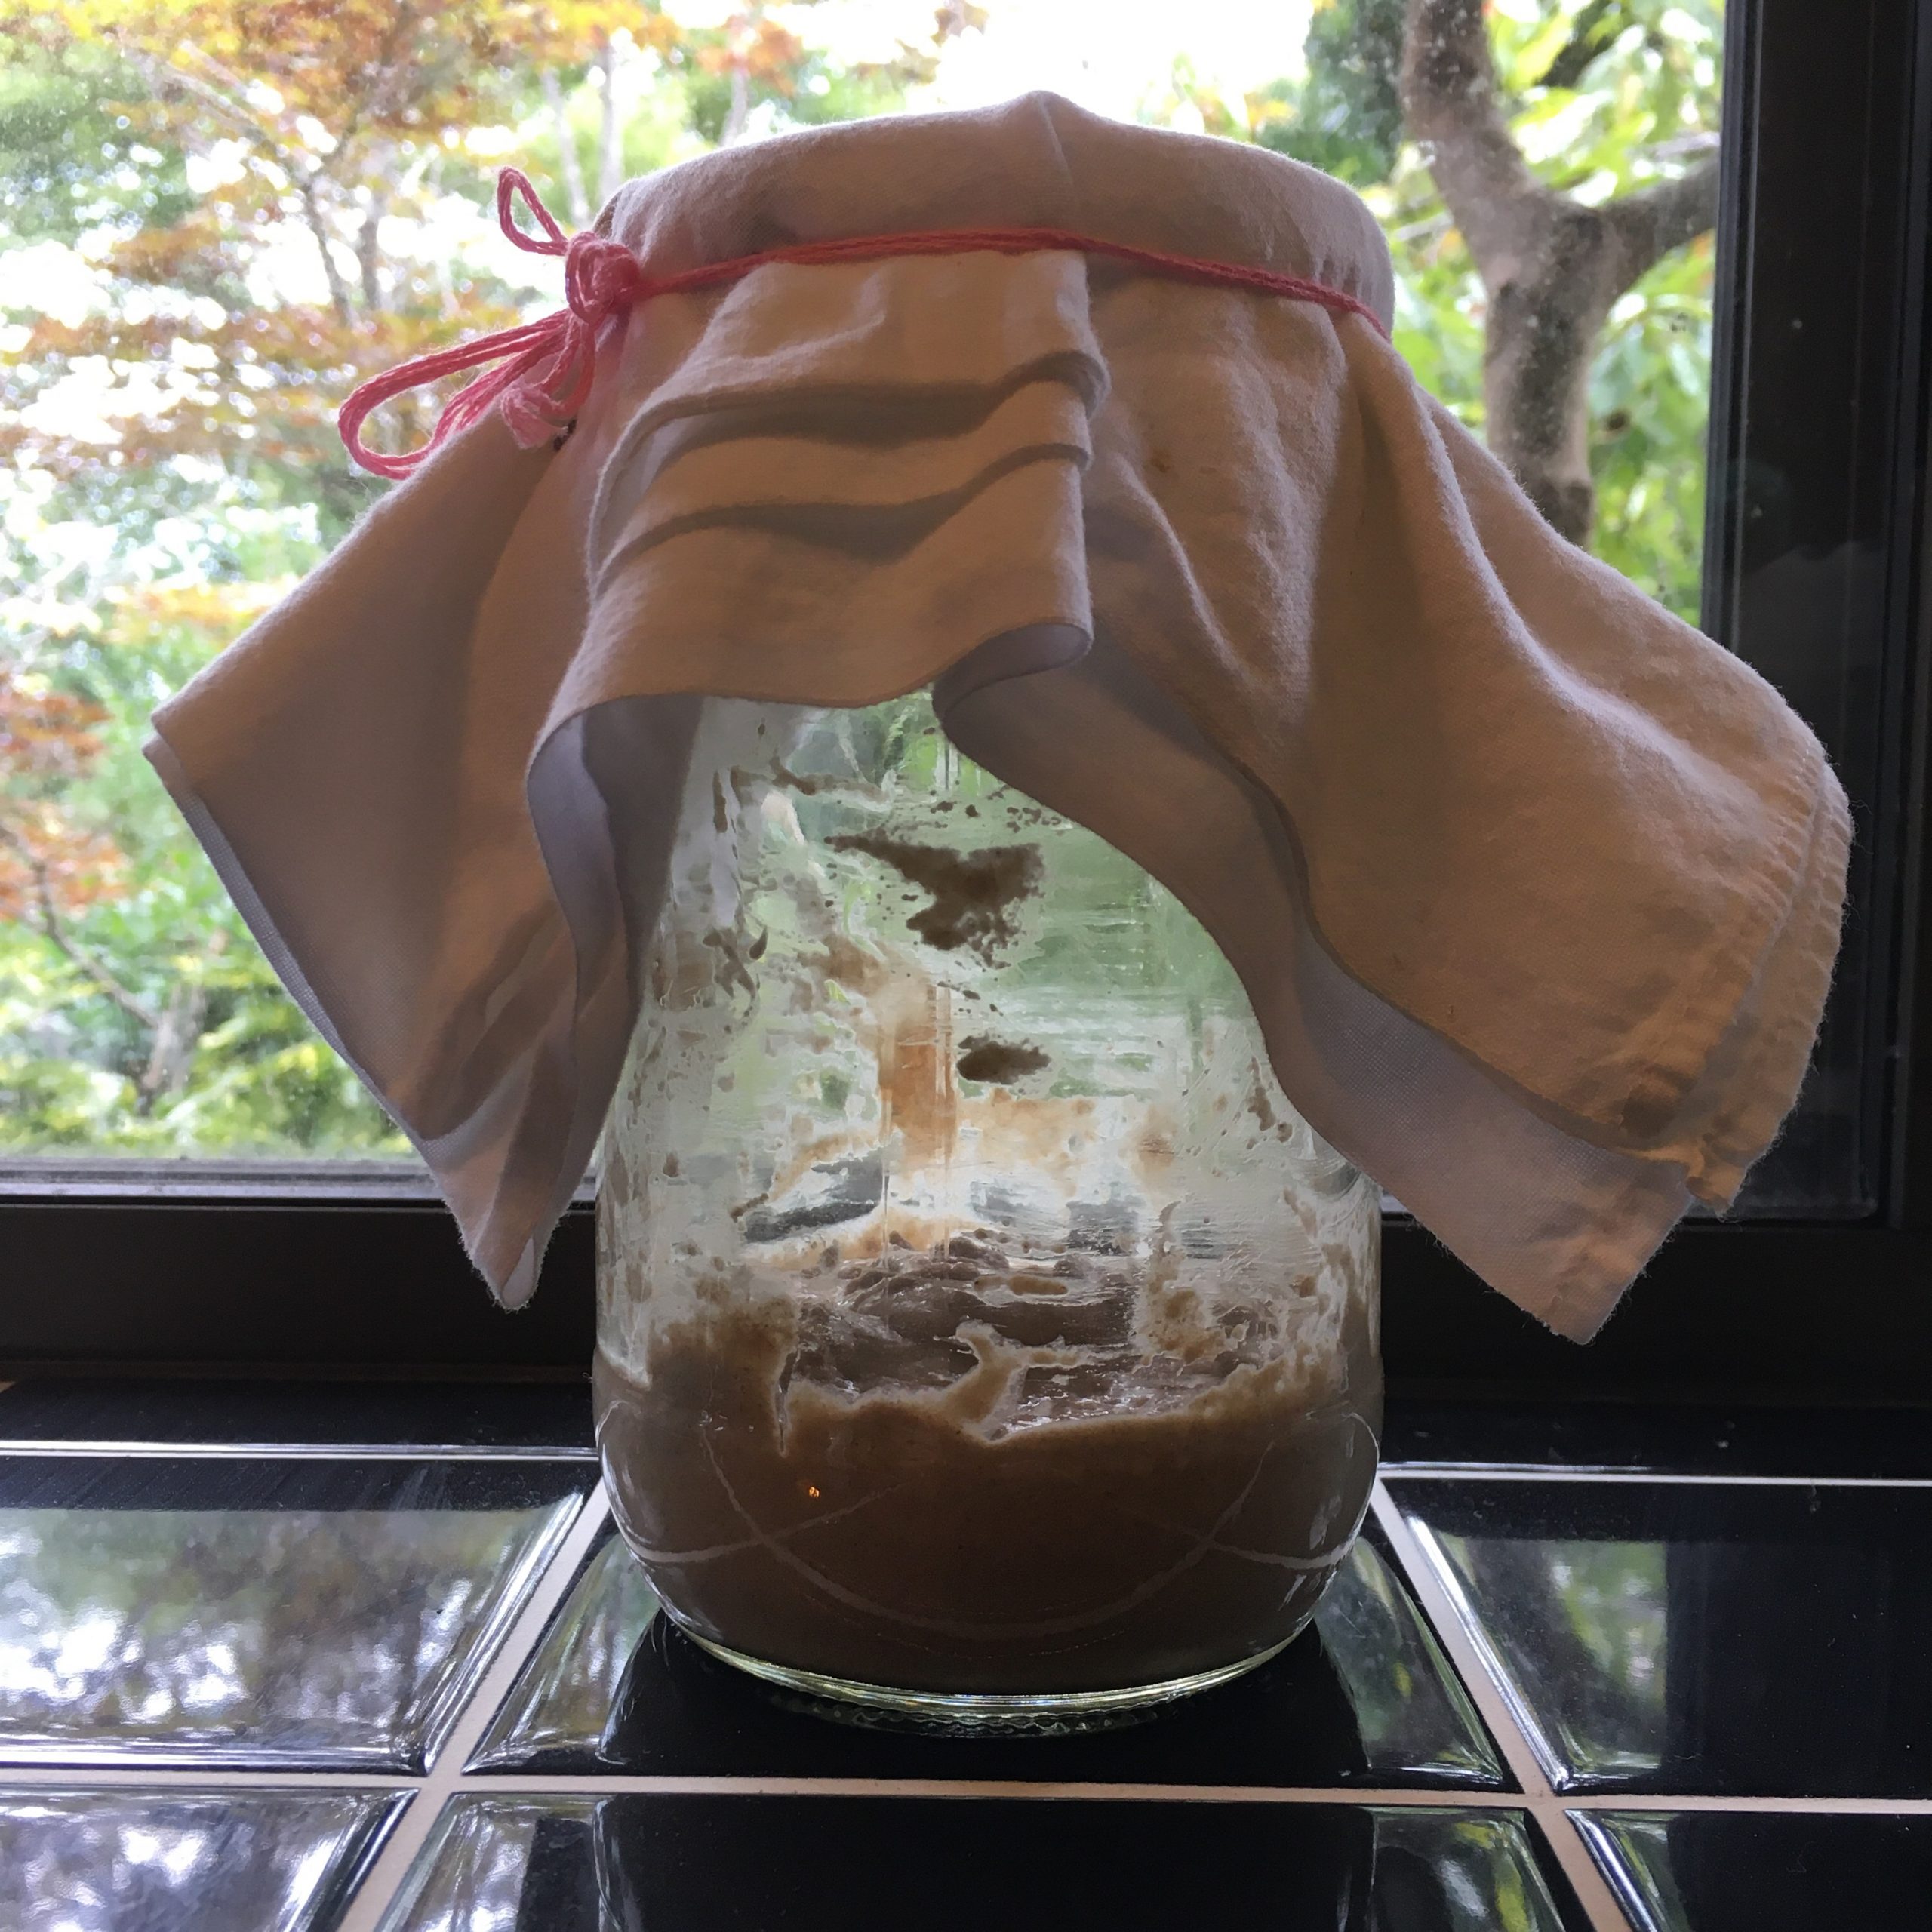
In the meantime, there are some small successes: my sourdough starter Lois has decided to be good! After a hectic first week, the past two weeks have been great and produced a lot of sourdough breads and pancakes and crepes… in the end it was not that hard (I hope it will go on steadily) and I even manage to control its hunger and therefore growth by using approprietly the fridge. Below are a few examples of Lois at work. I still struggle with the oven heat and the cooking time…

Autumn warmth and color

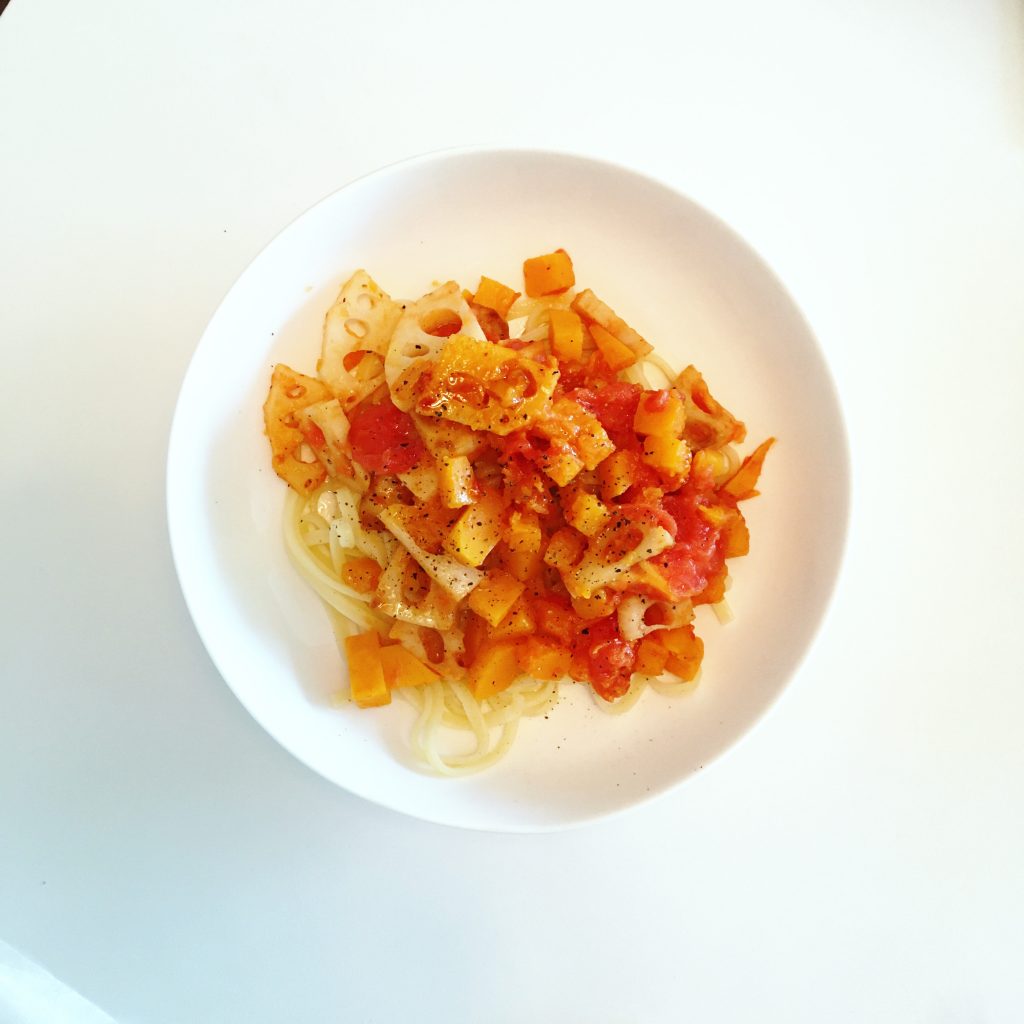
As the summer fades away, autumn days are slowly settling in. Autumn in Japan does not mean yet fallen leaves, cold mornings etc… we’ll have to wait at least another month for that! October is usually a fair month with warm days and just chilly enough evening and mornings to enjoy a walk or a bicycle ride. The food stalls start changing in colors and products too. The new rice harvested in August, the pumpkins and kabocha, the lotus roots… of course some of the summer food will still be around for a while: the super ripe tomatoes, the last crunchy cucumbers…

Combined together late summer and early fool ingredients are perfect such as in this pasta recipe below: tomatoes, butternut, lotus root… simple but delicious.

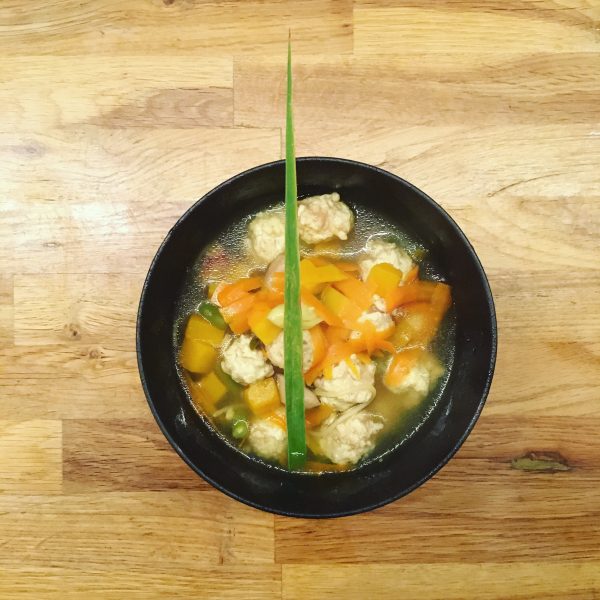
With the more chilly evenings, it is nice to curl under a little blanket and eat a warming dish, warming by its color and flavors. So I prepared a slightly spicy soup with fresh vegetables and chicken meat-balls, in a bouillon of spices and fresh lemongrass. Here is my recipe, it’s super simple!! Hope you’ll like it!

Spicy soup (2 servings)

  • 1 carrot
  • 1 2cm slice of butternut squash
  • A handful of green beans
  • 100-150g of chicken breast grounded
  • 1 tsp of potato starch
  • 1 pinch of turmeric
  • 1 pinch of chilly pepper
  • 1 pinch of coriander
  • 1 pinch of salt and pepper
  • 1 leave of fresh lemongrass
  • 100g of vermicelli or thin noodles (optional)

Actually you can adjust the vegetables to what you have around… I sliced the carrot with the peeler to obtain very thin slices, but you can also do a julienne or small stick… it’s up to you…

So in in a large pan I heat 1L if water, add the vegetables and the spices. Then in a bowl I mix the meat and the starch. Make small balls (1.5-2cm diameter) and toss them in the boiling bouillon. After 10min all is ready. 5min before eating I add the noodles. They cook very quickly and you don’t want them to become thick and too soft. Serve immediately. Yes… that’s it!!!
Have a good day!

I knew it…

Well… while this week has been crazy busy with work, I also was very excited with my sourdough experiment… and things turned out almost as I expected they would… with utter fun when Lois grew and foamed and in utter disappointment when it stopped, finishing in a nauseous mess that stunk like I couldn’t imagine it would. Sourdough is not for me, I knew it…

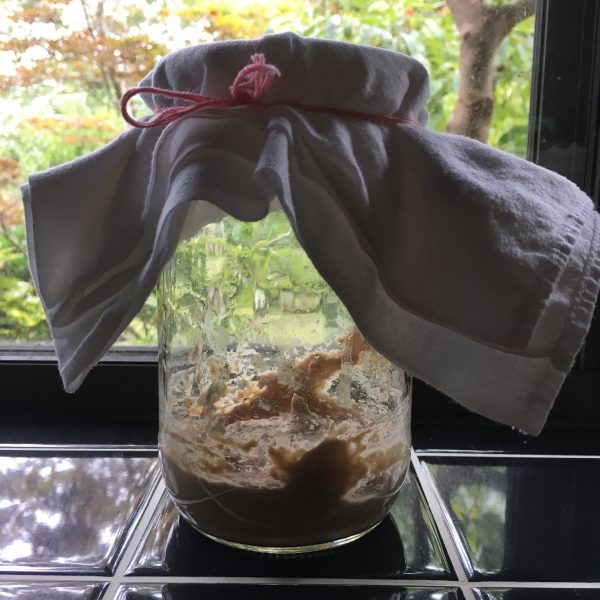
Lois on the 2nd day, gently bubbling

I read books, blogs, websites about sourdough before starting (it took me 5 years to get ready for the commitment!!!!) and while I was observing it growing. I wanted to do right, not to waste precious time and resources. Then I was almost desperate when it started to stink, read even more about all the possible tricks, tested them all: sugar, malt, fridge, not fridge, more food, more mixing, rest, splitting it and starting afresh… nothing seemed to have worked truly. Almost 1kg of mixture went down the drain in a terrible smell. The rest is sitting in the kitchen in a desperate hope I can still save it. The smell is gone but no foaming and bubbling as I thought it would… part of the passive mixture was used for pancakes this morning…

But before things went south I had on the third day just enough to make a tiny bread to test it when it was still good! And damned! Even if I rushed it a bit ( temperature went down with the rain so the rising was too slow for the impatient me!) the crust was perfectly crusty, the crumbs were moist and soft, and the taste of whole wheat and sourdough was amazing. Enough to keep me trying to save what is left of Lois… so now I am in this terrible situation where I want to stop hoping I can grew a stable relationship with my sourdough, but I can’t take the final decision to trash it all, as the taste of sourdough bread was so perfect…

Lois

It’s been more than 5 years that I bake weekly or more and since the beginning I was tempted by preparing my own sourdough starter, but the traveling back and forth between Tokyo and Isumi and our almost monthly business trips abroad stopped me from doing it… yet I never fully abandoned the idea, and recently I got a bit disappointed with dry yeast. Even using respectus panis proportions, I felt I couldn’t control the yeast. One day it bubbles in 30min like crazy, the next, even after 2h I barely see a difference… Then, I had long discussions with my best friend M. about sourdough and bread making, saw how sourdough breads look much nicer, with darker crust and soft and moist crumble on IG, and to finish convincing me I should try, I read Robin Sloane’s Sordough and not that the novel convinced me to have my own sourdough, rather it made me more intrigued with this strange life-of-its-own thing. Since we probably won’t be traveling at all this year, and we have 4 days in Isumi, so I just decided it was time to try.

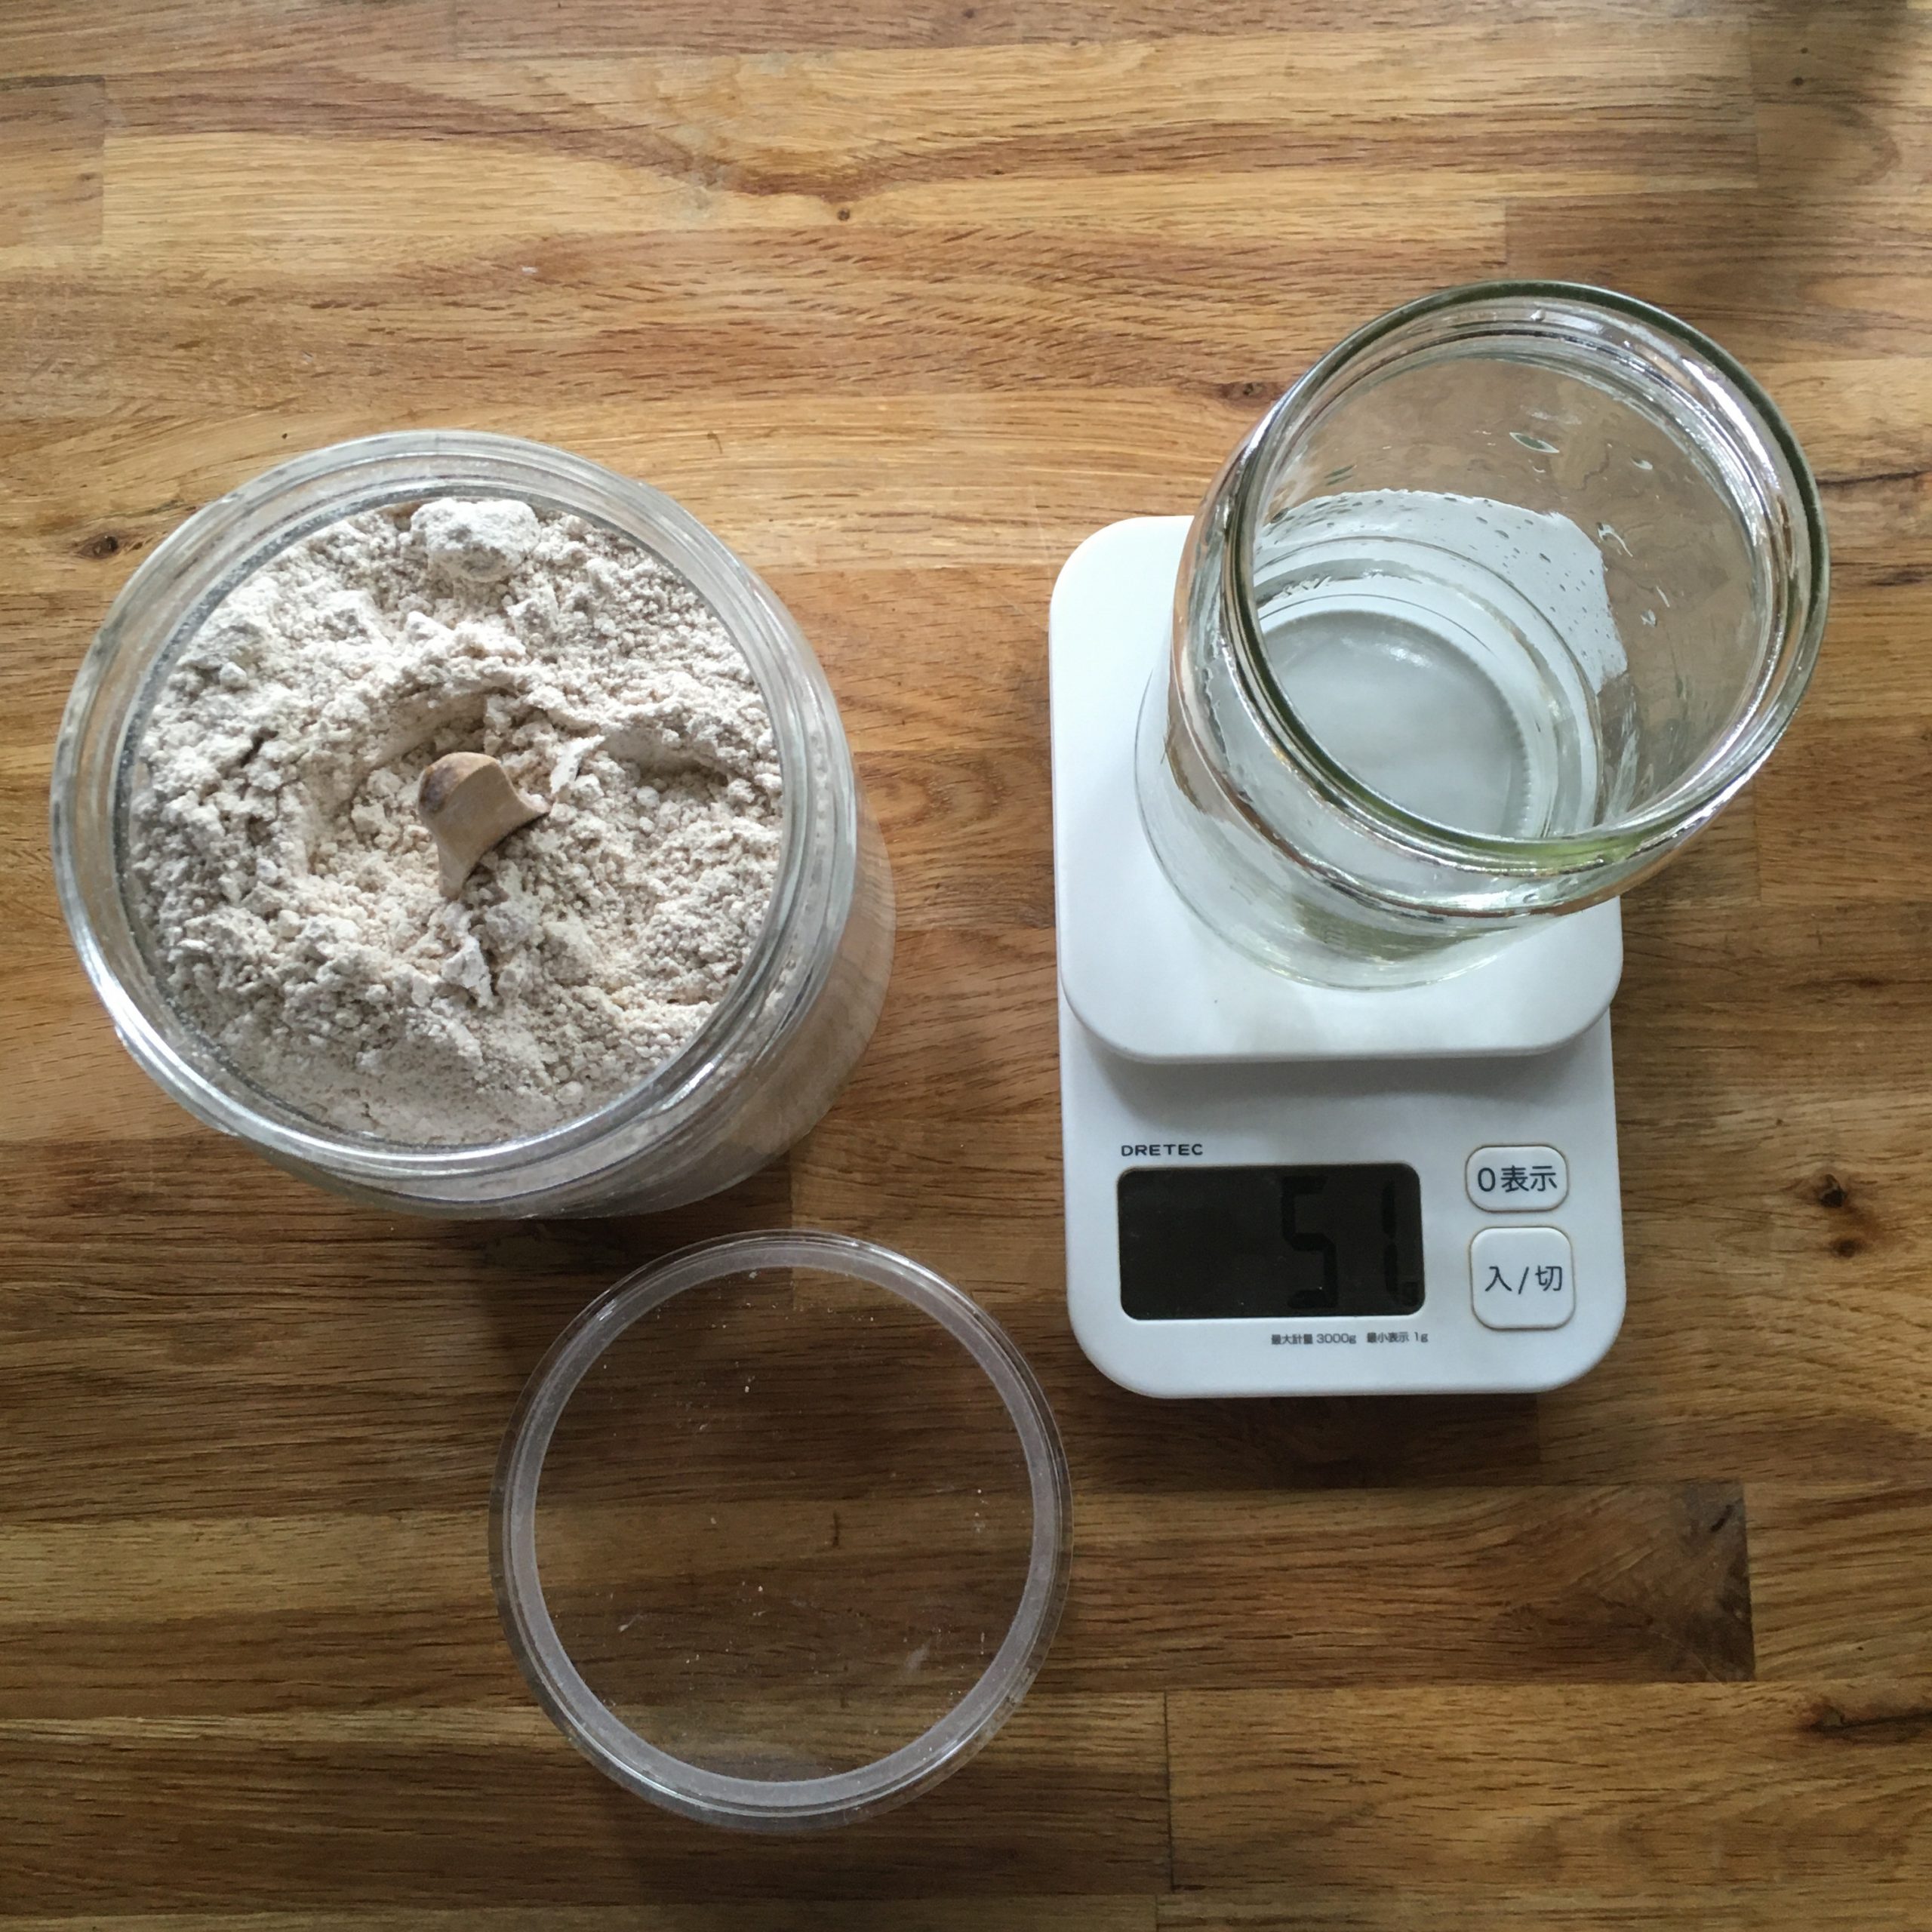
So here is Lois, my sourdough starter in the making… just freshly mixed: 50g of whole wheat flour and 50g of water… well… now, see you in 3 days hopefully with some bubbling…

Japanese simplicity

Who said that cooking Japanese cuisine was complex???

I have the simplest and most delicious recipe of miso soup for you today and an ultra easy ochazuke recipe. Of course both require basic Japanese ingredients: dashi, and miso for the first one, and Japanese rice, dashi and umeboshi for the second one. Indeed now is the time rice harvesting in Isumi is just finished new rice of this year harvest is now available. Delicious brown rice, slowly cooked to be just perfectly soft goes perfectly well in ochazuke recipes I find, almost better than plain white rice.

For the dashi of both recipes you can choose from katsuobushi, ichiban dashi, konbu dashi or shiitake dashi. Personally I love ichiban dashi. Ichiban dashi 一番だし is a basic in Japanese cuisine and particularly in cha-kaiseki 茶懐石, so I mostly make ichiban dashi, so let’s start with its recipe.

Ichiban dashi – 一番だし

  • 1L of water
  • 15g of katsuobushi blakes (not too thin)
  • 15g of konbu

In a pan set 1cm of water, add the konbu and bring to a boil at low heat for 10min. Add the bonito and the rest of the water. Keep boiling at low heat for 5 minutes. Let rest and filter. Your ichiban dashi is ready, you can use it as a base for soup, cooking vegetables, fish, tofu, rice etc…

With the dashi made, we can then move to the other recipes. First the eggplant miso soup. Then below the ochazuke.

Eggplant miso soup (for two servings)

  • 2 little Japanese eggplants
  • 1 tbs of miso
  • 600ml of dashi
  • a bit of neutral frying oil

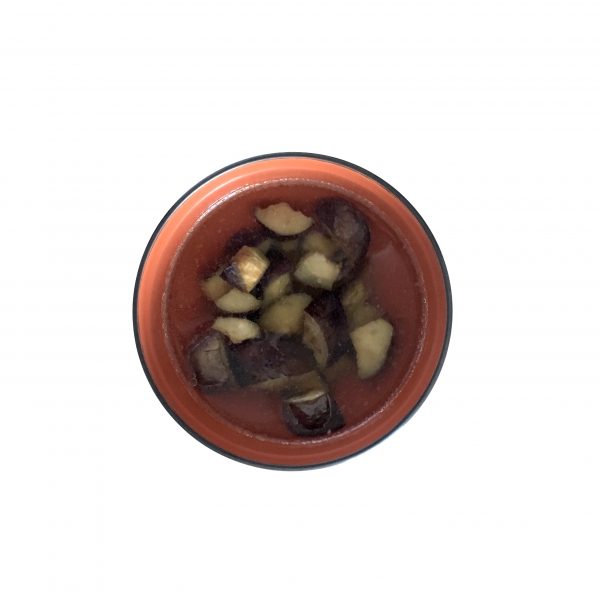
Wash and cut the eggplants (see top picture fir cut). In a frypan greased with the frying oil, cook the eggplants until just golden and soft, serve then evenly in two large miso soup bowls.

Heat your dashi if it was prepared ahead, or use the one you just prepared. Top the eggplants with the dashi. Set half a tbs of miso in each and stir gently. That’s it!!!

Simple ochazuke (2 servings)

  • 1 cup of Japanese brown rice or white rice cooked
  • 400ml of dashi
  • 2 pickled plums
  • 1 bundle of komatsuna or other green (water spinach, spinach…)

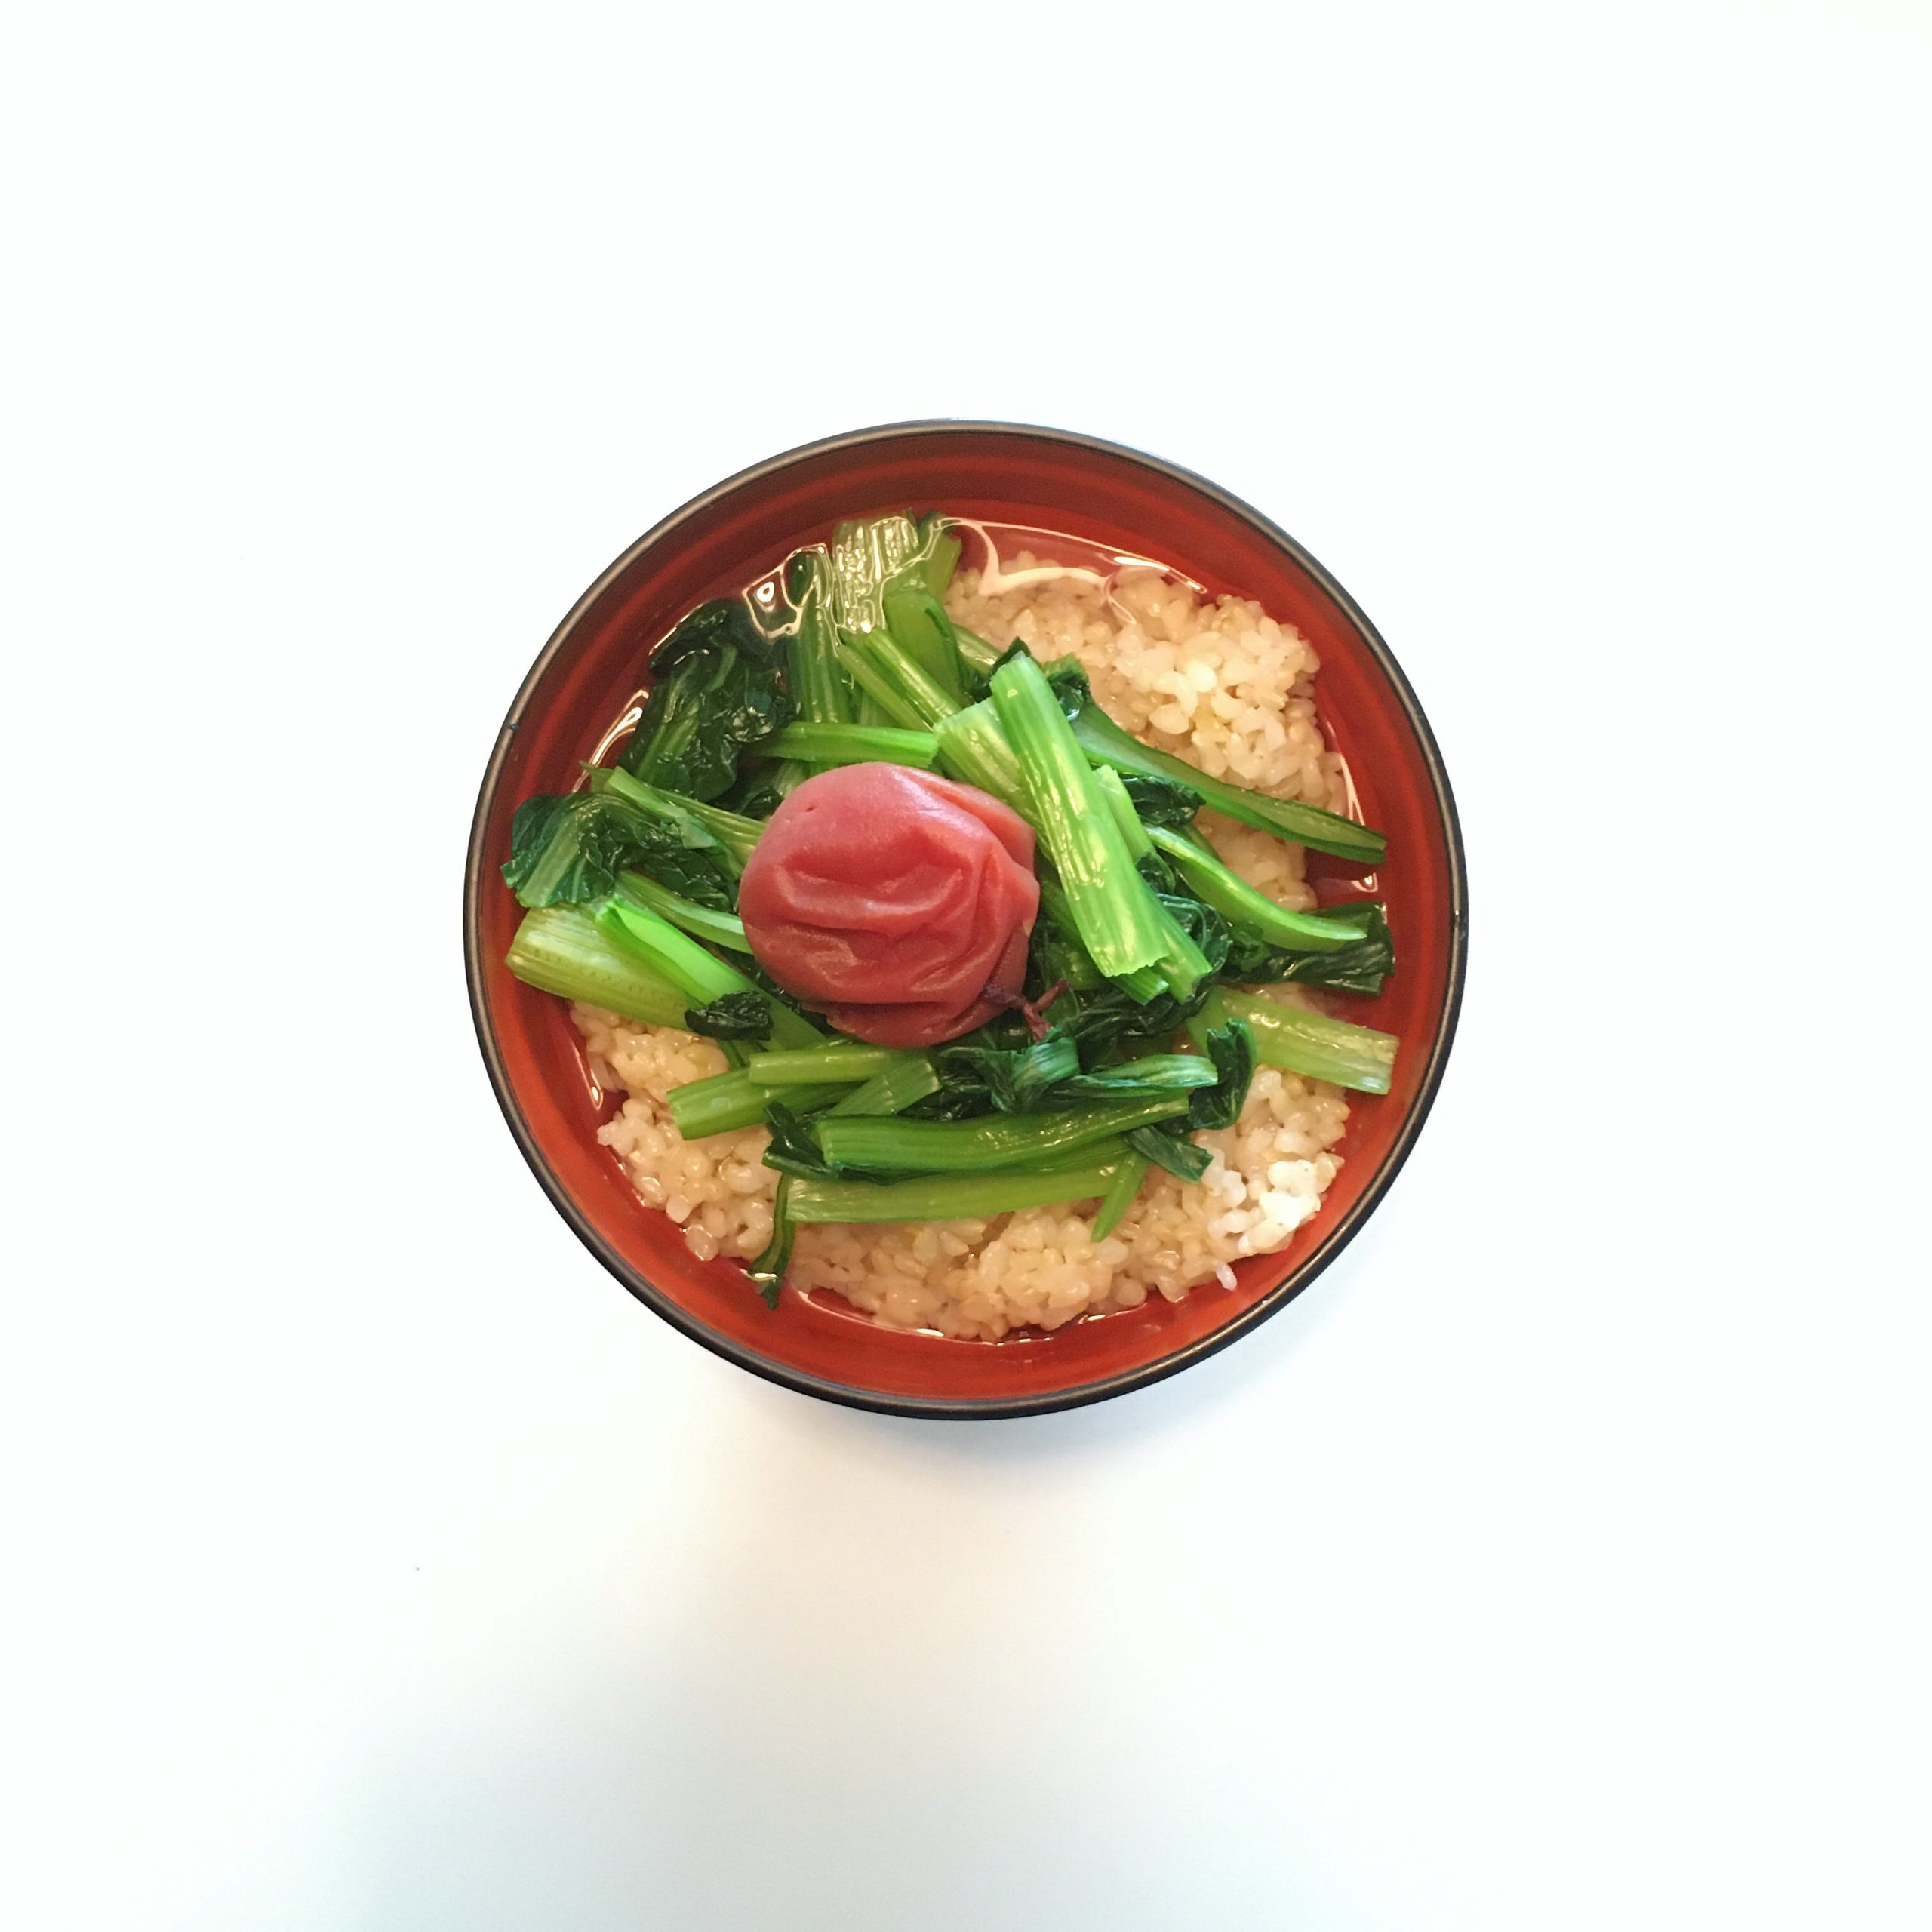
Serve the rice in a large bowl. Heat the dashi. In the meantime wash the green vegetable, cut in 5cm long and blanche. Drain well.

Top the rice with the vegetables, then serve the dashi, add the pickled plum. That’s it!

Have a good day!!!

Proudly powered by WordPress | Theme: Baskerville 2 by Anders Noren.

Up ↑

Verified by MonsterInsights